Not only do I acquire new publications as funds permit, I developed a sweet spot for old photography books with first hand descriptions by authors who were developing the art. Subjects range from history, process and technology and of course, photographic images captured during the early days.
Although most older photography books can be found on-line in a scanned pdf format, nothing beats holding a 150+ year book in hand, smell the paper and turn the pages.
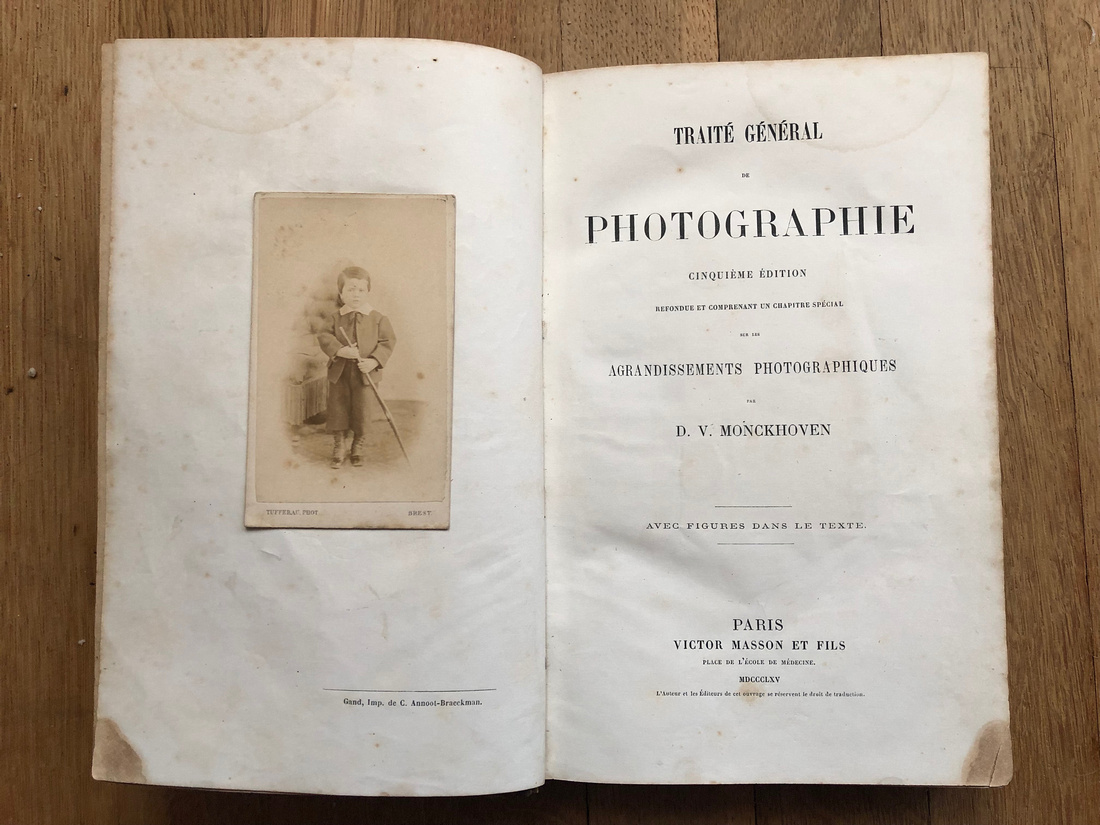
No different when I received the 5th edition of "Traité d’Optique Photographique" by Désiré van Monckhoven, published in 1865. (First edition, "Traité de photographie sur collodion" was published in 1855 when he was barely 20 years old, later editions were expanded as technology developed.)
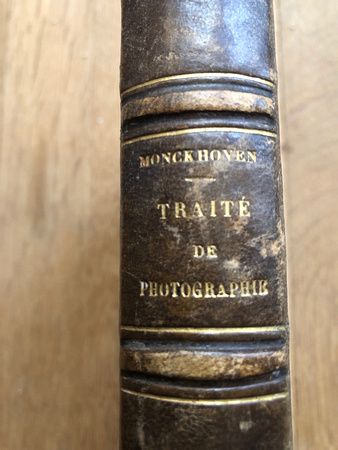
Désiré Charles Emanuel van Monckhoven (1834 - 1882), Belgian chemist, was one of the most active researchers in the area of scientific and applied photography in the second half of the 19th century.
In his relatively short life, he invented an enlarger (1864), a dry collodion process (1871), improvements of the carbon print process (1875 - 80), in addition to improving and manufacturing silver-bromide gelatin emulsions.
His publications, translated into many languages, became standard works of photographic technology. The first english version was translated by W.H. Thornthwaite and published in 1863.
Ghent (Gent, Gand) was his hometown and a street and elementary school are named after him.
Three images are glued on the first few blank pages of the book and I'm not sure if they came with the edition as the online scan at the Getty Museum doesn't show these images in the pdf, pretty sure the original owner glued images from the early days of photography in this book as illustration.
The English translation of 1863 can be found HERE
I believe equally important is his book "Photographic Optics" for all those interested in a first hand description of lenses in the second half of the 19th Century by a scientist, English translation can be found HERE
Enjoy !
Rudi A. Blondia
"
Without glass, not a really usable lens but I thought it would still look good on one of my early wooden field cameras from the late 19th century as a display piece.
Lerebours was not only a photographic lens maker but also a photographer from the very beginning. It is written that by 1842 he had made some 1500 daguerrotype portraits.
For those readers that want to know more about Lerebours, Secretan and their lenses and history, please check the publication of Patrice-Hervé Pont and Jean-Loup Princelle, available for sale on the publisher’s website: Le Reve Editions. I also highly recommend the the book on French lenses from C. D’Agostini. (There's also a book out now on early German lenses)
Back to my find:
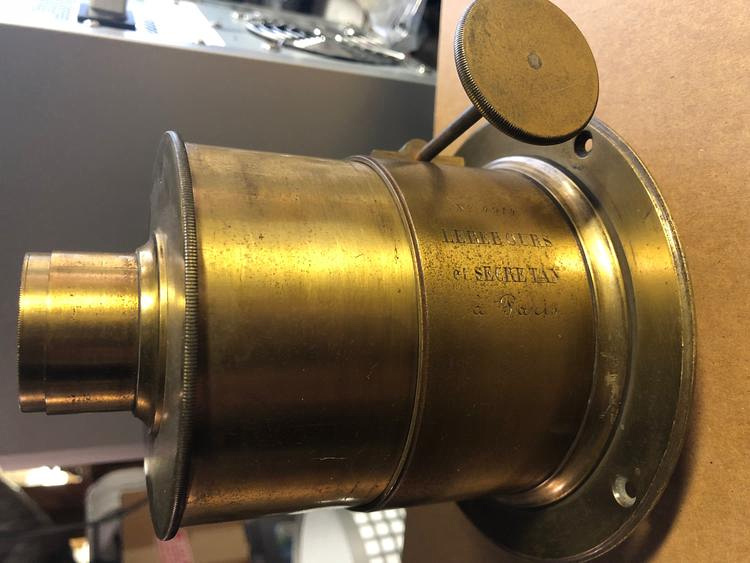
What caught my eye on this lens is that there was still a lens receiver screwed in the rear. That lens receiver was from a different construction of what I'm used to see; a construction of sorts that captures a glass objective in a case that can be screwed in the rear of the lens barrel.
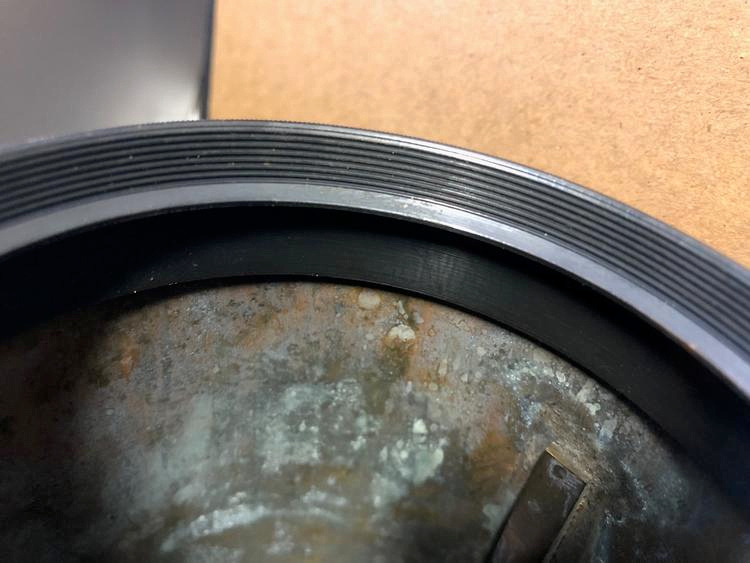
The outside of the lens receiver is a nicely tapered and stepped design but the inside doesn't have any threads at all. After checking the ID, it turns out that is 85.5mm, so most likely designed to receive an 81mm diameter lens (common size for a lot of lens makers) in some sort of auxiliary and most likely easily replaceable lens mount. It was not uncommon to have replaceable glass with different focal lengths for landscape lenses. There are other possible explanations, we'll just never know for sure unless we find literature on this specific lens design. The first catalog for Lerebours et Secretan lenses was published in 1846.
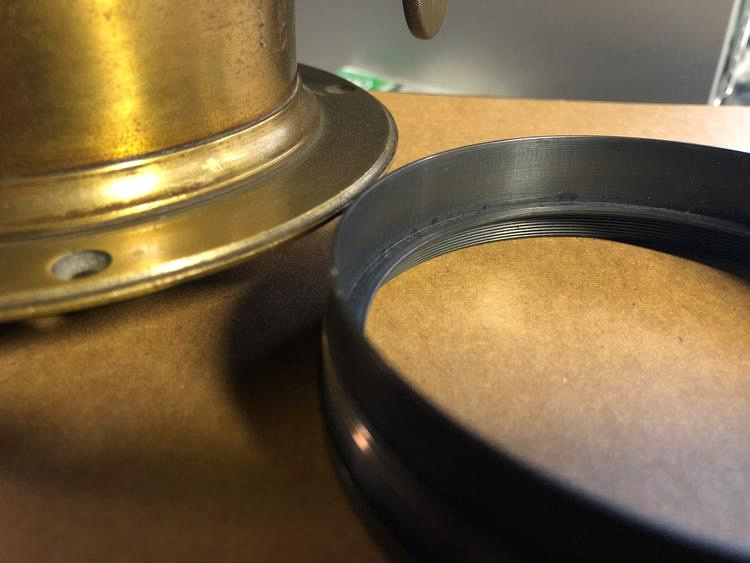
The image above shows the "lens receiver" unscrewed from the barrel, "inside barrel" portion is the top. No threads at all.
I did find in the parts bin a rear lens receiver from a French nameless brass maker that fits in the LEREBOURS et SECRETAN
landscape lens, and a perfect match for a 81mm diameter objective. This saved me from turning an adapter on the lathe to mount a lens in the unit.
Luck had it that few months later I came across a Lerebours front achromat mounted in British brass. Lerebours name was pencilled on the edge and the serial number was scratched in the glass, #2964. (Lerebours scratched serial numbers in his lenses for traceability. I've seen other lenses where the barrel serial # doesn't conform with the serial number on the lens.)
It is known and understood that Lerebours would polish lenses and sell them to British photography lens makers who would mount these lenses in their brass under their name.
I now have LEREBOURS et SECRETAN lens with serial #2964, front lens from most likely a Petzval style lens (Objectif double) (~ 1846-1847) mounted in a 1849-1850 Landscape body.
Not perfect, but better than having it all go to waste in separate ways.
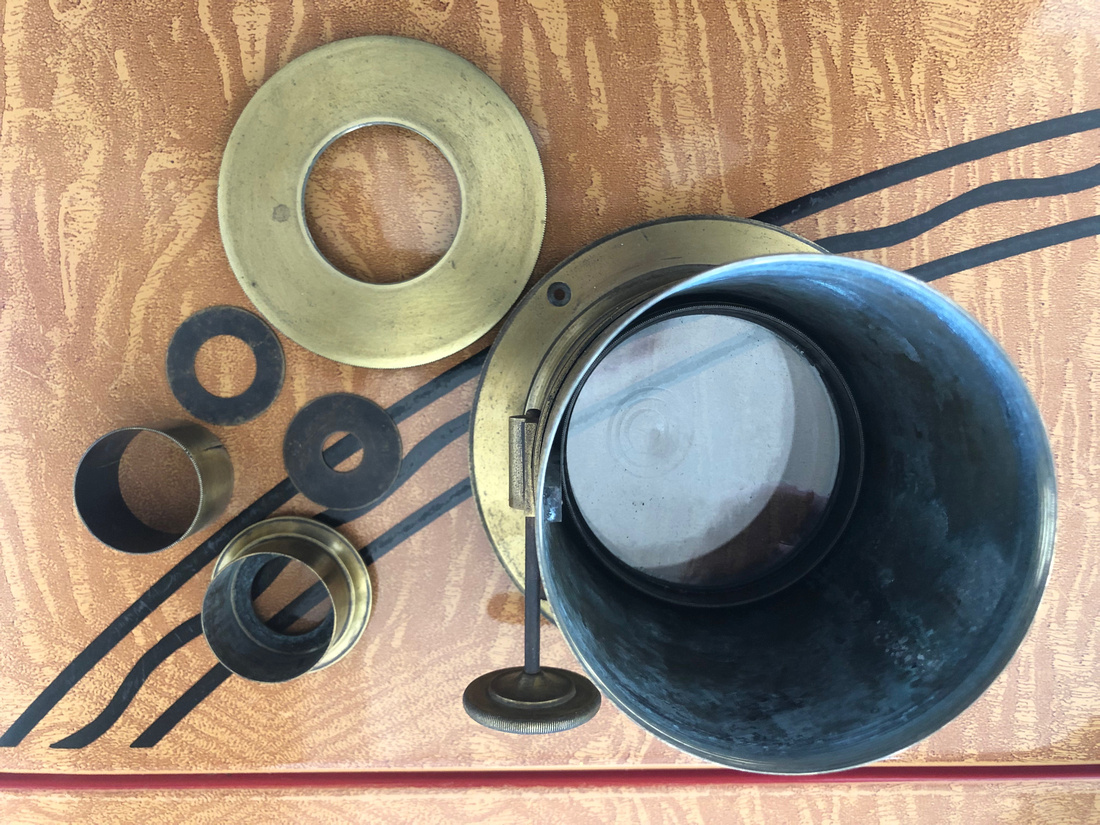 The image above shows the new "older" lens in the rear receiver (unknown manufacturer) and all the other parts that come with a landscape lens of the 1850's. The washer stops are shown with the washerstop holder. The latter screwing in the top of the lens cover. It should be equally clear the holder is just another larger aperture and removing the lens cover (unscrews) reveals the glass, fully uncorked, for soft focus portrait work. This is the reason why so many landscape lenses lost their washers, irises, stop and what not ... to be used a achromatic soft focus lenses in the first two decades of the 20th century.
After studying the above mentioned literature, I didn't find any Lerebours et Secretan lenses with rack-and-pinion focus adjustment in the serial number range. All earlier serial number Lerebours and Secretan lenses I've seen are either fixed for use in a sliding box camera or are of the sliding lens variety themselves, but no rack and pinion or tangential drive, both methods were known and used early on where control of focussing was a requirement.
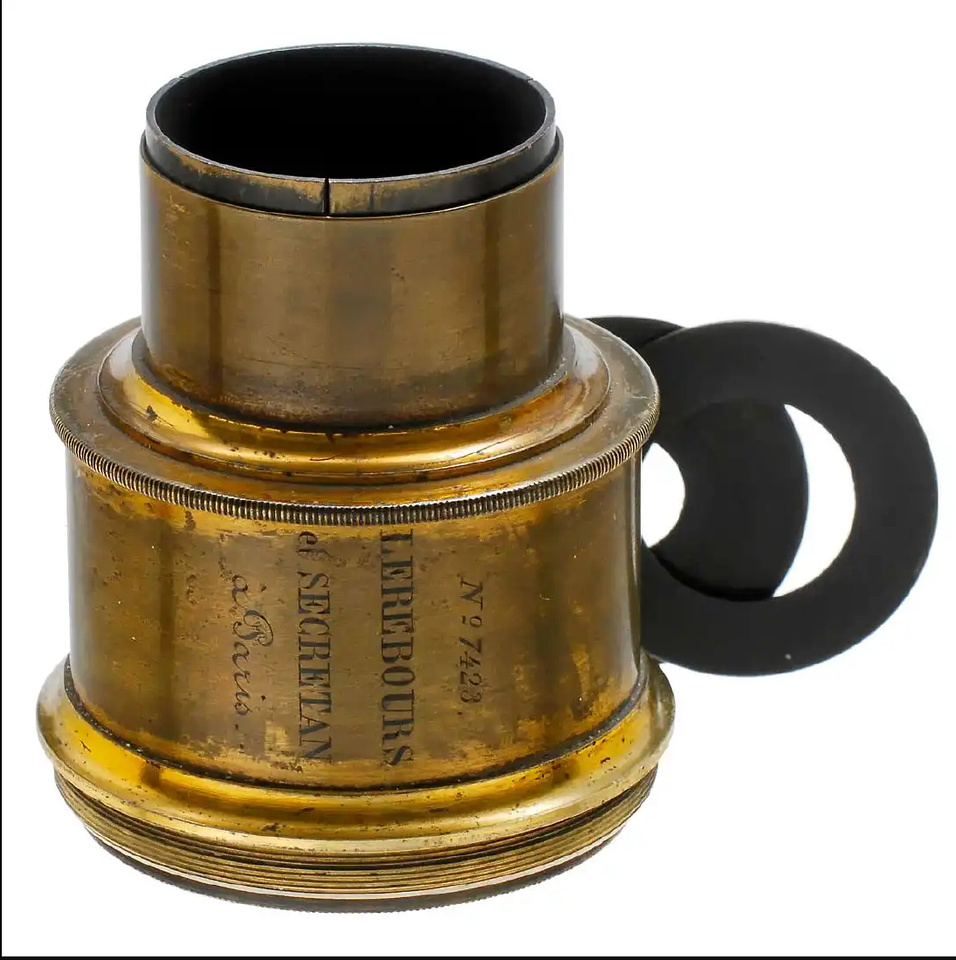
The image below is not my lens, taken from an auction website for educational purposes. It shows a similar Lerebours et Secretan lens some 2,500 units later and doesn't sport any focus adjusting ability. Probably a matter of cost point at the time.
Next step is to mount this lens on a Sinar lensboard, take it for a spin and make some 8x10 images.
Cheers !
Rudi A. Blondia
]]>Below is an add and a marketing blurb from the days found on the Soft Focus lens pages from Dan Colucci's website. (Link at the bottom of this blog)
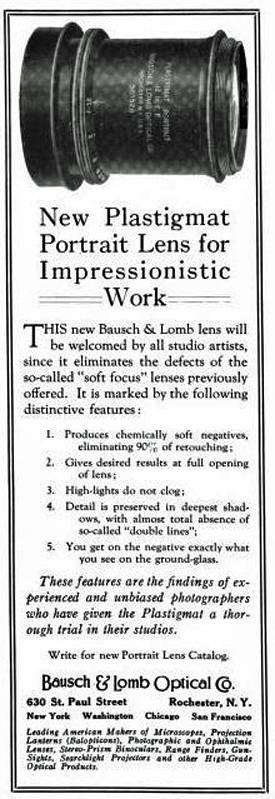
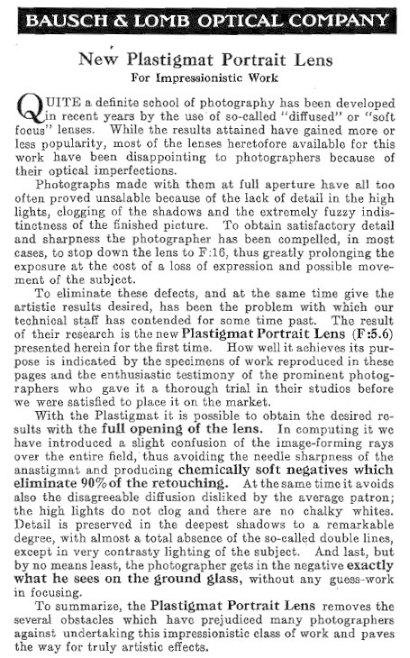
The lens was introduced in 4 focal lengths, 9", 12", 15" and finally 18" for 8x10 studio camera work. The shorter focal lengths were designed to mount on Graflex SLR cameras.
I collected four 15" EFL specimens of this lens over the last few years and recently a 12" EFL lens was added to my Portrait Plastigmat collection.
Four of the same focal length seems over the top from a collection or user perspective but they've come so far in three different flavors.
One 15" EFL (and also the 12" EFL) has a rear glass and a front glass. The front glass doesn't seem to have any magnification but is there to increase or introduce more spherical aberrations. The rear glass does most or all of the soft focus work through spherical aberration.
Then I have three 15" EFL Portrait Plastigmats with only rear glass. There is no thread provision in the hood nor body to screw a front cell in, so the conclusion was, supported by other online commentaries, they were designed and built that way.
Out of the 3, one comes with a wide barrel, two have a "skinny" barrel and these are the lenses I'll illustrate below.
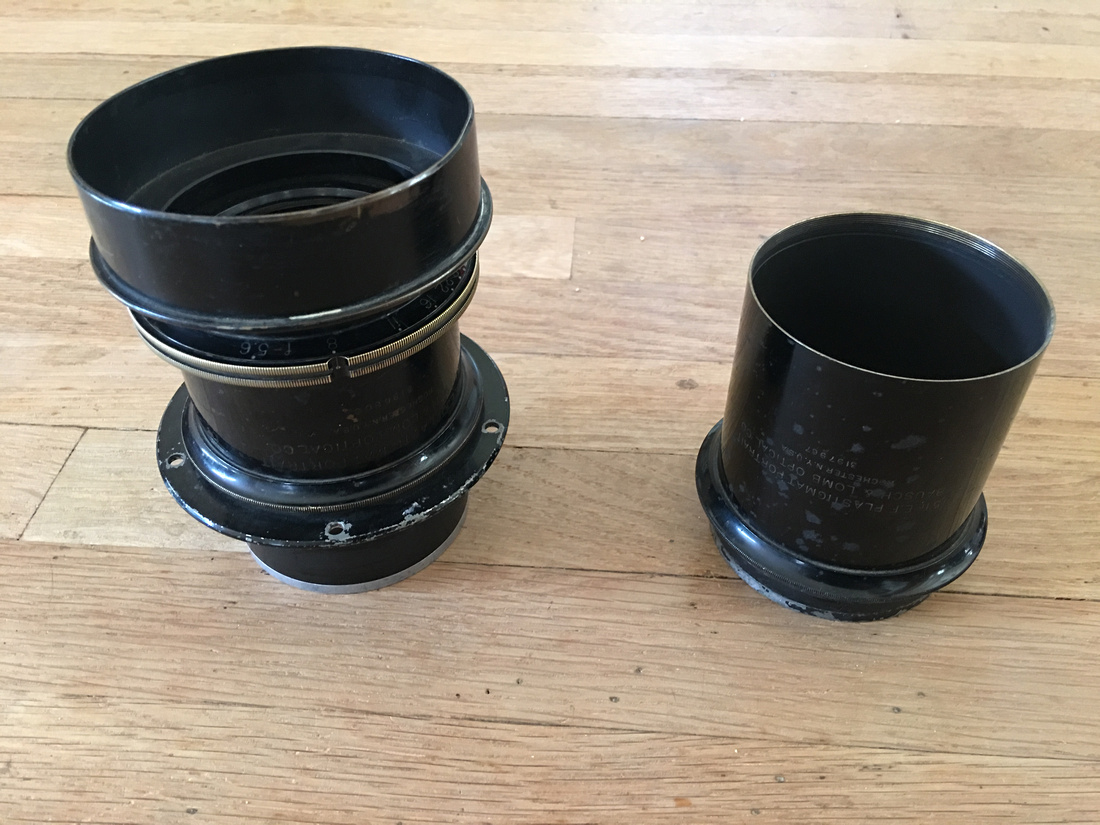 The lens at left is complete, the lens at right is obviously not.
The hood screws into the iris cell and the iris cell screws into the barrel. I confirmed the iris and barrel are transplantable to the lens on the right. Serial numbers are left to right respectively 3196808 and 3197967. One can also observe the lens flange thread to be at different location on the barrel.
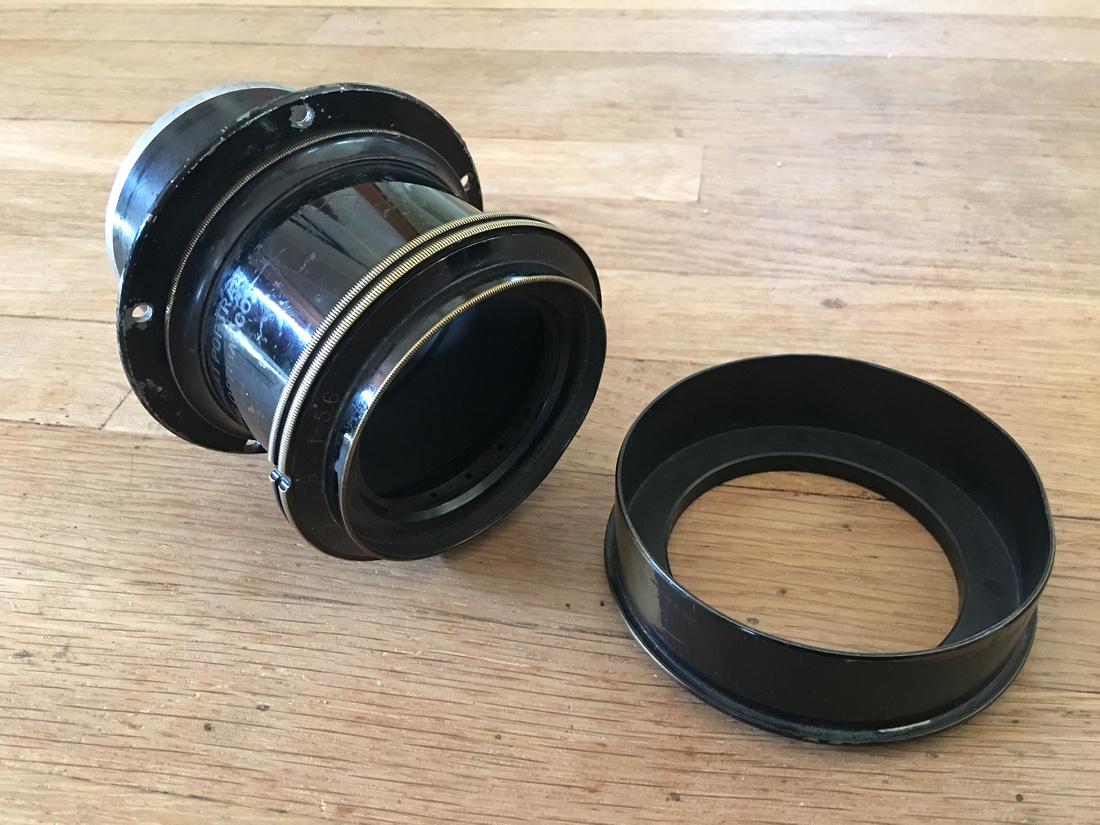
Another view of the 3196808 with hood removed.
SImilar to my previous blog posts on fixing up the A. Ross #1520 landscape lens, I decided to run through my spare part boxes to find an iris I could use to restore functionality to the the lens with missing iris and hood.
Luck was once more at my side this time as I had another Rodenstock add-on iris for a TV-Heligon lens. These came in a few different sizes and I found one that was suitable for conversion with a minimal amount of machining. Took 15 minutes to mount on a lathe, machine the inside out for proper diameter and at the same time provide a stop. Rodenstock iris provenance was removed at the same time. M2 set screws with nylon tip to secure the iris with minimal impact to the original finish of the lens. The f1.1 to f8 aperture scale on the iris is no match but since this is a relative indication, it does allow to calculate quickly what the real aperture is.
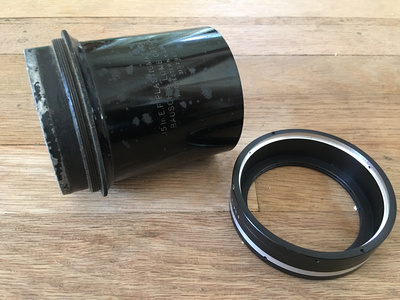
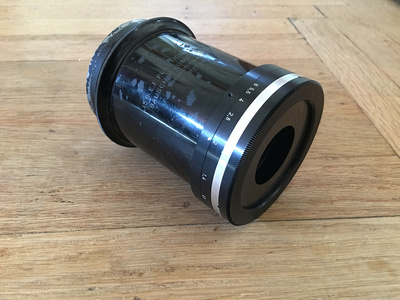
This particular iris covers 6 stops in half-stop clicks and wide open the aperture is the same as the original design, F:5.6 ... optical design is maintained as the iris is in about the same location, +/- 2mm.
Although the lens was designed for full plate coverage, the ground glass image at portrait distance on 8x10 format looks great with no noticeable vignetting.
Feed back and questions welcome !
Link below to Dan Colucci's excellent and very informational website for Soft Focus and vintage lens and camera information. The link points to the article where the B&L Portrait Plastigmats are discussed.
Antique Cameras - Soft Focus Lenses Part 3
Cheers,
Rudi A.
]]>
During Andrew Ross's lifetime, the company was one of the foremost lens manufacturers in the UK and beyond. His company was definitely there from the start of photography much like Voigtlander in Austria and Lerebours in France.
I've always dreamt about owning a lens from the first decade of photography and when I came across this lens recently, I rescued this one to extend similar TLC like I've done with the Cooke RV from my previous blog posting.
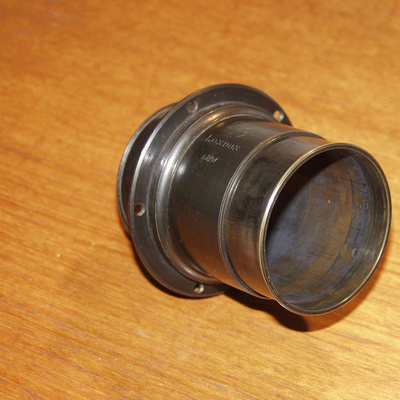
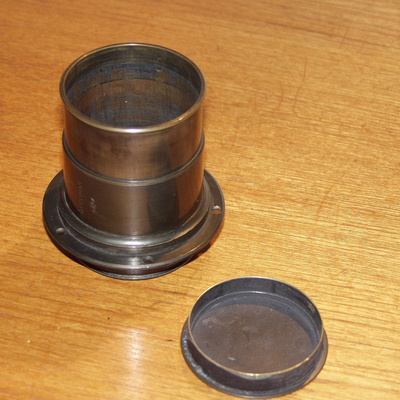
It was clear the aperture was missing from this landscape lens and all associated parts such as washer stops with it. The lens did come with the original flange and the original lens cap. Even the fabric used as a seal on the cap looks from the time.
It was not uncommon for landscape lenses to be uncorked during the Pictorial days for portrait taking or maybe the aperture was simply lost. There are clear marks on the inside of the barrel where the aperture would have been.
Below are a few images of different Ross landscape lenses to give an idea of what a complete landscape lens might look like in the early days of photography.
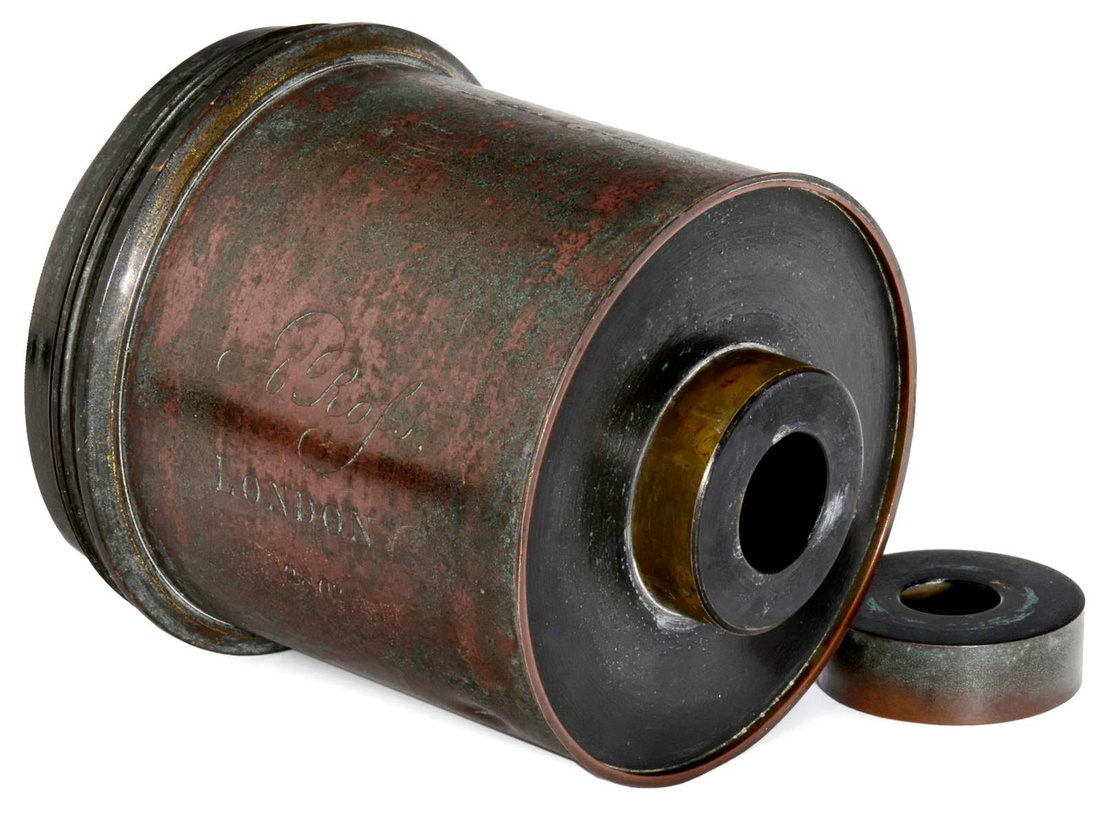 The landscape lens above, not mine, bears serial 2802. The aperture is clearly visible with the cap and a smaller aperture cap is visible at the right in this image. This is a landscape design without sliding focusing ability. So either this was for a sliding box camera or there were bellows involved.
A different sliding barrel design with serial #8688 from clearly a much later period shows a washer stop design front. This image below is incidentally from the same seller I acquired the #1520 from.
Based on the marks inside the barrel of #1520, I believe that design looked similar than in the image above from serial #8688.
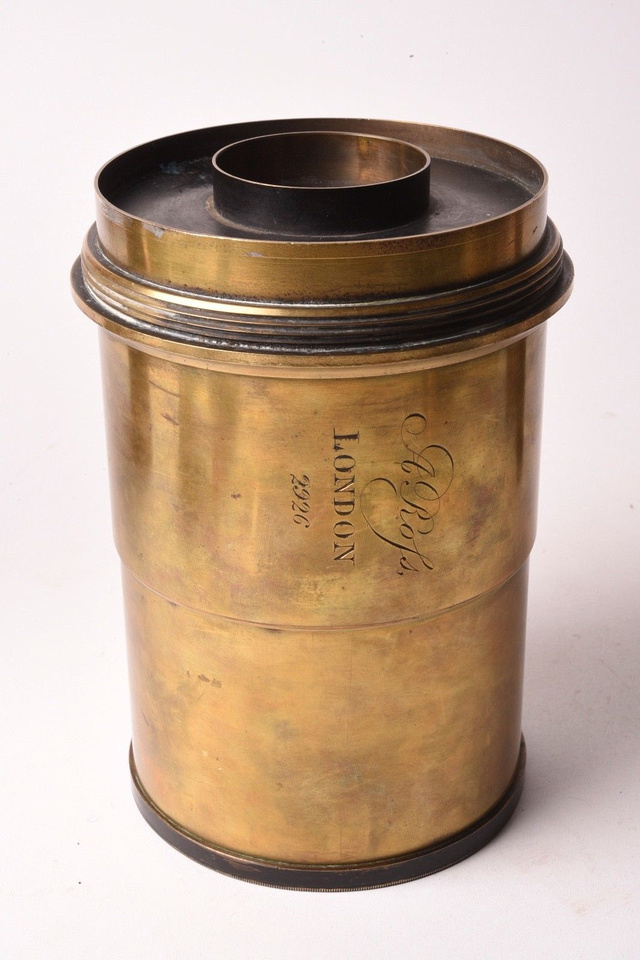
For Another Ross landscape lens, #2926, a serial number relatively close to the #1520, see below. This image shows the lens assembled backward in the sliding sleeve (no rack and pinion in none of these pictured Ross landscape lenses.) I picked this 20", f:20 lens up few months back as my first early landscape lens.
By now this lens has been flipped in the sleeve for proper configuration. There's one stop installed in the rear of the inner tube to make for what I believe is the native f:20 aperture. The cap with additional washer stop inserts is no longer there. I might replace this with an adjustable iris in the near future to enhance functionality. Lens diameter for the #2926 is just over 4", this is one massive landscape lens !
As for optical performance of serial #1520, the focal length of the #1520 is measured at 13" or roughly 330mm. The diameter of the achromat in the rear is about 72mm.
Again I decided against a permanent restoration of aperture. Difficult as there's no data of what the exact design would have looked like and I don't want to confuse the next owner with a historical paradox.
As I've done with the Cooke RV, I opted to add a removable modern iris to the lens so I can use this gem as landscape and soft portrait lens.
Found a Rodenstock iris in the spare parts bin that looked it would fit over the barrel after some machining to enlarge the inside and create a flush stop against the barrel. This iris was formerly used with a Rodenstock Heligon lens as an aftermarket aperture control addition. Provision to lock the iris box was through three M2 set screws which I replaced with nylon-tipped set screws to not mar the beautiful patinated finish of the late 1840's brass.
I removed all Rodenstock iris references while I had the iris assembly on the lathe.
The end result of the unmounted lens can be seen below. No, the original cap will no longer fit over the new iris but this is only a small inconvenience. The assembly can be restored to "as bought" by loosening the three set screws, removing the iris and popping the lens cap back on.
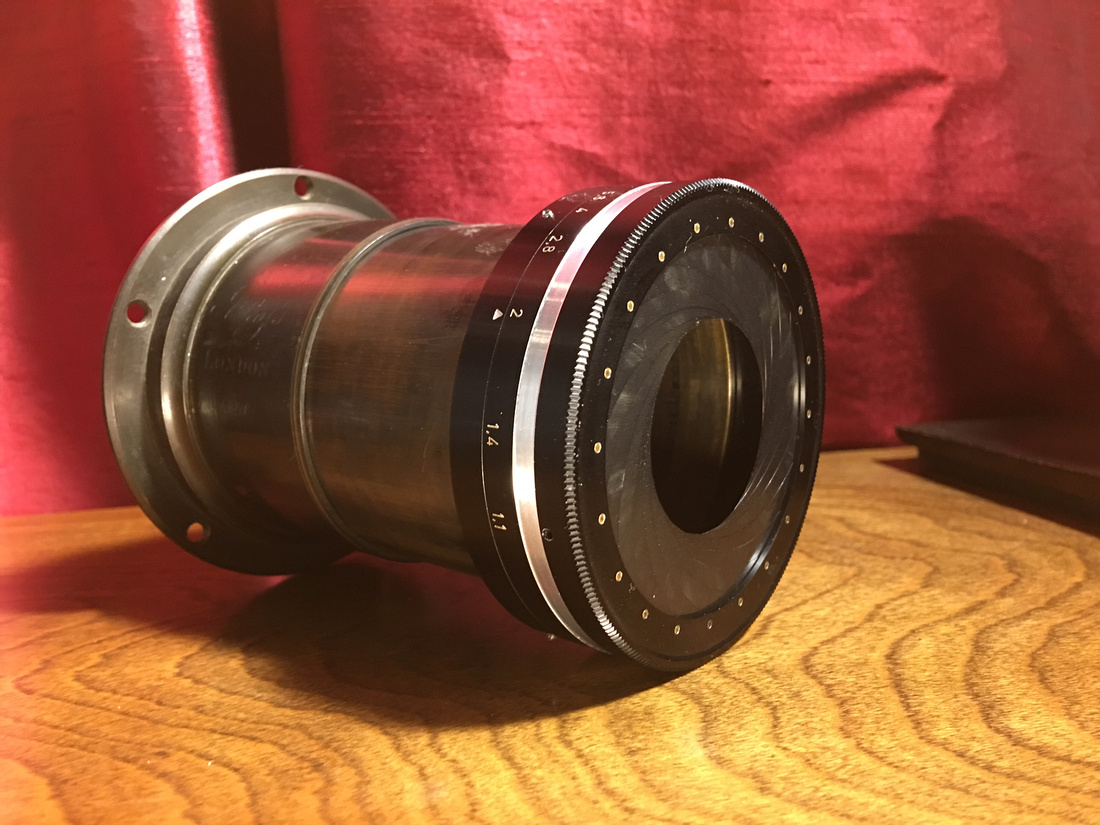
Best of both worlds, make a lens from the early days of photography usable again without affecting the as-found condition.
This lens is ready to be mounted on a SInar lens board for use on my SInar P2 8x10 camera.
WIth the iris the aperture runs from f:4.8 fully open to f:26 at the smallest opening, roughly 5 stops. Coverage may be slightly impaired compared to the original design since the aperture sits about 1.5" farther out of the achromat but testing will need to evaluate this
To be continued !
Dating a lens with a low serial number is always iffy but i believe it is safe to say that this lens originates somewhere between 1846-1848. It is commonly assumed that serial #3,000 for Ross was reached around 1850. I'm not an A. Ross history expert and any further insight from scholars would be appreciated.
Cheers !
]]>
Such was the case when I came across this eBay listing for a Cooke lens. It was clearly a half plate Rapid View or RV lens that had seen better days.
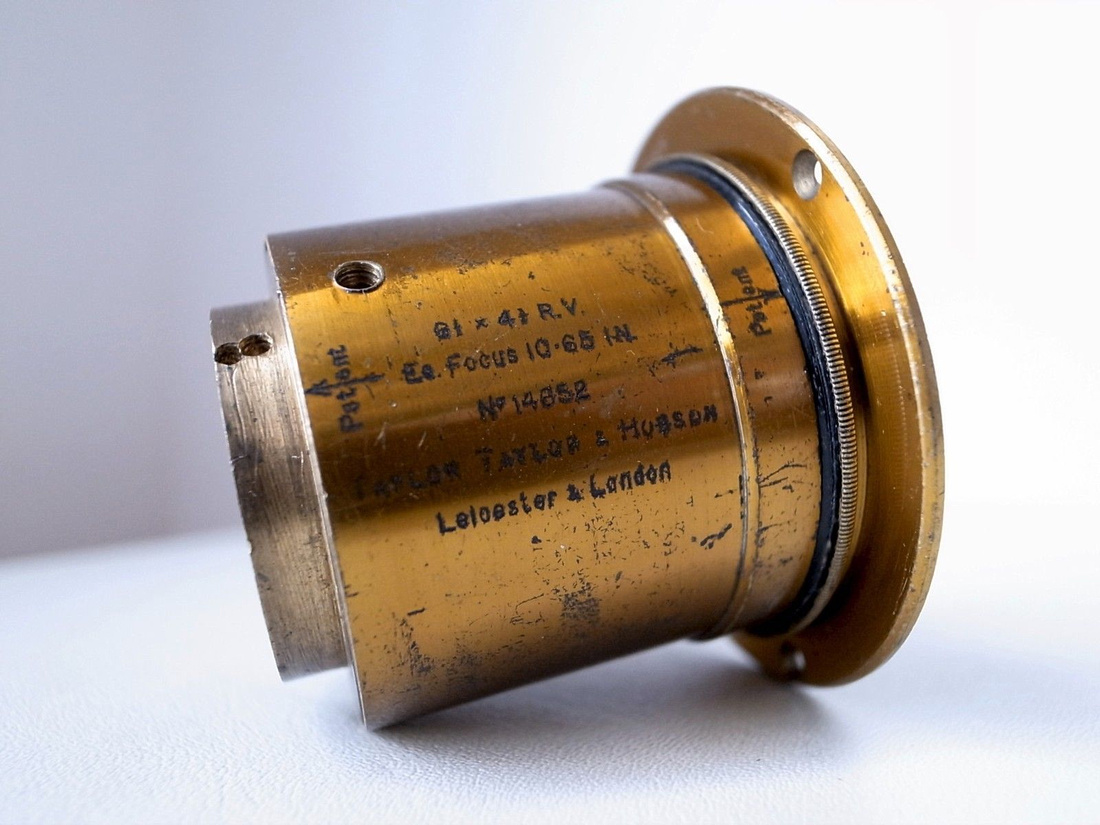
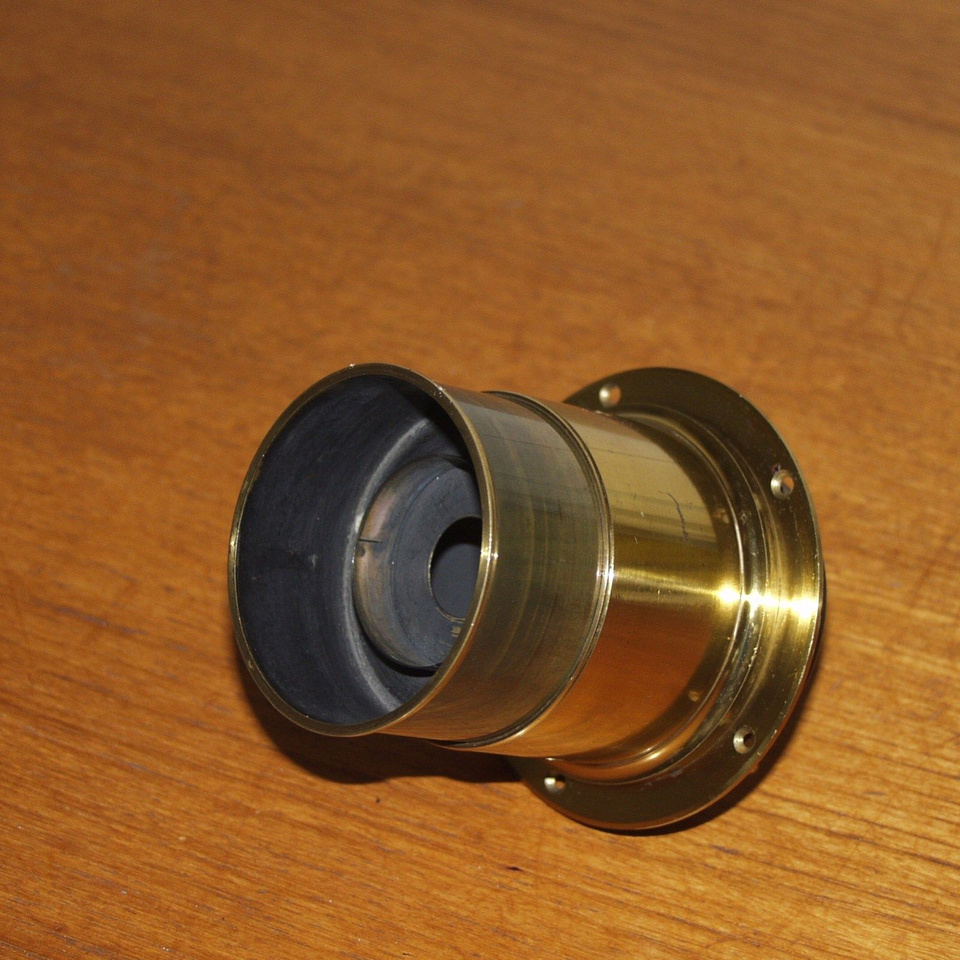
Normally this lens has an iris upfront and it is clear from this image this lens had lost the iris or was "uncorked" during the pictorial days to provide a soft focus look to images.
Equally clear is that this lens had some sort of aperture built in and had seen a few attempts for repair. There was a brass cylinder with a hole in the barrel with three screw holes to hold one and other in place. The diameter in the brass insert was geared towards an F11 aperture.
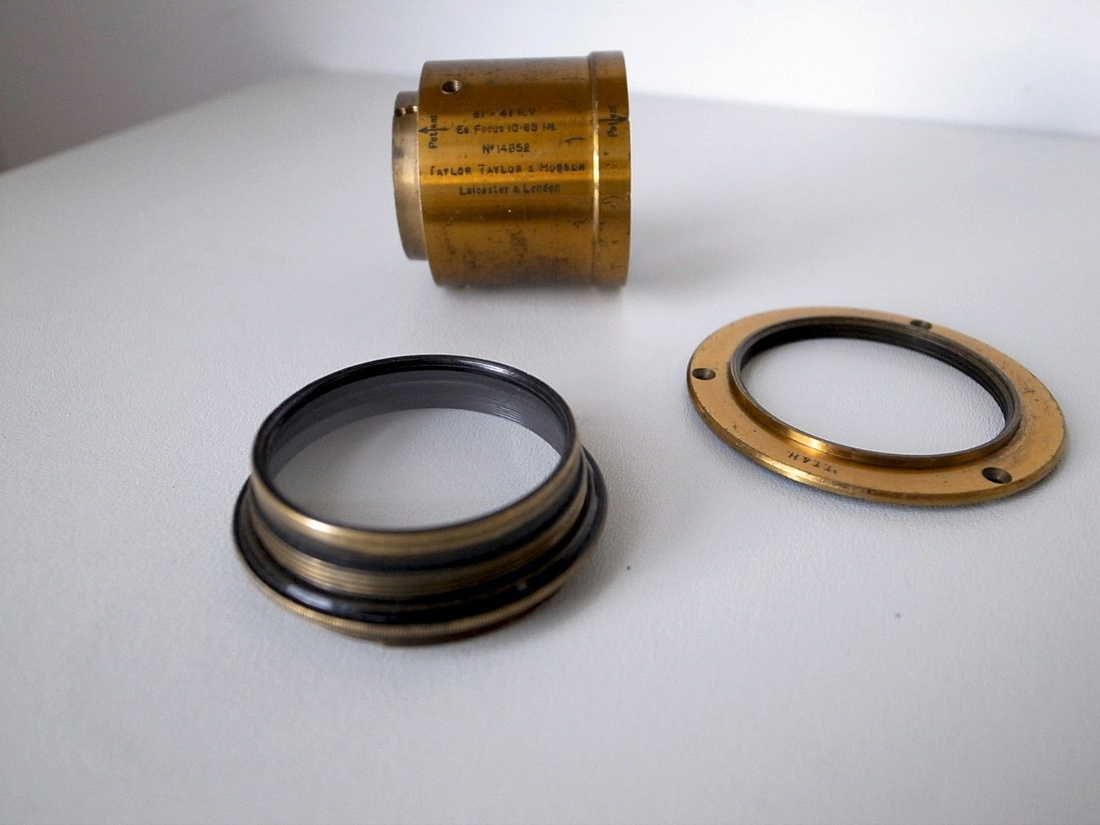
The image above shows all the elements. The barrel with brass insert, the original TT&H lens flange and the lens cell with single achromat meniscus.
Searching in literature for supporting documentation I came across following catalog page describing the Rapid View and the later Rapid View Portrait.
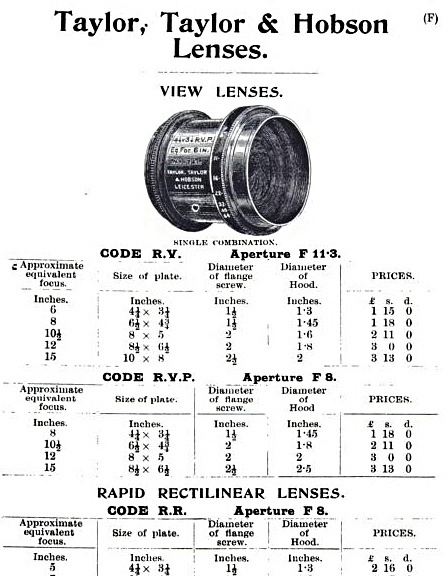
The Rapid View was the first "landscape" rendition while the Rapid View Portrait or RVP was in principle the same lens with a larger aperture for portrait taking. The RVP would later become the Cooke Achromatic Portrait lens in 1911 with an aperture of F7.5.
So what to do with the butchered orphan ?
I was definitely not going to restrict this lens to F11.3 as the original and I was equally not going to attempt a historic reconstruction. It is my firm belief that restorations have to be identifiable so there's no confusion for the next owner.
After measuring the barrel diameter and looking at the options to fill the screw holes, I came up with the following solution.
The ID of the barrel is 42 mm so I installed a 42-52mm filter adapter and secured this with three black screws/nuts. This serves two purposes. Fill up the holes and secure the adapter ring.
The next step involved installing a modern adjustable iris in the 52mm thread. The chosen iris has also an ID thread of 52mm for optional filters for shooting B&W. Elegant solution. Calculated aperture is F7 and that puts this restoration in the same realm as the RVP or the later Cooke Achromatic Portrait lens.
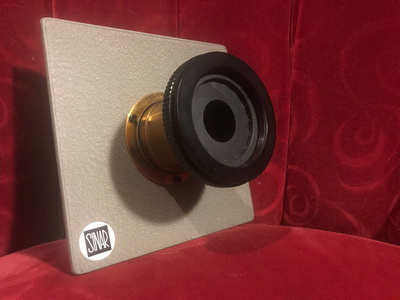
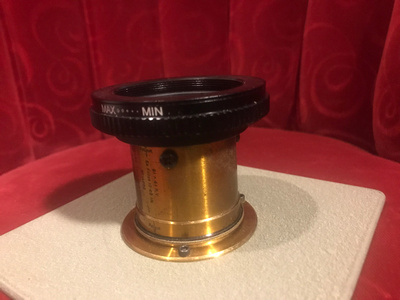
The majority of my lenses are installed on Sinar lens boards, this one is no exception. Next step, shooting some 4x5 B&W and my Sinar P !
Cheers,
]]>
Unbeknown to many, projection lenses for 35mm or 70mm projectors offer great alternatives to the typical "portrait" lenses. Most of these lenses cover 35mm full frame or MF digital backs with ease at portrait distances. At times these lenses will cover Polaroid pack film or even 4x5 with some vignetting.
When I got my hands on a Bausch & Lomb Super Cinephor, 6" F1.8 my heart started racing ... 152mm at f1.8 on medium frame 645 is nothing to sneeze at.
These lenses of course don't fit any full frame or medium frame camera, so a minimum amount of modification is required. Luckily, most components are readily available on-line from a number of individuals that machine the necessary parts.
So after filling the right lens adaptor for my M65 helicoid mounted on a M645 lens mount, I was in business.
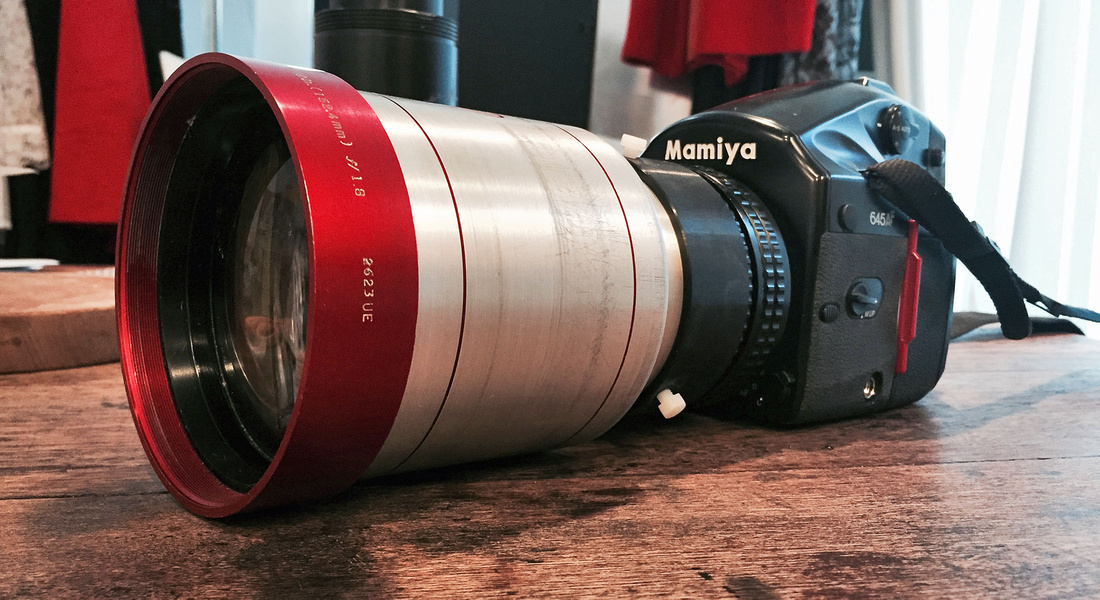 As one can see, this lens is massive. No, there's no iris, one always shoots wide open. An iris could of course be made to fit inside between the elements but that's a major undertaking that I might attempt when I run across a suitable iris and can get some shop time on a CNC and lathe.
I mount and test lenses on my Mamiya 645AF but I typically shoot on a Phase One 645D in studio or Mamiya 645 AFD II on the road with a Leaf 10 digital MF back. I do keep the 645AF for occasional film shooting ...
Below are 4 images shot with the Super CinePhor 6", F1.8 and the Phase One 645D camera. All images print 32" wide, cropped vertically to suit the esthetic.
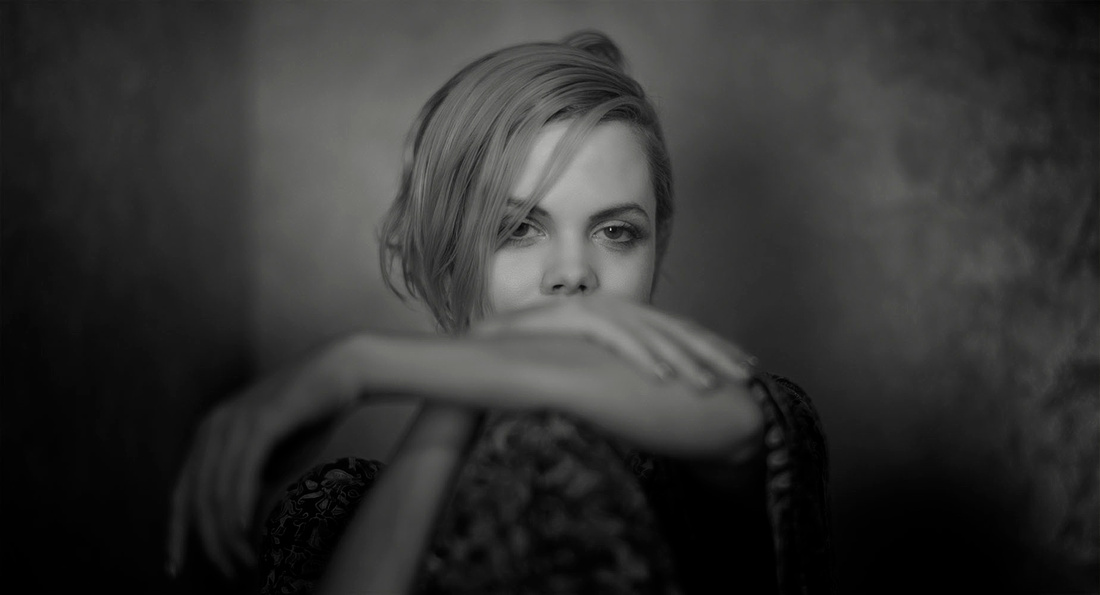 I elected to represent the images in black and white as these projector lenses are coated with a color correction for 35/70mm film. Great for cine effects but not necessarily everyone's cup of tea for accurate skin tones.
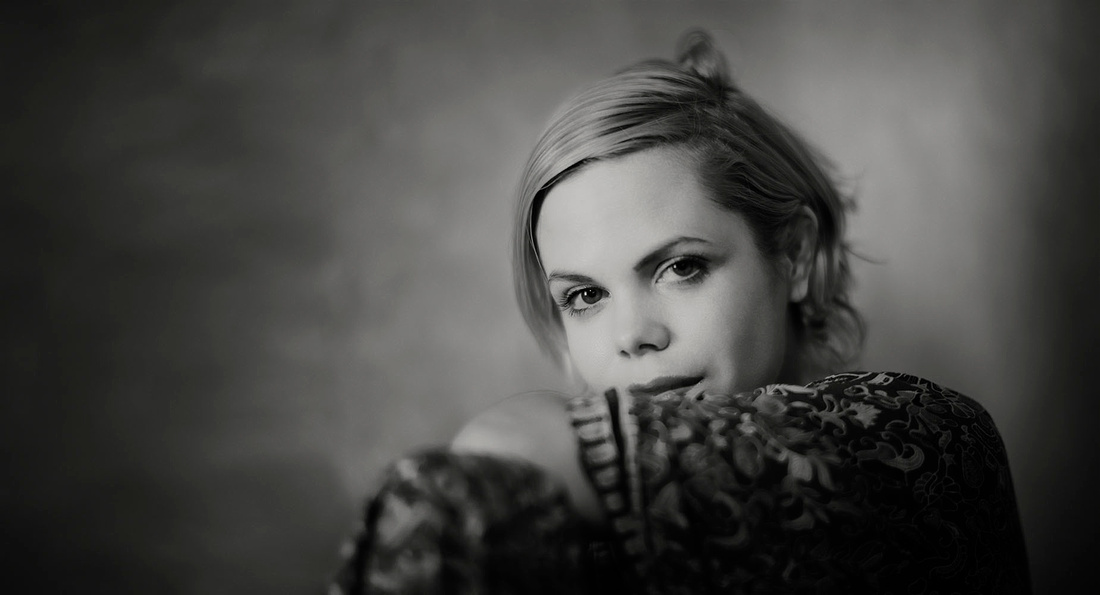 Focussing is a bit challenging because of the shallow depth-of-field, but as one can tell in the above image, it is possible to have "sharp" contrasted by an amazing bokeh. The image above was lit with a 12" Fresnel with a LED spot in it.
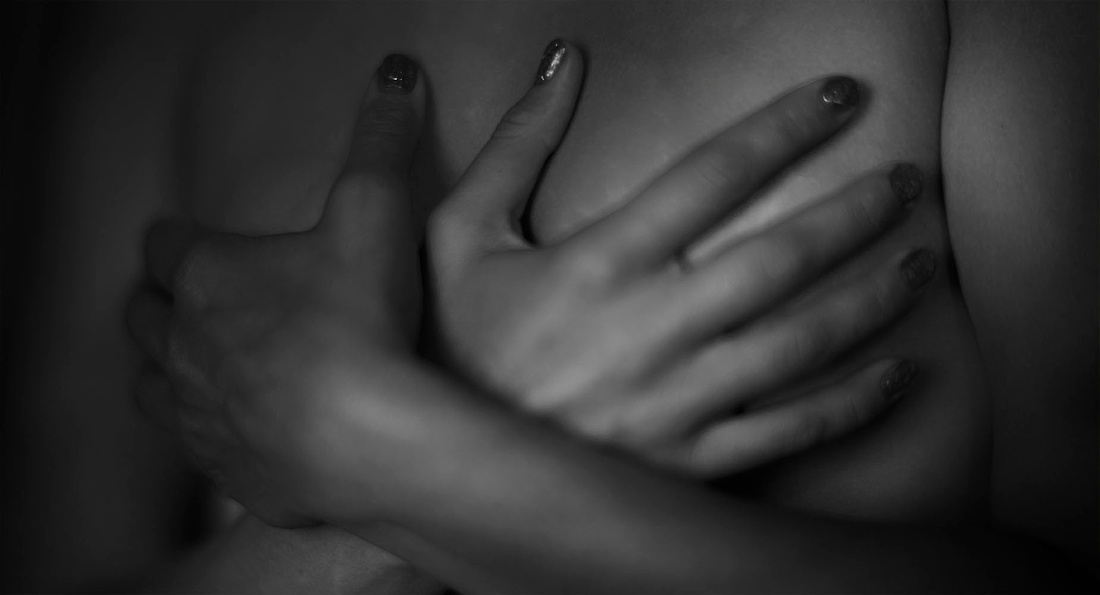
The helicoid extension of this combination is excellent to yield almost macro images. Again, focus requires some getting used to and keeping the camera still is no sinecure ... this is one heavy lens and I fully intend to add a Arca style plate to the lens so I can mount the lens/camera combo to a tripod for more controlled work.
Regardless of the challenge, the bokeh is exquisite and the shallow DOF allows for creative composition.
Cheers,
Rudi Amedeus.
]]>
Since I've never heard of a "Deardorff lens", my interest was peaked and I decided to "acquire" ... $249, shipping included, was a risk buy I could take. Not that I needed another Petzval lens in this size and focal length ...
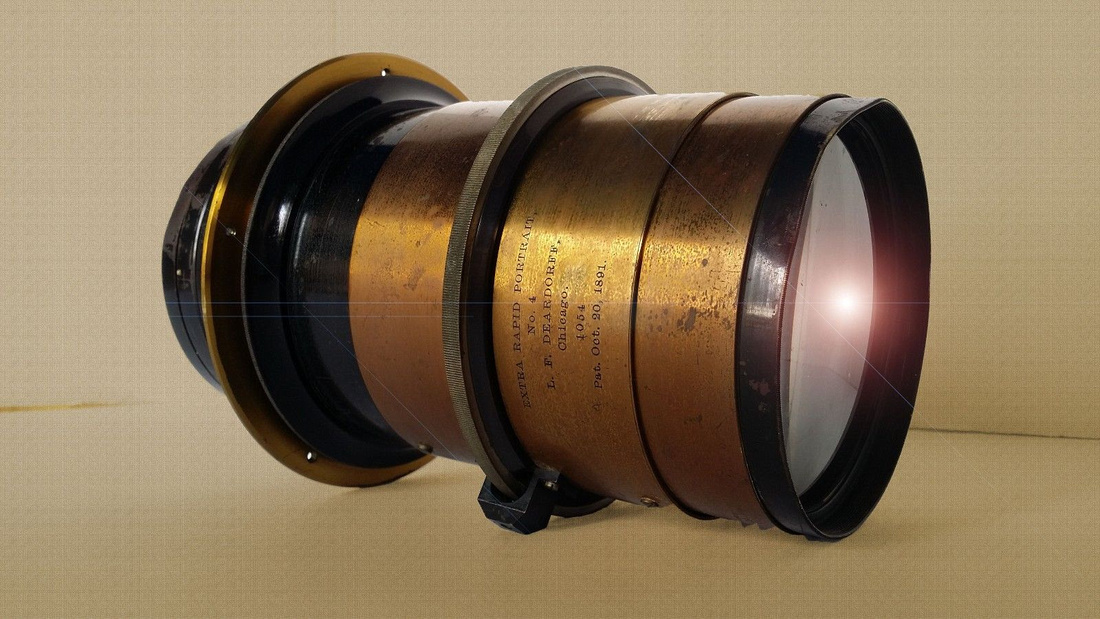
I've seen by now my fair share of brass lenses. The "Extra Rapid Portrait #4" in my mind undoubtedly referred to a Petzval design, most likely an 8x10 lens, possibly covering 11x14 at portrait distance.
On first sight, the lens looked like it was built by Bausch & Lomb. B&L built Petzval lenses for quite a few other "brands" who simply relabeled. Quite common in the industry, even in the beginning of the 20th century.
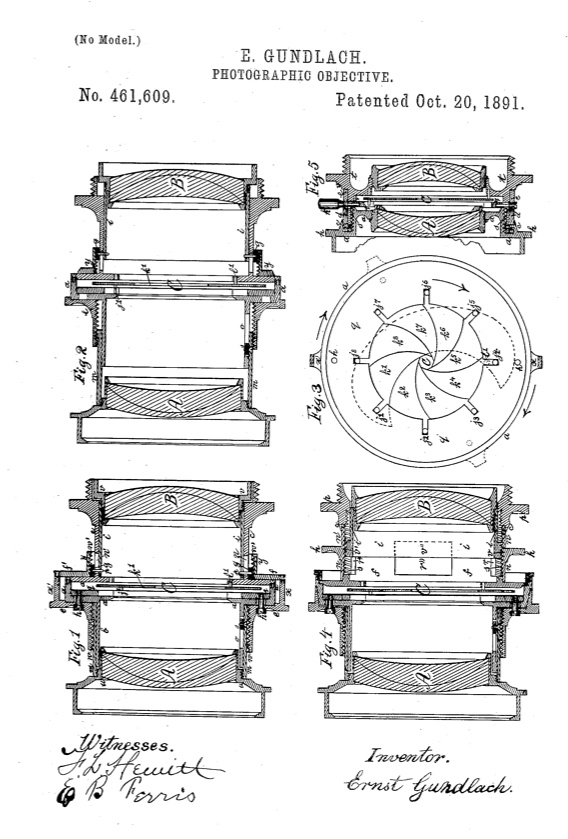
What peaked my interest though in this particular sample, was the mention of a 1891 patent and the suggestion there was an extra split in the lens tubes before and after the iris.
Googling the patent date brought up a patent from Gundlach covering intellectual property regarding increasing and decreasing the distance between front and rear lens group in function of angle coverage and/or iris opening. The focus curvature, as well as spherical (and other) aberration, is/are "improved" by doing so.
Further online research also resulted in a page out of a 1903 photography catalog sporting Deardorf portrait lenses. Clearly B&L manufactured but no immediate sign, or description, of the ability to change the distance between front and rear lens group.
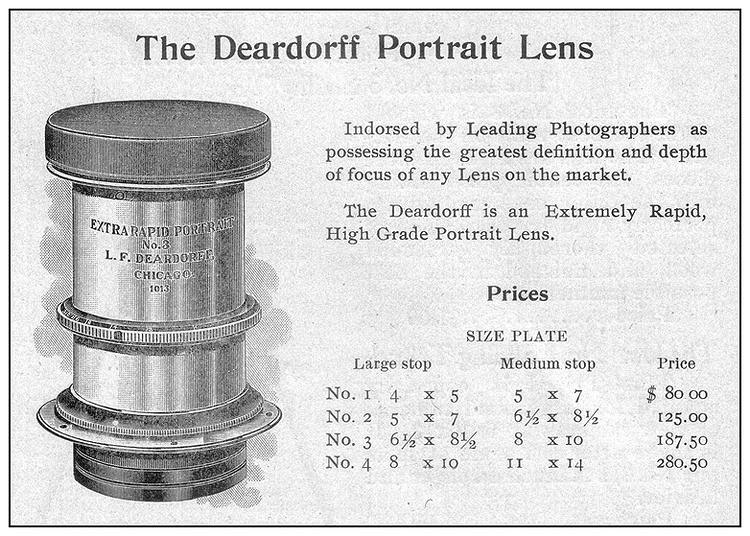
So the research continued. Odd to see that I paid less than the 1903 quoted catalog price. Finally a steal !!!
Then the following popped up from "The history of L. F. DEARDORFF & SONS, INC, as told by Mr. Merle S. Deardorff" ... I'm only reproducing the relevant text about the Deardorff Petzval and the associated Gundlach Patent
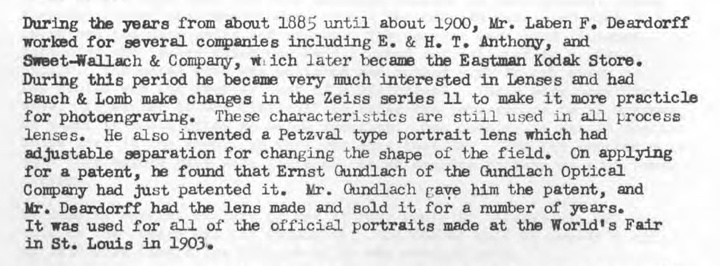
Mystery solved before the lens even arrived on my doorstep.
Now that I've held the above lens, I can confirm there are two shrouds holding the lens groups, driven by a synchronized helicoid, effectively enabling the lens to shrink/extend a total of 2.5".
I'll need some elbow grease to unlock the helicoids and clean possibly over 100 year old dirt from the lenses. Goal is to have this lens mounted on a lensboard for my 8x10 Deardorff Commercial Studio camera. One more project until I can take images with this beautiful find !
I came across some more tidbits and images after my July 20th post on the subject. Not enough for a follow up post, so I'm adding it here since a few sites linked to this post already.
I found few more images on-line regarding this 1891 Gundlach patent Deardorff Petzval lenses.
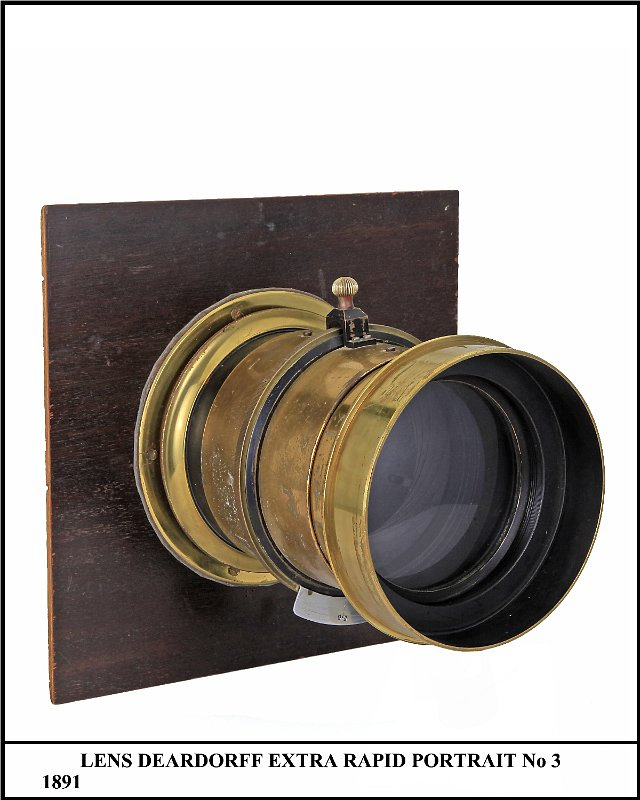
The image above illustrates as the caption indicates, a No 3 lens. Note the nice handle to turn the helicoid ... then handle is missing on mine. Equally note the aperture scale at the bottom of the ring. [(c) R. Turner]
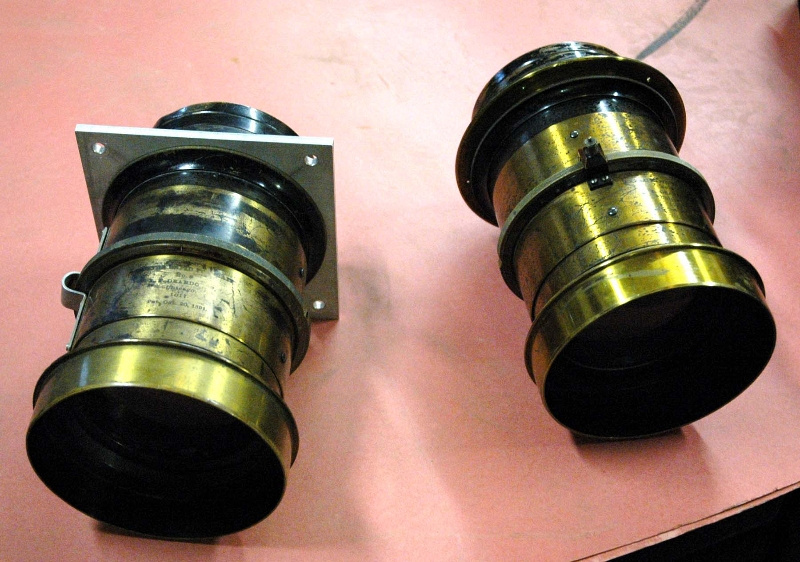
Next image of two lenses was duplicated from Ken Hough's Deardorff website [(c) L.F Deardorff & Sons] to ensure a permalink here. Equally shows a #3 ... note the differences around the handle to turn the helicoid. I also want to draw attention on the construction of the rear cell. Each lens is mounted in its own ring and the set is screwed together. This allows to change the distance between both rear elements. I've not found markings on my copy but these marks may have well been there in light of another discovery ... keep reading ...
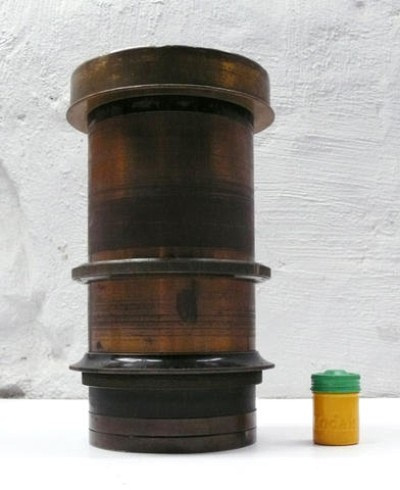
I believe next image to be equally important in this whole discussion. It shows an 18" Deardorff Petzval without the helicoid feature to change the distance between front and rear group.
This confirms there are two types of Bausch & Lomb "Deardorff" labeled Petzvals out there ... with and without the 1891 Gundlach Patent feature. So the patent feature may be quite rare as stated by eBay seller "attrevida" in the 2014 sale on Ebay of a No2 Extra Rapid Portrait Deardorff.
The Ebay posting regarding the above "Deardorff Extra Rapid Portrait #4" doesn't state the 1891 patent date and the knowledgeable seller would have included that tidbit. What the text does mention though is equally important in any discussion on rebranding, Bausch & Lomb and diffusion devices in Petzval lenses.
[START QUOTE}
"Super Rare & Massive Deardorff Petzval Portrait Soft Focus Early 20th Century Dry & Wet Plate Collodion Era Antique Brass Lens with Original Lens Shade but No Mounting Flange. Ca. 1910’s. 18” Focal Length for 11x14 & 8x10, Maximum aperture of f4. This is a very interesting lens because Deardorff didn’t make lenses and it was probably made to be sold with Deardorff cameras of the period. The lens is marked Extra Rapid Portrait No. 4, L.F. Deardorff Chicago 1010. This lens has a classic Petzval design with a an Achromat cemented pair in the front group and an air spaced pair in the the rear group but this lens also has a special feature in the rear group that allows for the incremental separation of the two rear elements to create a soft focus diffusion across the entire plane. This feature was first introduced in the Dallmeyer Patent Portrait Petzval lens of 1866. Dallmeyer reversed the configuration and added the separation device. This Deardorff lens works the same way. There are four settings from sharp to the most amount of diffusion but I have unscrewd the outermost element well past to number four setting for extreme diffusion which comes in hany for really moody and atmospic effects. Other lenses that share this type of diffusion divice are the Wollensak Veslostigmat Series II and Vitax Petaval Portrait, The legendary Cooke Anastigmat Soft focus, and the Graf Variable. This lens was probably made by Bausch & Lomb, one of the highest quality American makers of the period that had several licencses from Zeiss Jena to produce the Protar, Unar and other popular Anastigmats, B&L also manufactured many popular soft focus lenses including the Sigmar and Portrait Plastigmat. This is the only lens I’ve seen in many years of collecting that bears the Deardorff name. A true collectible that is a highly functional and interesting photographic and artistic instrument.
18 inch (457 mm) Focal Length. F4 max apertured. To Cover 11x14 and 8x10 formats. This lens was designed fot portraits on 11x14 and will offer beautiful shallow depth of field and fall off from fast max aperture of f4 and further fall off from the curved field. On 8x10 it will offe even more pleasing perspective due to the long focal length on the smaller format. These Petzvals are known for creating a Swirly Bokeh and beautiful fall off due to its curved field.
A great feature of this lens is that it has its own aperture iris that is fully functional. Most Petzval Portrait lenses had Waterhouse stops to stop down the lens. The stops were often lost over time. Or, if early for Daguerreotype photography the lenses were never cut for stops and shot wide open. The aperture scale on the Deardorff lens is marked in the US System." [END QUOTE]
Bold emphasis is mine ... Cheers,
Rudi A.
]]>
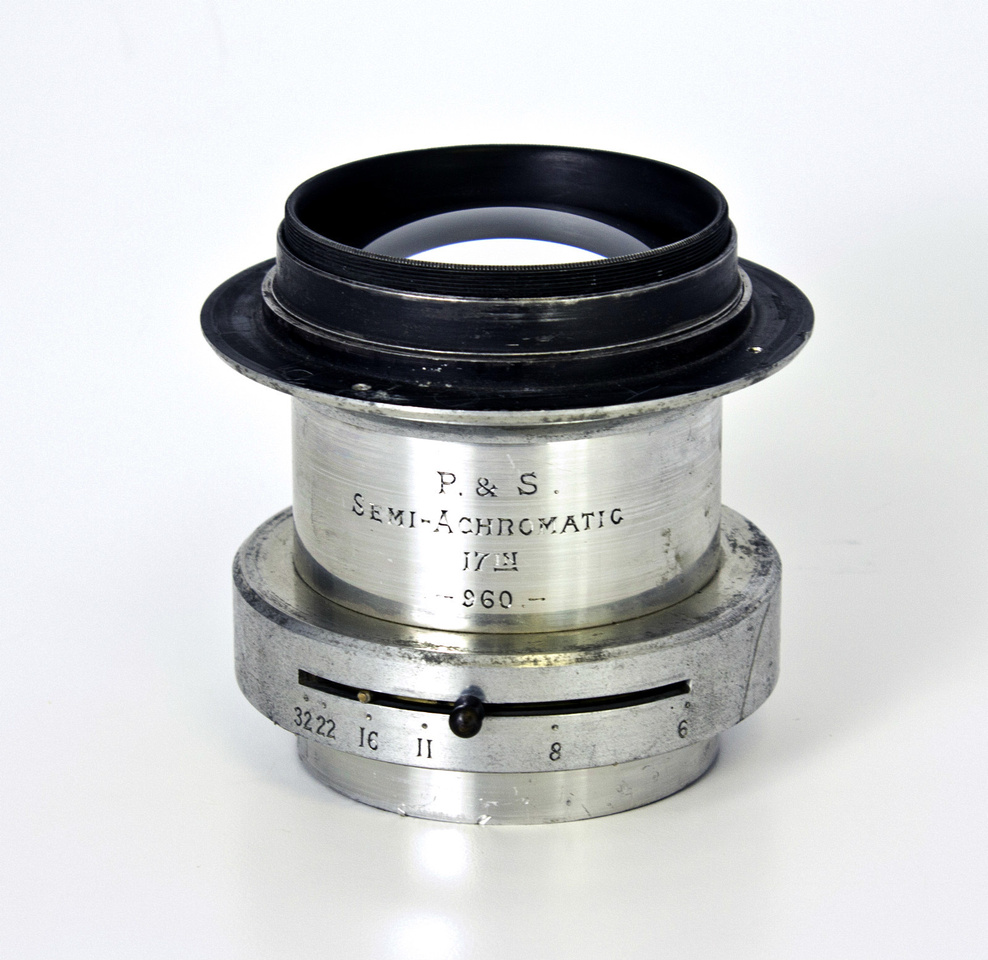 [Above image was lifted from antiquecameras.net ... the most extensive source for anything soft focus lens history]
Not an easy task and a lot remains crystal ball gazing. As times goes on though I hope to collect more and more data to become statistically significant. As for dates, there are none on the lenses but we can know from advertisements in the photographic literature at which time a model appeared for sale.
There is still a lot more to be done but without further fanfare, see below the information I have so far after about two years of watching auctions or gathering serial numbers from fellow photographers soft focus lens enthusiasts.
I'm equally keeping track of those lenses without serial numbers.
Give me a shout if you have any information to add, much appreciated. I've equally started a list on Karl Struss lenses.
The intent is to update this list on my blog when there's significant data added but I hope to get to it at least once/year.
Pinkham & Smith Soft Focus lens serial numbers.
| Serial # | Description | Material |
| None | Semi-Achromatic | Aluminum |
| None | Semi-Achromatic 11" | Aluminum |
| None | Semi-Achromatic 15" | Black Painted Aluminum |
| None | Semi-Achromatic | Brass, Waterhouse Slots |
| None | Semi-Achromatic 21" | Aluminum, Small Iris |
| None | Semi-Achromatic | Aluminum, Slot Iris, f6-45 |
| None | Semi-Achromatic 15" | Aluminum, painted black |
| None | Semi-Achromatic 18" | Brass, waterhouse slots |
| 960 | Semi-Achromatic 17" | Aluminum |
| 977 | Semi-Achromatic 13" | Aluminum |
| 979 | Semi-Achromatic 8" with rotating occulting disk | |
| 1021 | SA Doublet Series III, 14" | Aluminum |
| 1024 | SA Doublet Series II 12" | Aluminum |
| 1050 | SA Doublet Seires II 12", f4.5 | Aluminum |
| 1091 | SA Doublet 8x10 Series III No 3 | Aluminum |
| 1282 | Semi-Achromatic 18" | Aluminum |
| 1269 | SA Doublet Special f4.5-22 | Aluminum |
| 1320 | Doublet 1 Series I | Aluminum |
| 1323 | Semi-Achromatic 4 Series I | Aluminum |
| 1327 | Semi-Achromat 3 Series I | Aluminum |
| 1382 | SA Doublet 15" Series III, 4 | Black painted aluminum |
| 1439 | Visual Quality 1 Series IV | Aluminum |
| 1445 | Semi-Achromatic 14" Series I | Aluminum |
| 1461 | Visual Quality 1 Series IV | Aluminum |
| 1462 | Semi-Achromat 3 Series I | Aluminum |
| 1476 | Semi-Achromat 3 Series I | Aluminum |
| 2115 | Visual Quality 4 Series IV | Painted Brass |
| 2120 | Visual Quality 3 Series IV | Painted Brass |
| 2230 | P&S Synthetic 2 Series V | Painted Brass |
| 223x | P&S Synthetic 3 Series V | Painted Brass |
| 2256 | Visual Quality 2 Series IV | Painted Brass |
| 2291 | P&S Synthetic 4 Series V | Painted Brass |
| 2348 | P&S Visual Quality 4 Series IV | Painted Brass |
| 2356 | Visual Quality 4 Series IV | Painted Brass |
| 2362 | P&S Synthetic 2 Series VI | Painted Brass |
| 2394 | P&S Synthetic 1 Series VI | Painted Brass |
| 2398 | P&S Visual Quality 4 Series IV | Painted Brass |
| 2408 | P&S Synthetic 2 Series VI | Painted Brass |
| 2416 | Visual Quality 3 Series IV | Painted Brass & Clear Brass |
| 2424 | P&S Synthetic 2 Series VI | |
| 2513 | Visual Quality 2b Series IV | Painted Brass |
| 2516 | Visual Quality 2b Series IV | Painted Brass |
| 2518 | Visual Quality 2b Series IV | Painted Brass |
| 2553 | Visual Quality 2b Series IV | Painted Brass |
| 2604 | Visual Quality 3 Series IV | Painted Brass |
| 2623 | Visual Quality 3 Series IV | Painted Brass |
| 2629 | Visual Quality 3 Series IV | Painted Brass |
| 2653 | P&S Synthetic 2 Series VI | Painted Brass |
| 2664 | Visual Quality 2 Series IV | Painted Brass |
| 2698 | Visual Quaity 4 Series IV | Painted Brass |
| 2710 | P&S Synthetic 2 Series VI | Painted Brass |
| 2728 | Visual Quality 3 Series IV | Painted Brass |
| 2777 | P&S Synthetic 2 Series VI | Painted Brass |
| 2778 | Visual Quality 2 Series IV | Painted Brass |
| 2786 | Visual Quality 2 Series IV | Brass |
| 2816 | Synthetic 2 Series IV *VI( | Painted Brass |
| 2818 | Visual Quality 3 Series IV | Painted Brass |
| 2834 | Visual Quality 2 Series IV | Painted Brass |
| 2846 | Visual Quality 2 Series IV | Painted Brass |
| 2854 | Visual Quality 2 Series IV | Painted Brass |
| 2860 | Visual Quality 2 Series IV | Painted Brass |
| 2870 | Visual Quality 2 Series IV | Burke & James rework 1963 |
| 2886 | Visual Quality 2 Series IV | Painted Brass |
| 2888 | Visual Quality 2 Series IV | Painted Brass |
| 2895 | Visual Quality 2 Series IV | Painted Brass |
For those who are not familiar with Soft Focus lenses and the history behind it, please visit Dan's website for much more information at
http://antiquecameras.net/softfocuslenses.html
Cheers,
Come back soon for an update on my camera construction projects
Rudi Amedeus.
]]>The initial thought was to build a straight-up 20x24 field camera and work with adaptor backs for the smaller formats. At the time I came across bellows from a 20" x 24" repro-camera and that was as I would call it, "the lucky coincidence".
About a week later I was on my way to Sedona to pick up a trailer that was used to shoot wet plate images. Serendipity. I always wanted to learn the process and make it my own. Timing was maybe a bit of as I still have to go through a lot of expired Polaroid. Buy hey, I have the camera, I should use it.
Funds are not unlimited and the trailer project was shelved for about 9 months. I needed to find or build a 1200 to 1800 mm lens anyway for proper coverage of the plate and I know that was going to take a while. These lenses are not common.
I found a Goerz RDA 47.5", f15 2 pretty quickly on the Large Format Photography Forum and decided to dedicate this one for my 20"x24" field camera.
It took me 9 months to find and afford the 70", f16 Goerz Artar APO lens, suitable for the plate coverage I was looking for.
The next thing I need is more money to make the trailer road worthy and put a fully equipped dark room in there. And of course an event deadline to drive the full timeline and effort. This is how I roll.
I know have decided on the opportunity.
At the 2014 Burning Man event, I developed a vision for a large field camera at Deep Playa to take sunrise and sunset images. And some other fun images in between as time, funds and experience permits.
With that idea in mind, I submitted a letter-of-intent to the Black Rock City Art department and the response was I should submit a full art grant proposal to see if my project would qualify for funding.
I've done so in the mean time and I'm awaiting word from the Art Grant department. I hope they can at least sponsor the consumables for this project. I won't be writing much about this at the current time, keeping a few exciting aspects of this project under wraps.
My timeline for construction starts February 15, 2015 and I plan on updating the progress on this blog.
Update for this week though is that I was able to secure the bellows for this project. One more hurdle out of the way. These bellows were recovered from a 30" x 40" Robertson Photo Mechanix camera. I know I could have bought new bellows from any of the existing outfits that still make them, but for me this project is also about repurposing and recycling older equipment and give them a new life.
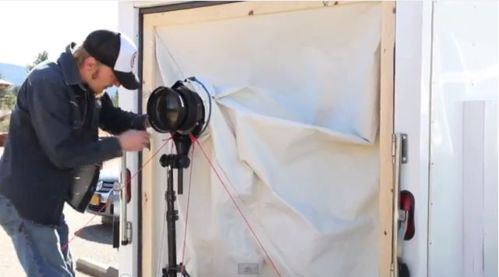
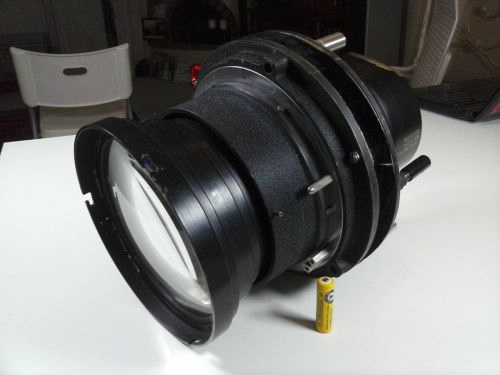
The images below are from Brock, the previous owner of the trailer adjusting the Bell and Howell 36", f8 aerial photography lens that came with the trailerfor baselining this project. I actually intend on using this lens also for 1:2 to 1:4 enlargements.
Cheers,
Rudi
]]>
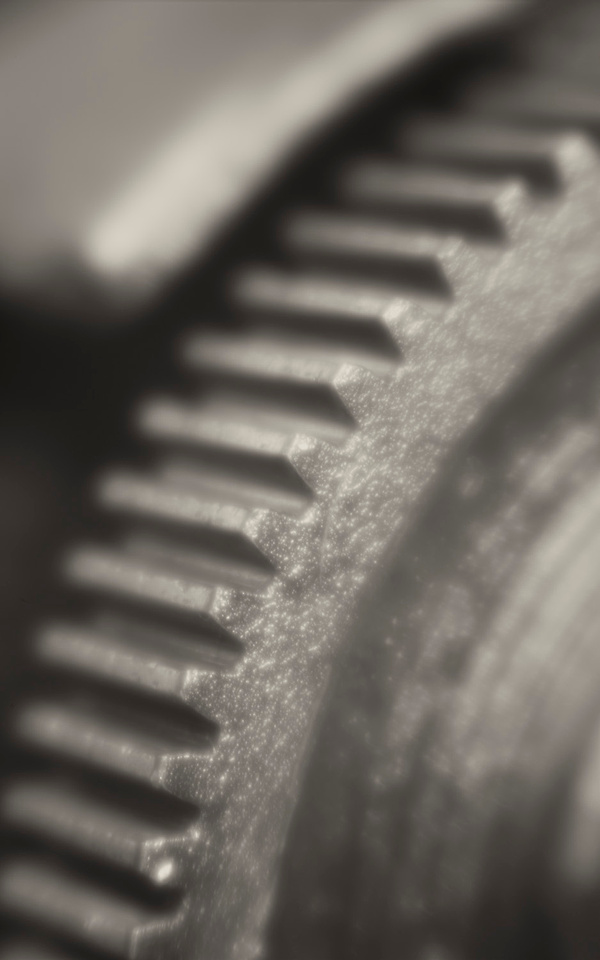
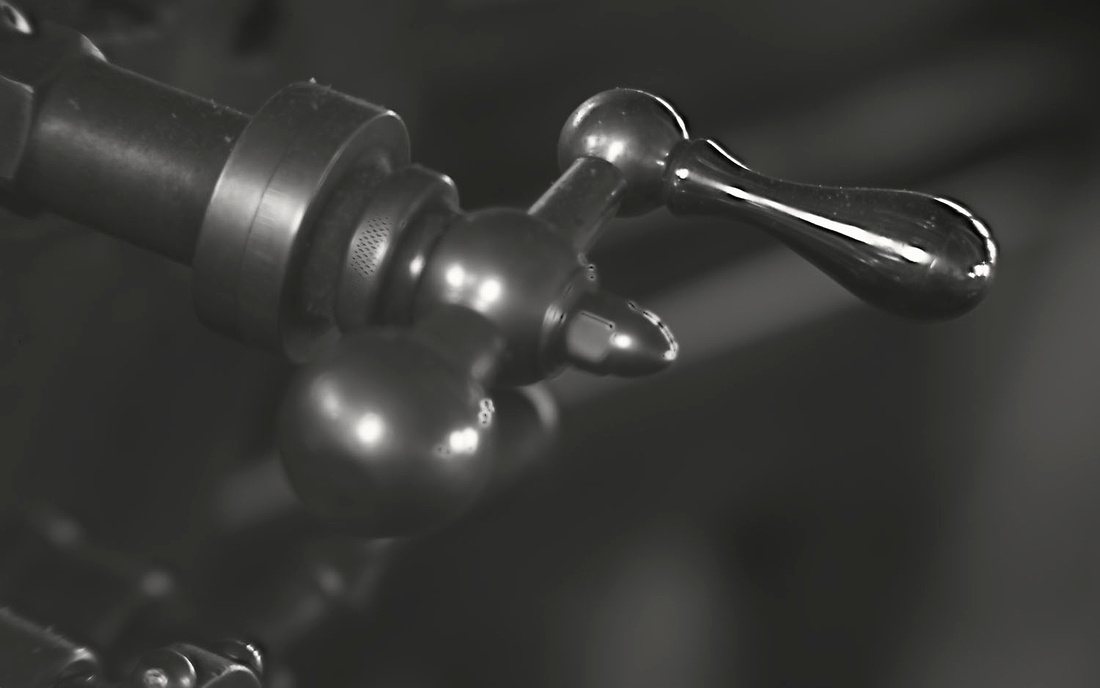
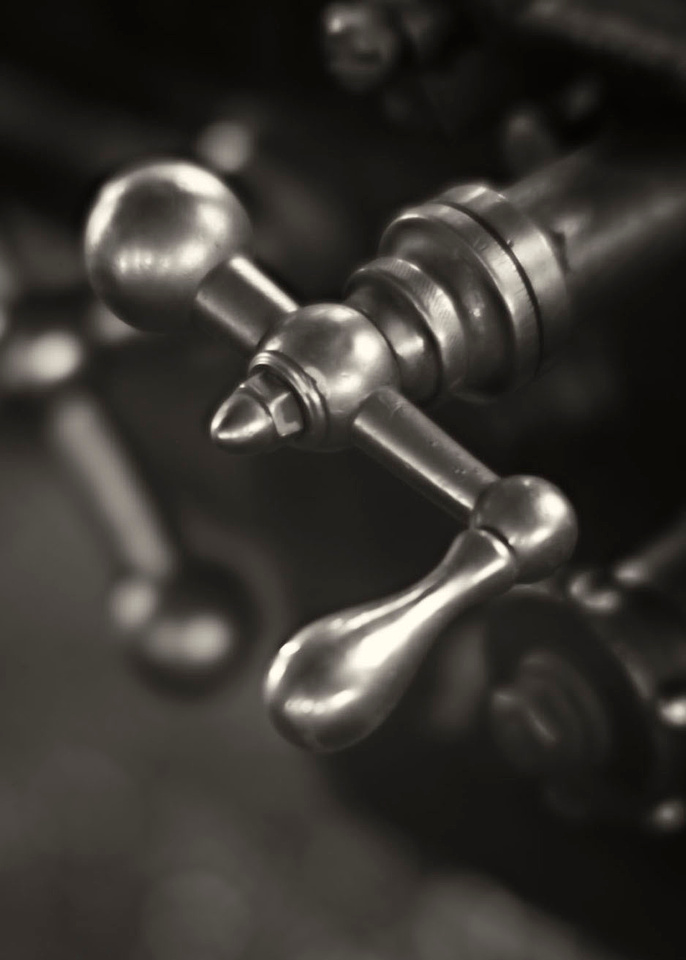
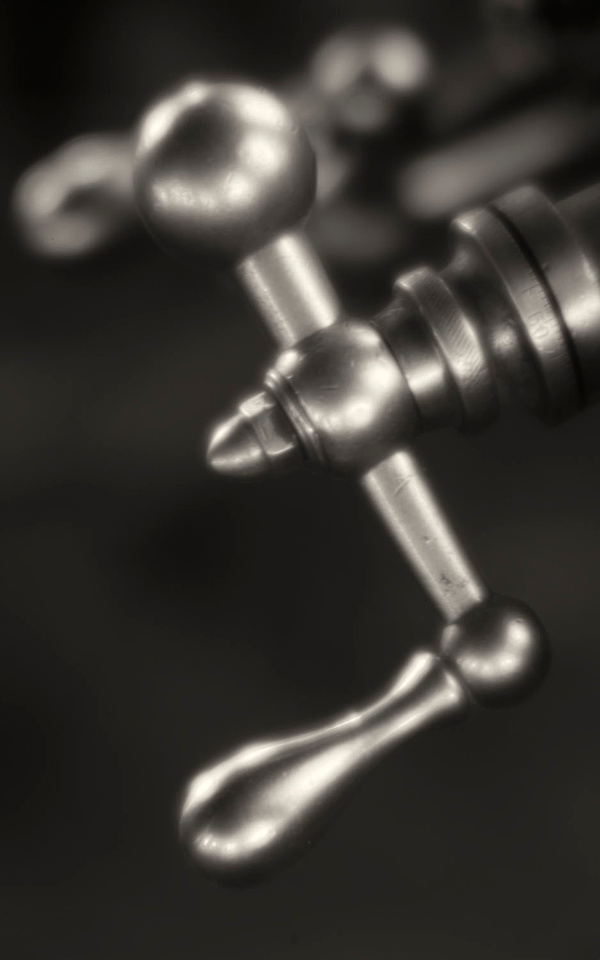
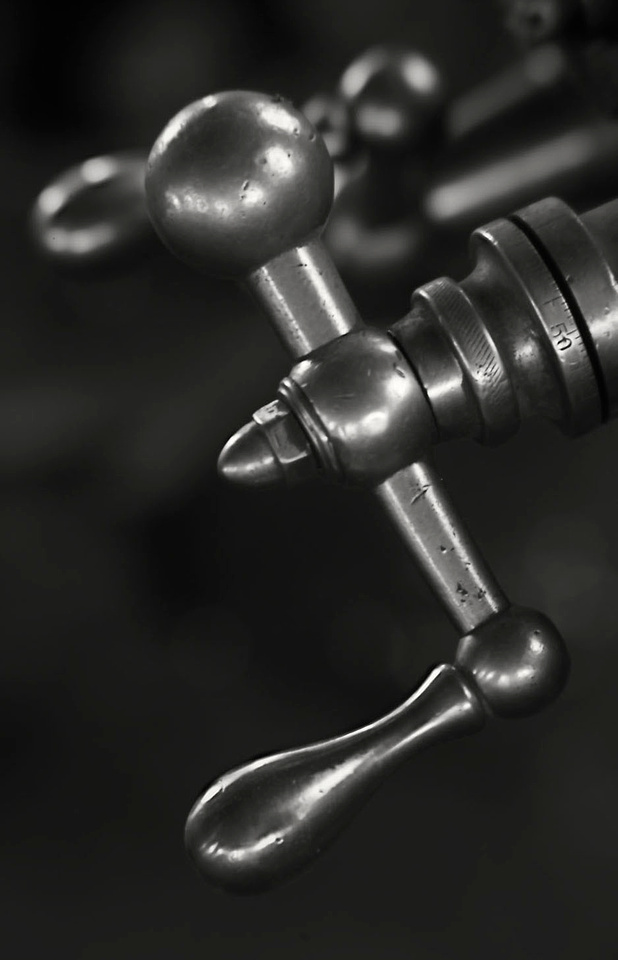
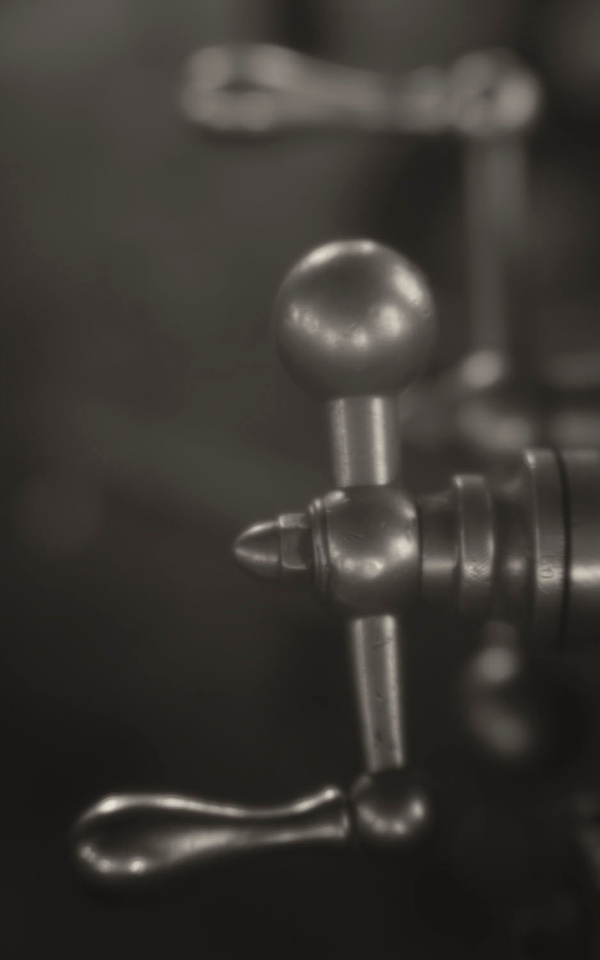
For now, enjoy the view of the oiled gears and hand wheel from an old lathe. The shiny surface makes for an interesting surface structure no matter where the aperture is set at.
Gears, hand wheel and handles below ... setting the scene
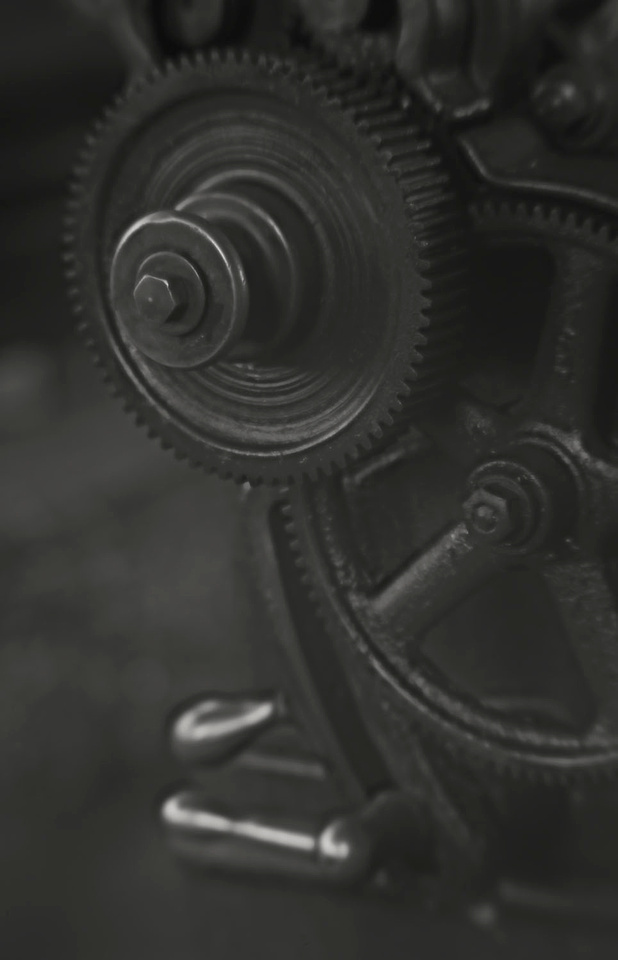
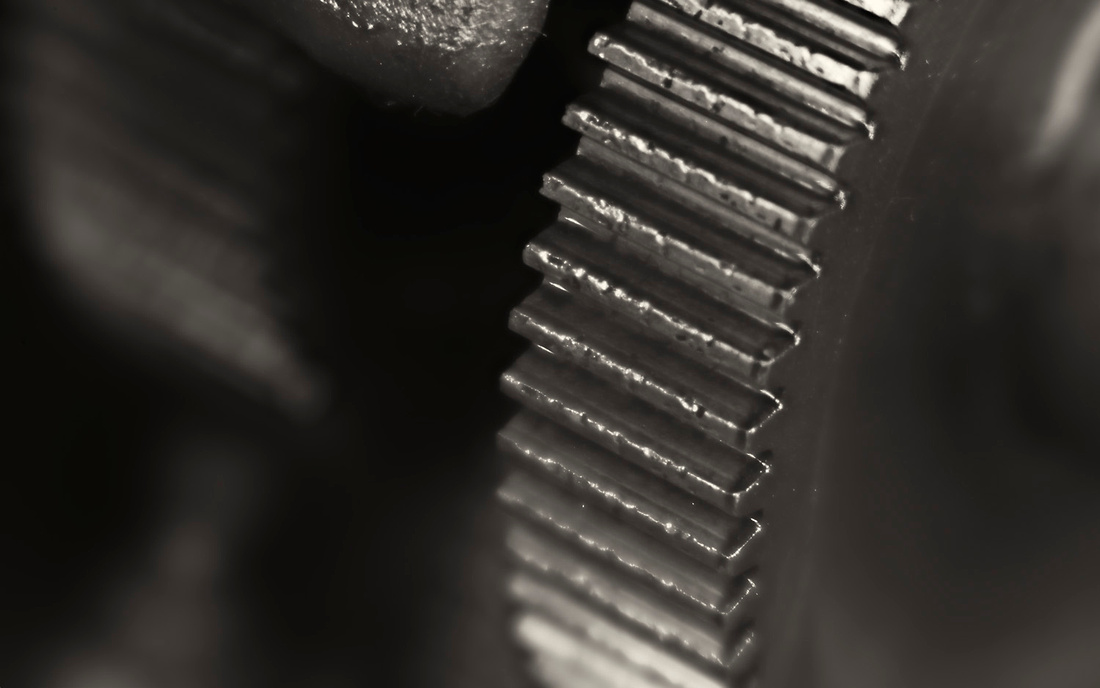
Gear detail below, light reflects on the oily surfaces
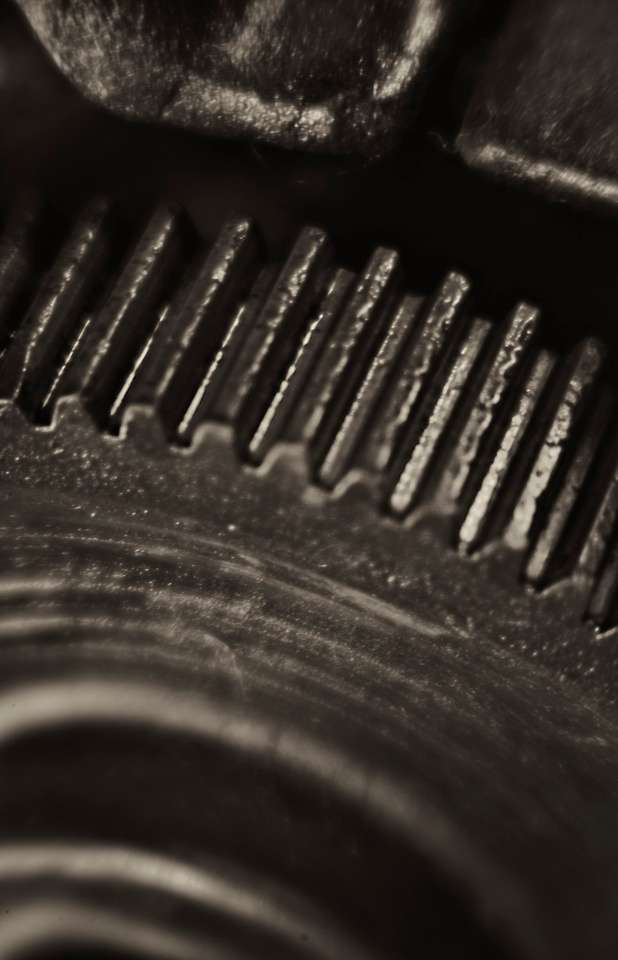
More gear detail below ... wide open aperture, orange filtered in post-processing in the B&W conversion
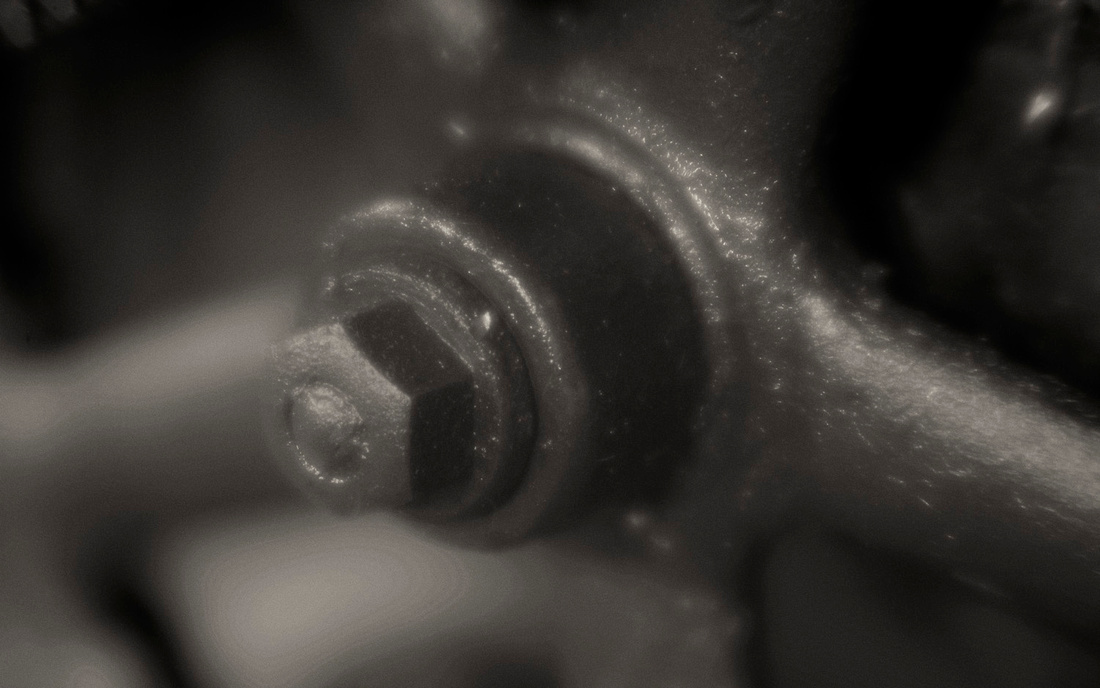
The spokes of the hand wheel ... wide open aperture, no filtering during the post-processing
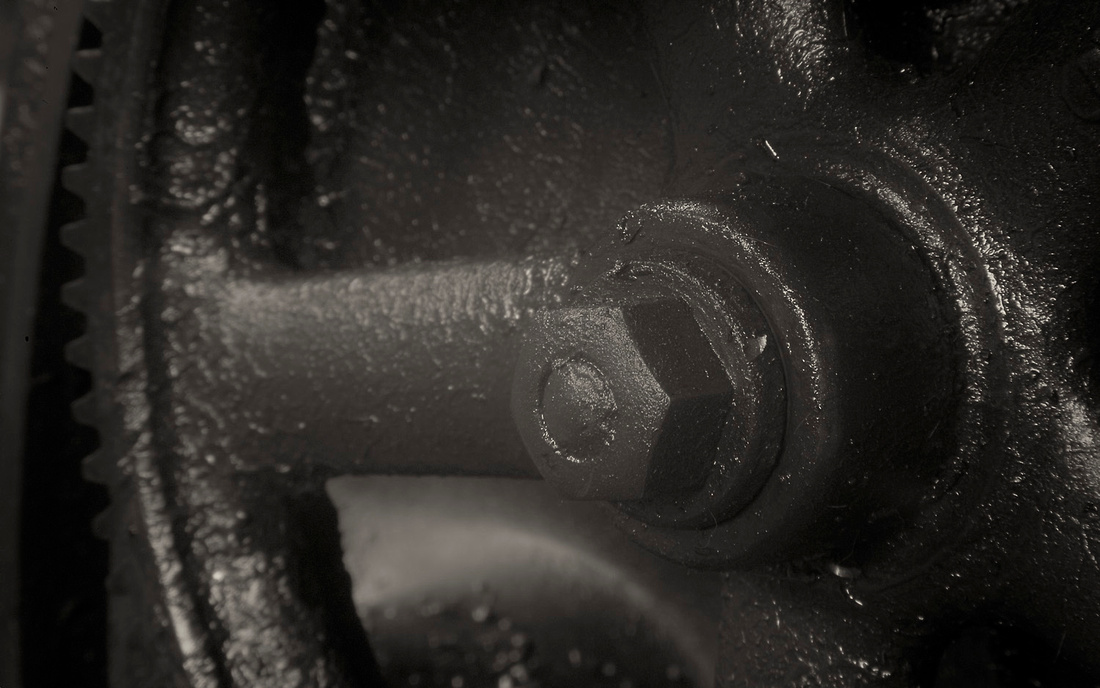
Same spokes, fully closed aperture and this gives as expected and dictated by optics a very sharp image with a lot of roundness to it
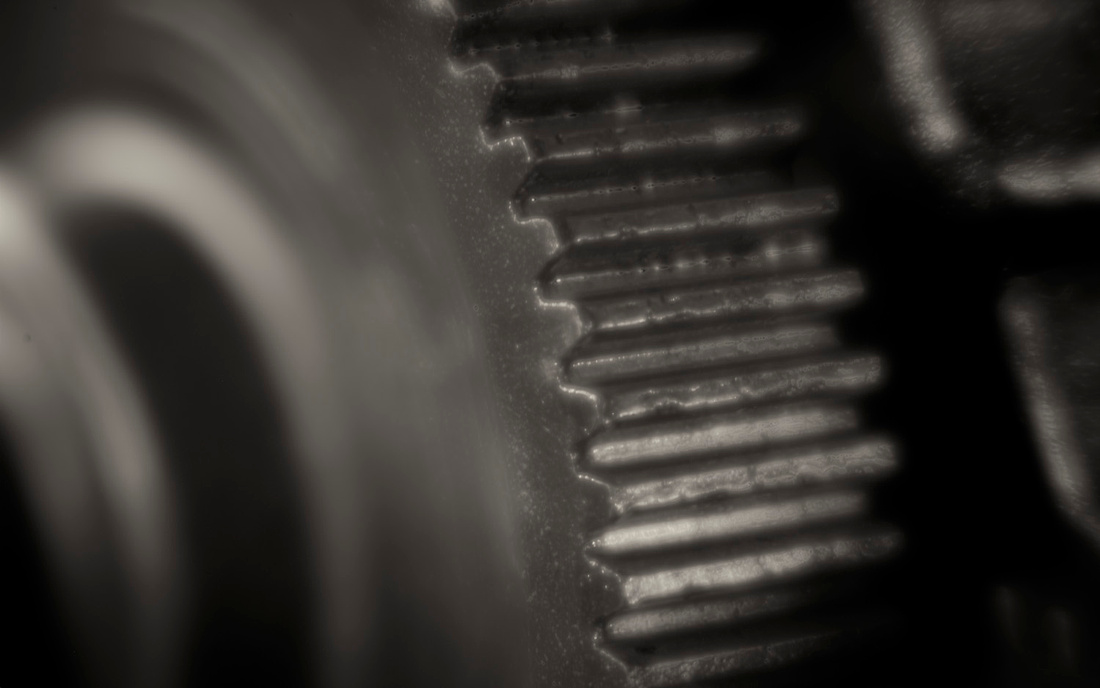
More gear details ...
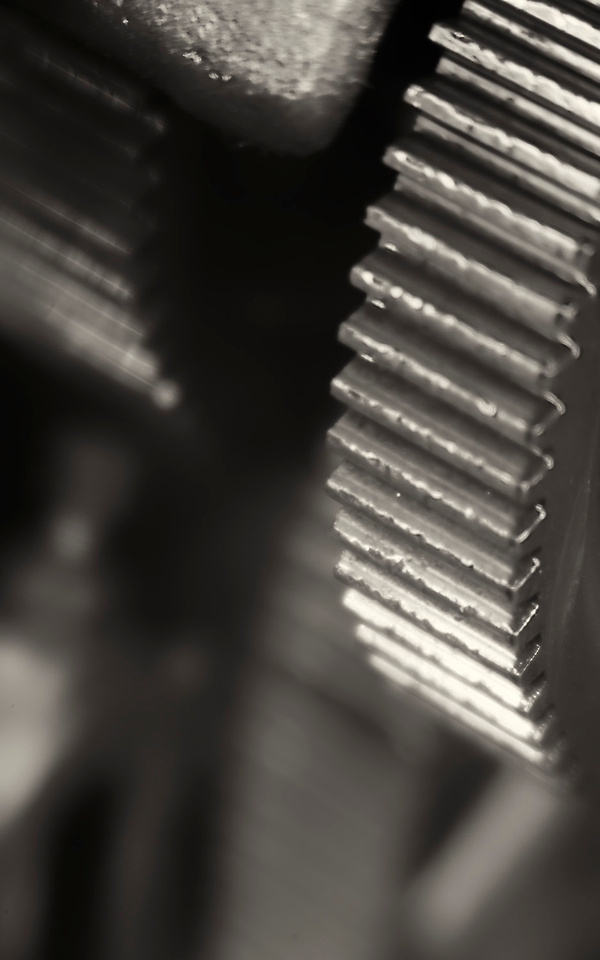
Same gear as above but different orientation ... portrait instead of landscape ...
f/8 ... less diffusion but great emphasis on the shiny teeth of the gear wheel
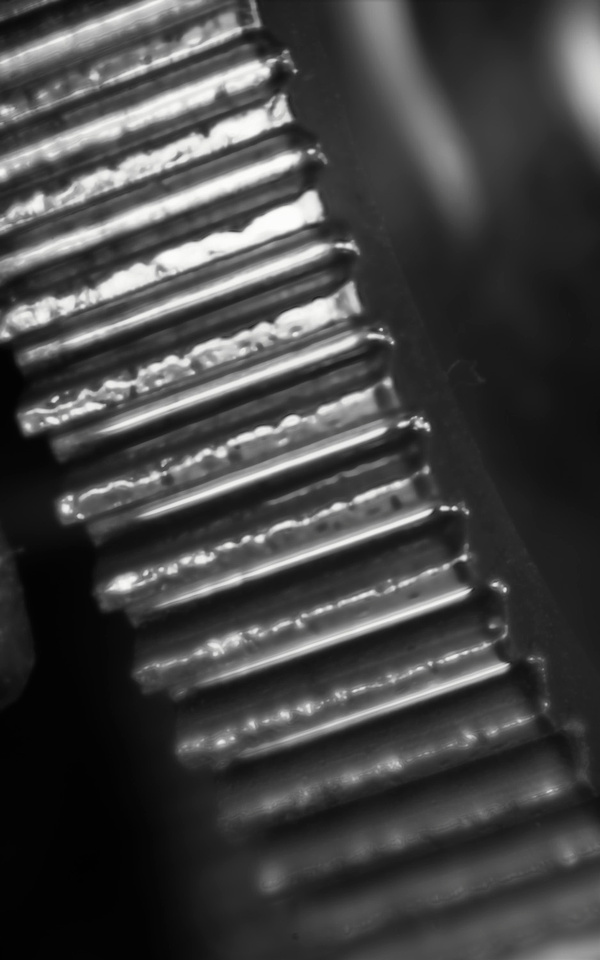
Same as above, different angle, different post-processing with a minimum of toning
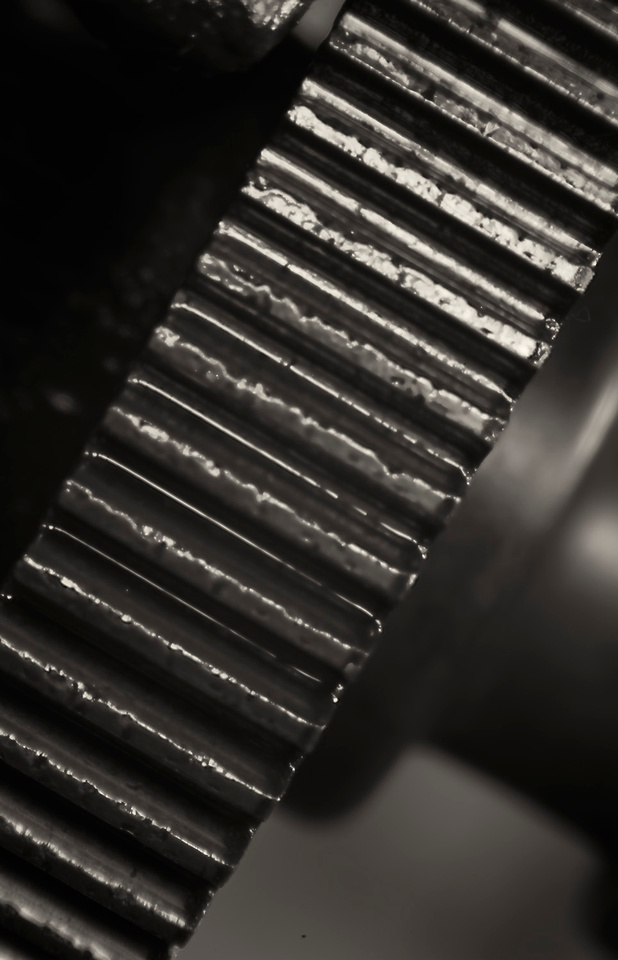
The end ... wide open aperture, orange filtered during post-processing
Cheers,
Rudi A.
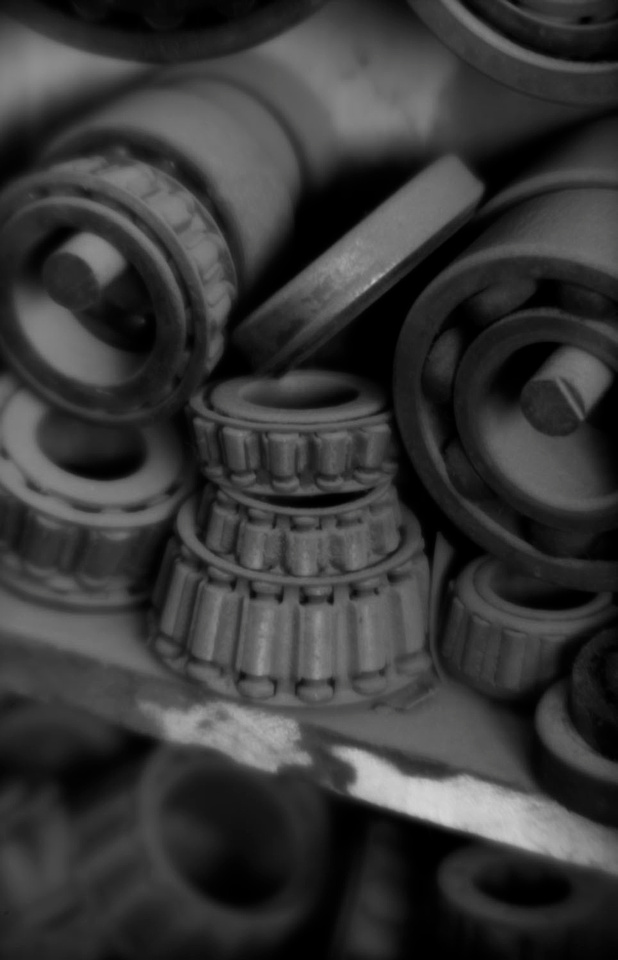
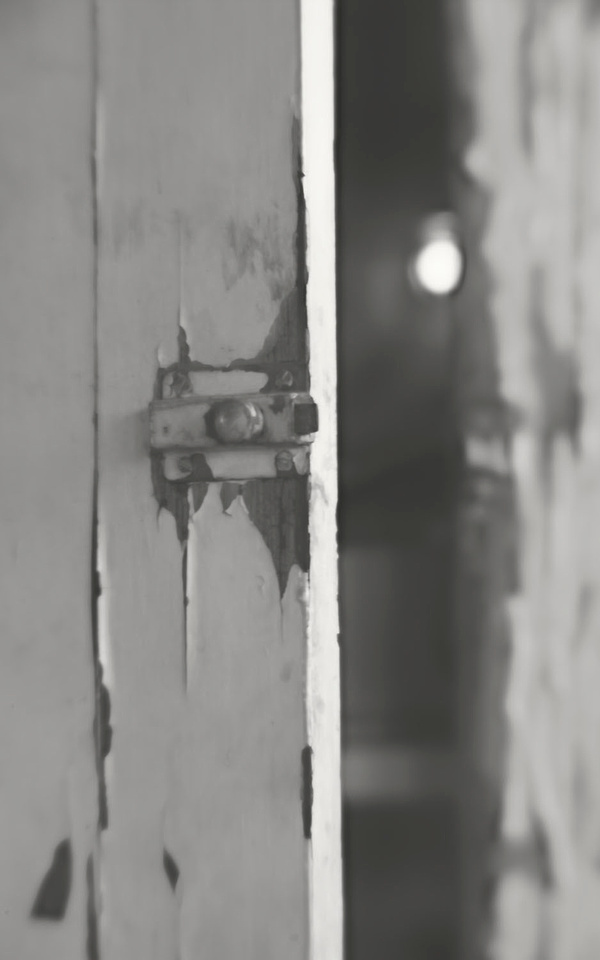
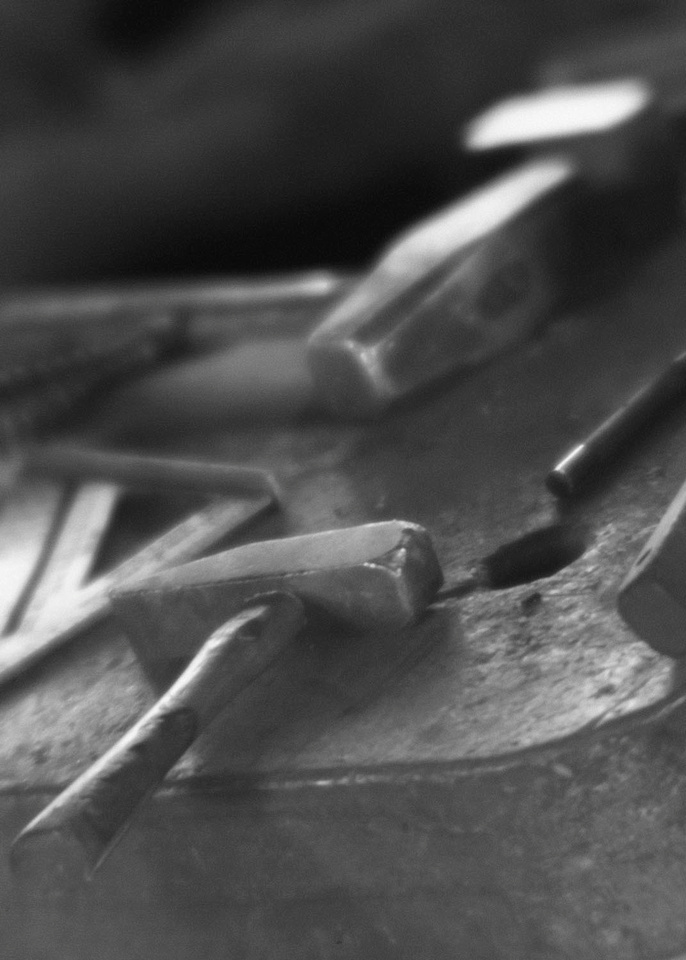
]]>For the details and the story, see my previous posts ... for nine more images without much hype, see below.
My B&W conversions are all over the place, just trying to please myself ;)
Bearings and dust on shelf in diffused and indirect lighting
Cracked open, white painted, door with hole in the wall and shelf
Two hammers in the main space
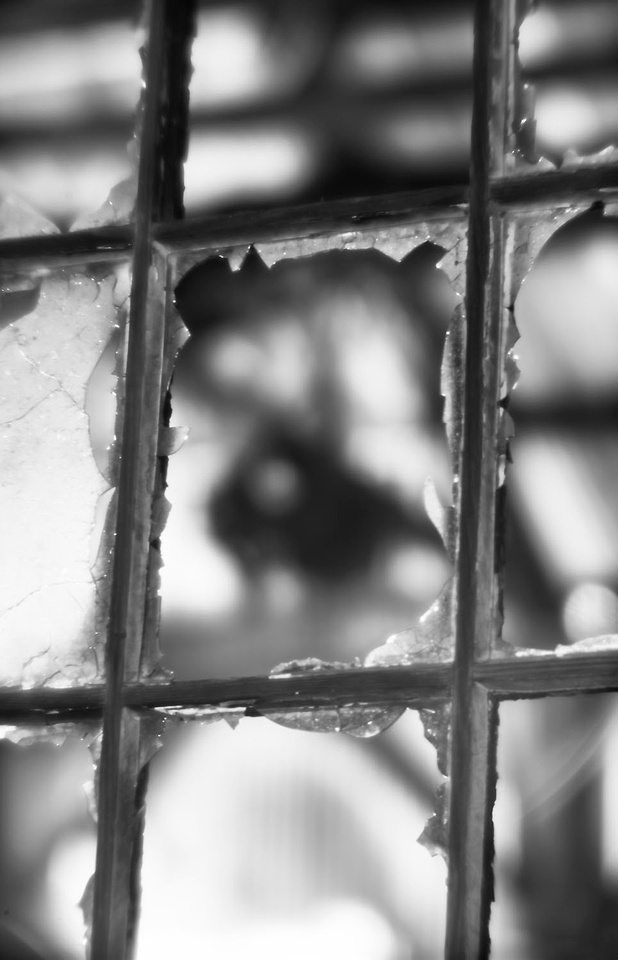
Burned out window between two spaces.
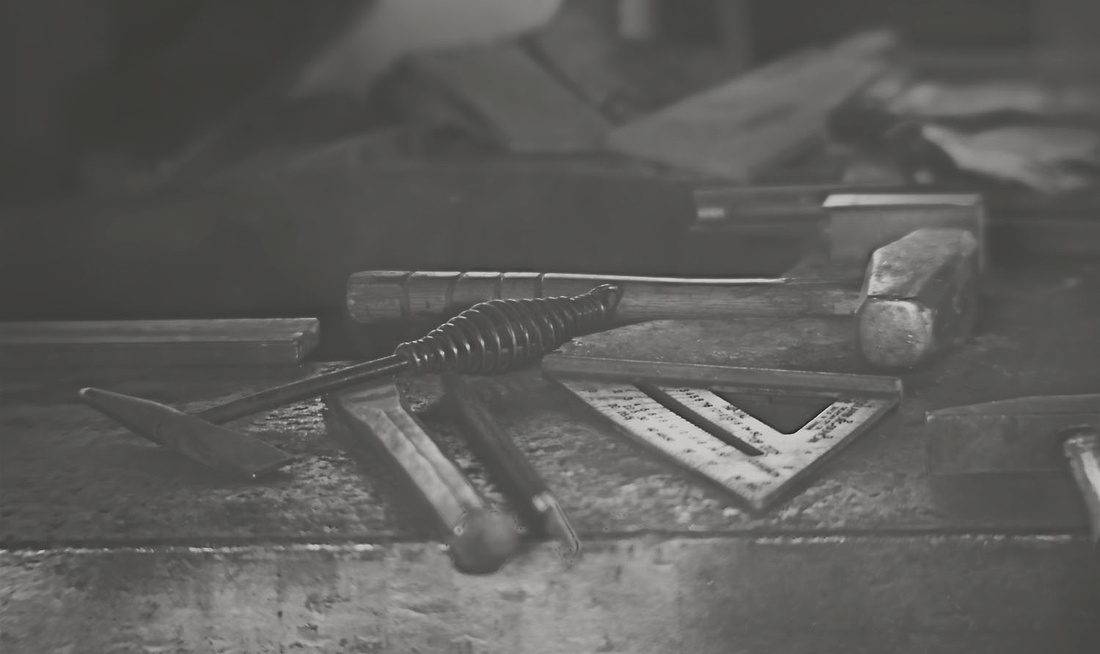
Three hammers, chisels and straight edge
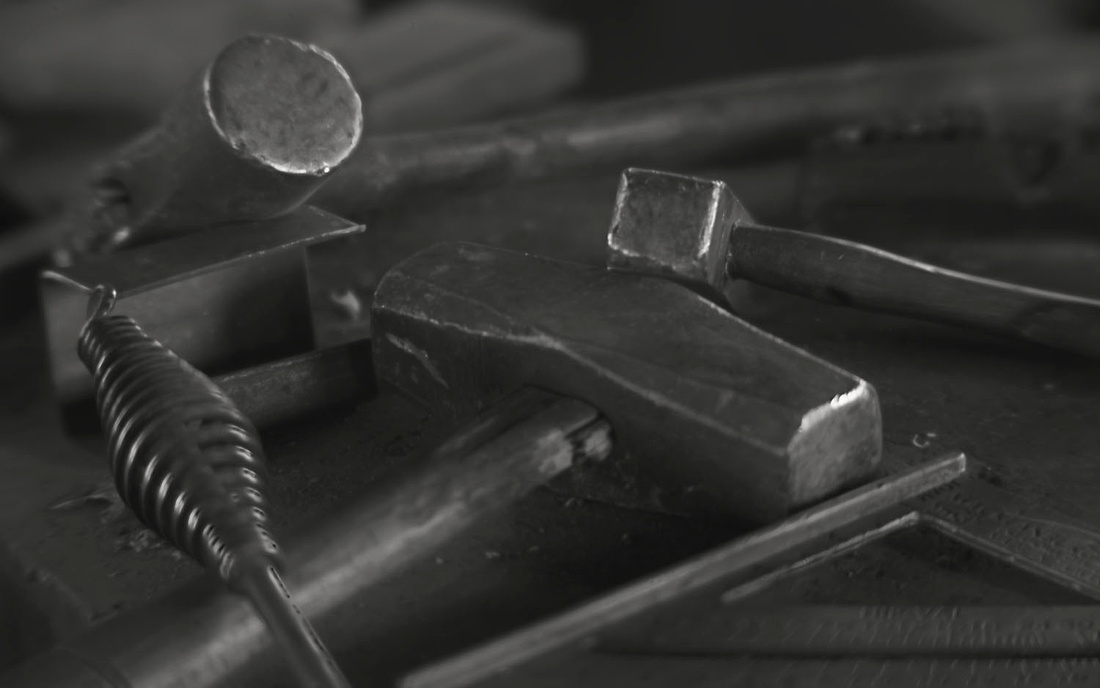
Four hammers and straight edge
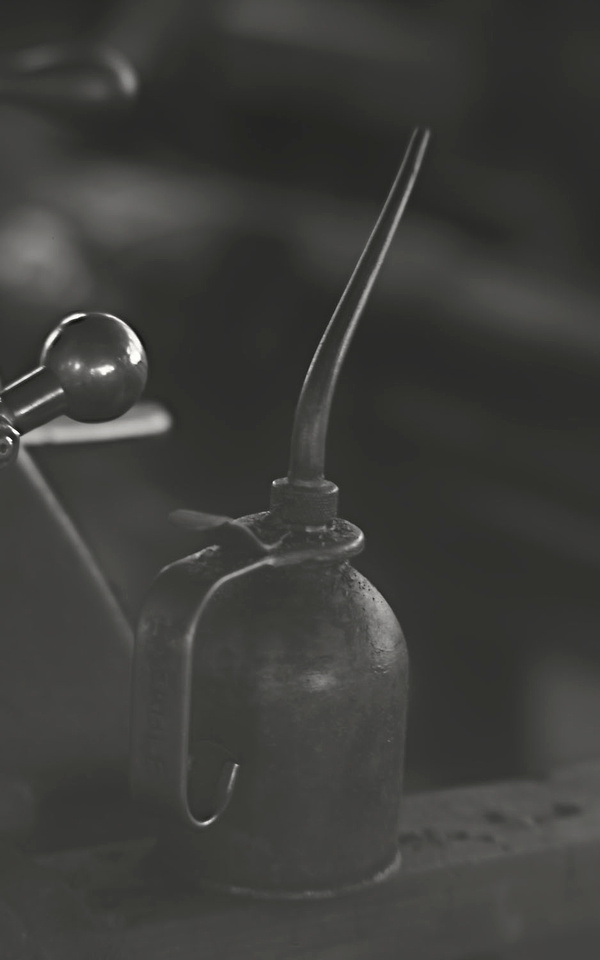
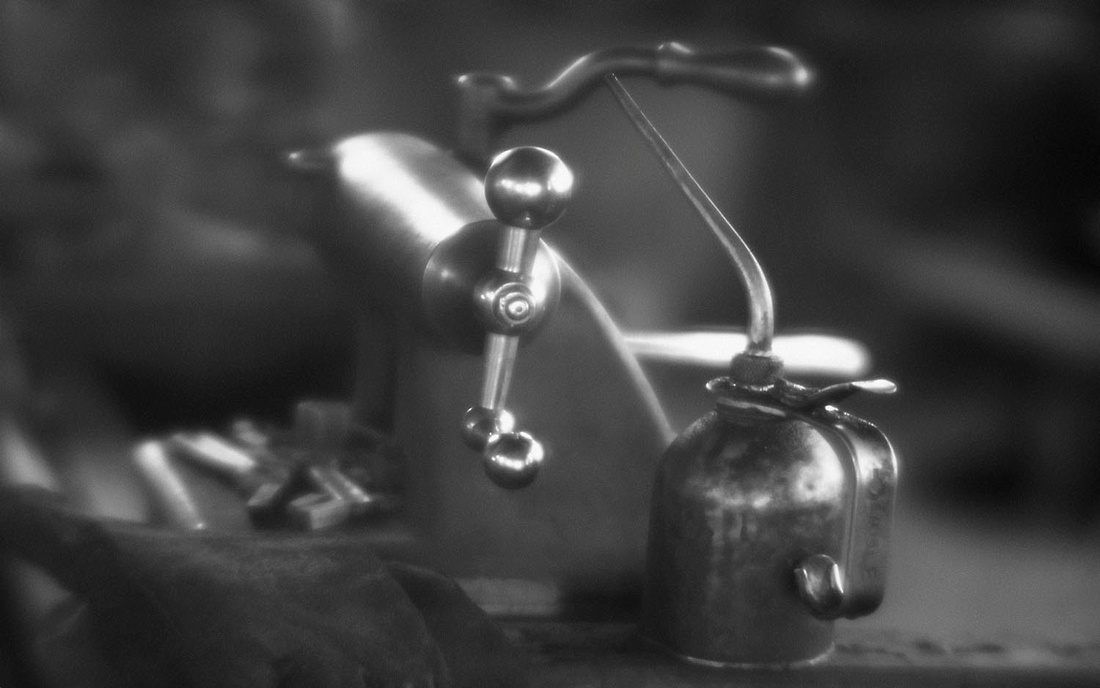
Oil can pointing right
Oil can pointing left with tail stock
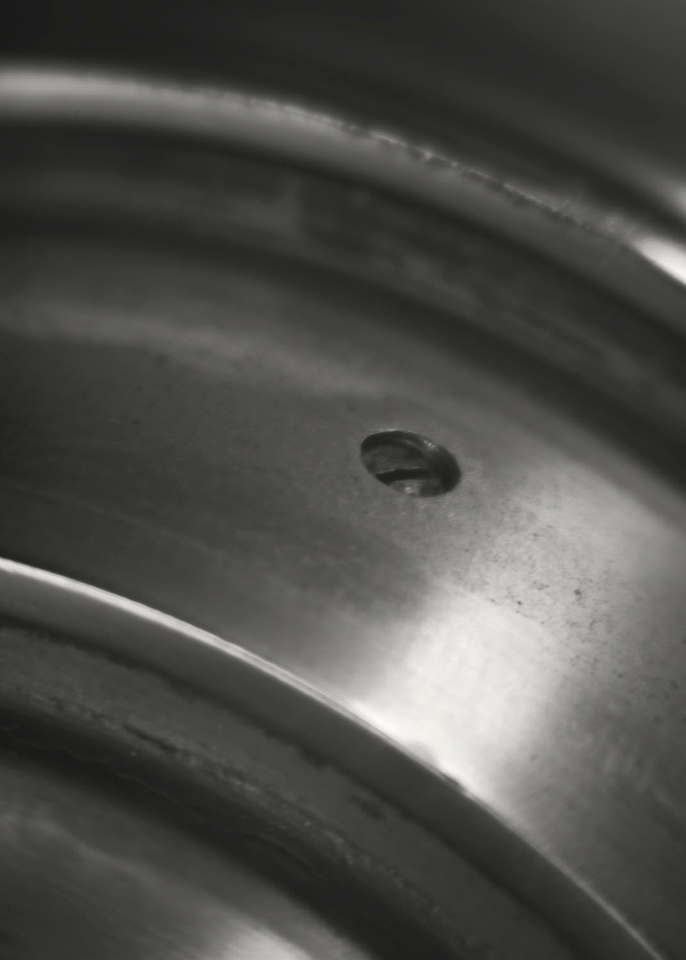
Counterbored flathead screw
Like Jim Galli said ... "I could shoot forever in this place"
Cheers,
Rudi A.
]]>
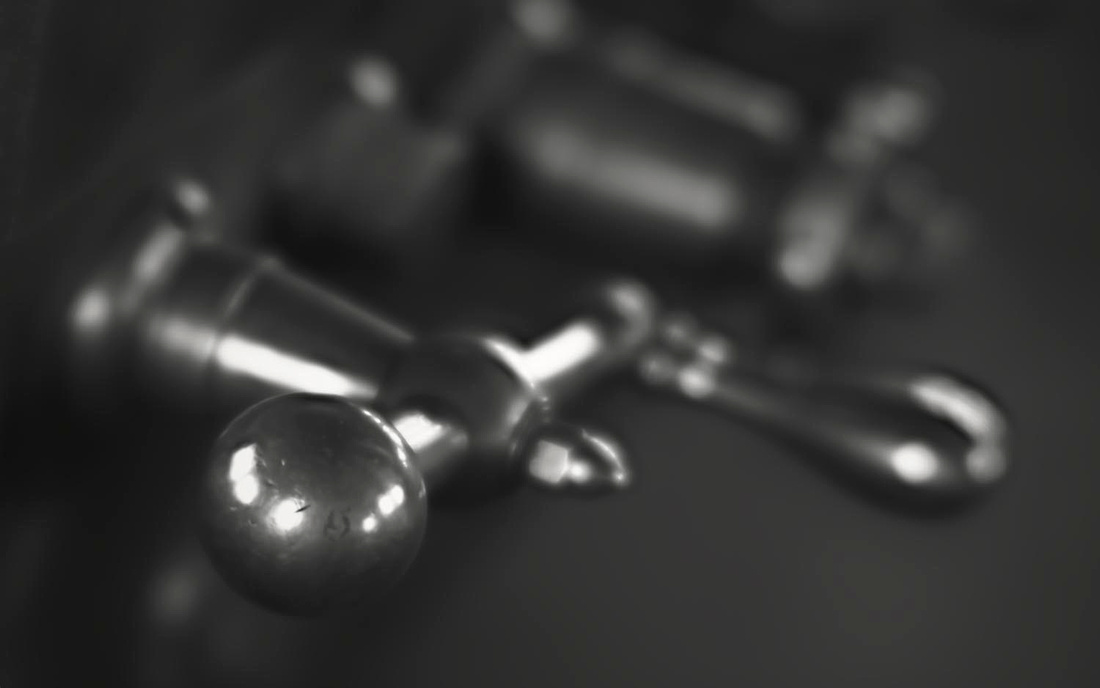
Since the 9" Struss Pictorial lens is at the long side of the spectrum for a 645 style medium frame camera, I opted for macro style images rather than room capturing images. I shot the image above and below at the same aperture, just shifted the focal point and angle.
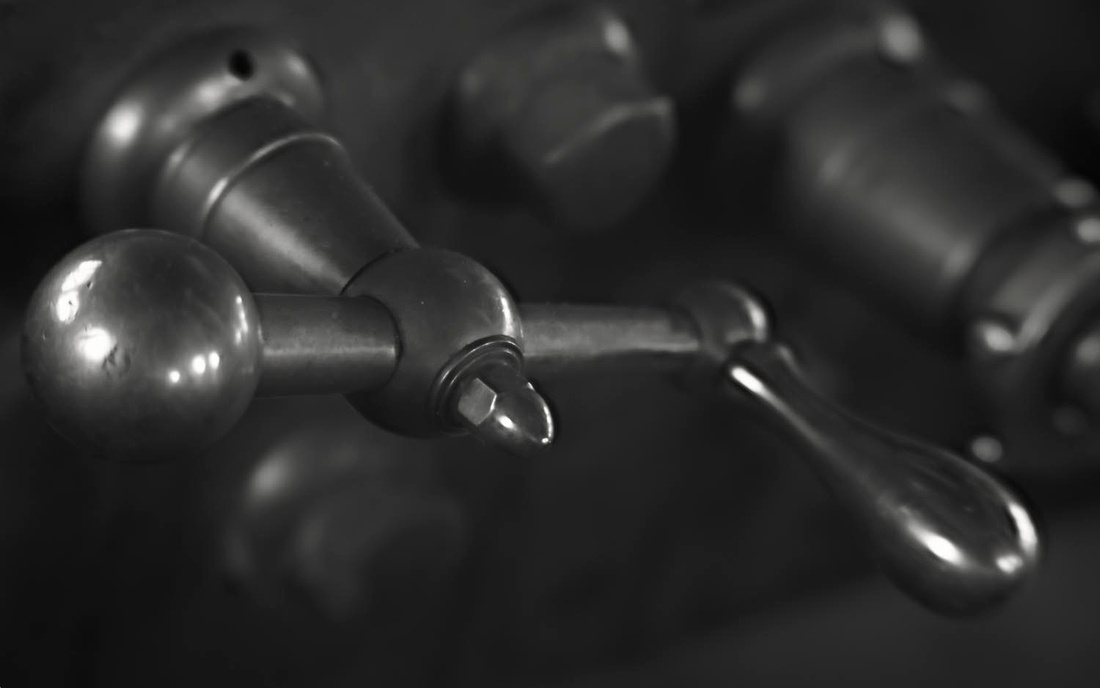
Angle changed again for the image below, focal point shifted to the rear. Aperture about f/8
Next shots were wide open and I did change the processing of the print slightly.
Still wide open, different angle ... just couldn't get enough of these ...
Stopped down to about f7 and back to the original B&W conversion I used throughout this blog post
Wide open below and playing with the B&W conversion again. It is possible to select the amount of diffusion in the final image during post processing with fairly simple means. I intend to write about this with practical examples to demonstrate ... just need to figure out a demonstrative image for this exercise.
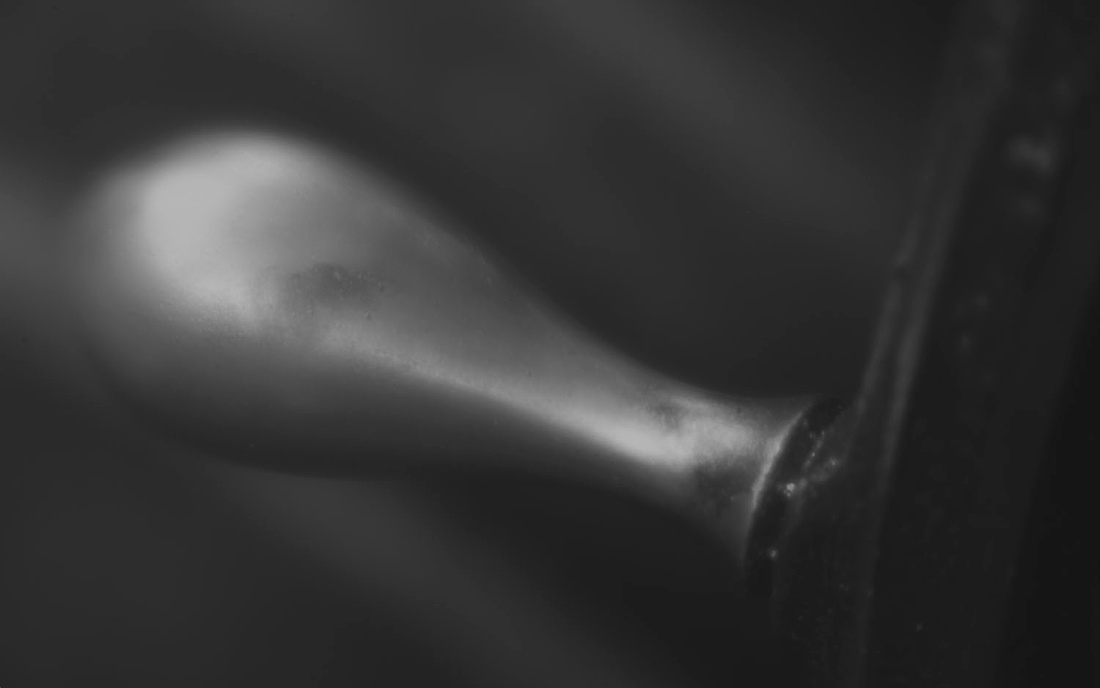
Yes, the image below is wide open, almost a 1:1 capture from a sensor perspective. The image however is 20"x32" @300dpi
I often try to keep the clutter to a minimum in my images and go for isolating a subject. This lens served me well in this aspect.
The next image is a composite and I used standard panoramic techniques to get there. The dimensions of the above images are pretty much all in the 20" x 28" to 20" x 32" range printed at 300dpi. The image below measures 40" x 55" at 300dpi and is as such significantly larger than the life size subject.
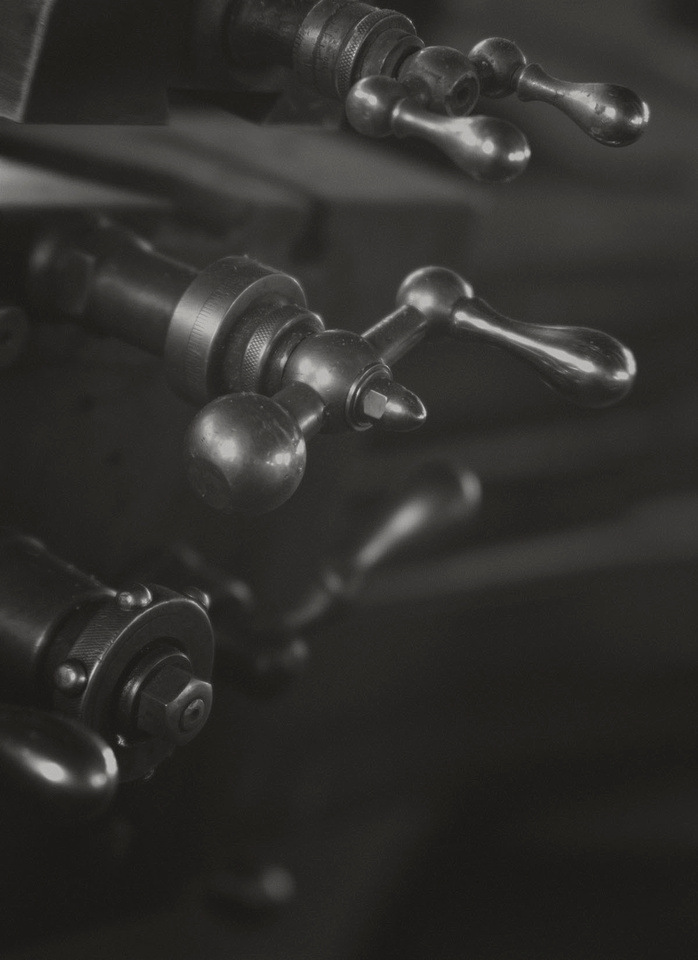
A simple feat to enlarge from 8"x10" film but slightly more work in digital to obtain a similar scale starting from a MF sensor. Nevertheless the workflow and tools used, I'm looking forward having the image above printed and framed on the wall.
Next installment I'll show more of what else catches my senses
Jim Galli 8"x10" and full plate images again can be seen on his website at:
http://tonopahpictures.0catch.com/2014_Work/CampbellFoundry051014RudiBlondia/GardenOfDelights1.html
Cheers,
Rudi A.
]]>I just loaded my 1989 Blazer K5 with some digital-only shooting gear for a short trip to Tonopah to pick up a vacuum seal press I purchased from my friend Jim Galli. Might as well drive through Yosemite over Tioga Pass as that one just opened early for the season ... low snow pack.
Nothing scenic about the drive as it is already dark. I arrive at the Tunnel View in Yosemite at 1:15am. I can see the moon through the cloud cover at times. Not promising for sunrise but at least there's some cloud cover and not just an empty barren bare sky. I sleep a few hours in the Blazer. It is cold.
5:45am wake-up call. There are few photographers set up already. All digital 35mm DSLR. I set up my Mamiya 645AFDii and Leaf Aptus 10 on my tripod and keep the Nikon D3x at hand just in case. Whitish sun light peaks immediately through the clouds which make for high contrast images if one doesn't want to blow out the streaks in the sky. I shoot my first panorama on the Mamiya and while the files are writing to the memory card I notice the light color change briefly. I grab the Nikon and fire few shots. Bingo on the second one ... that light quality never returned.
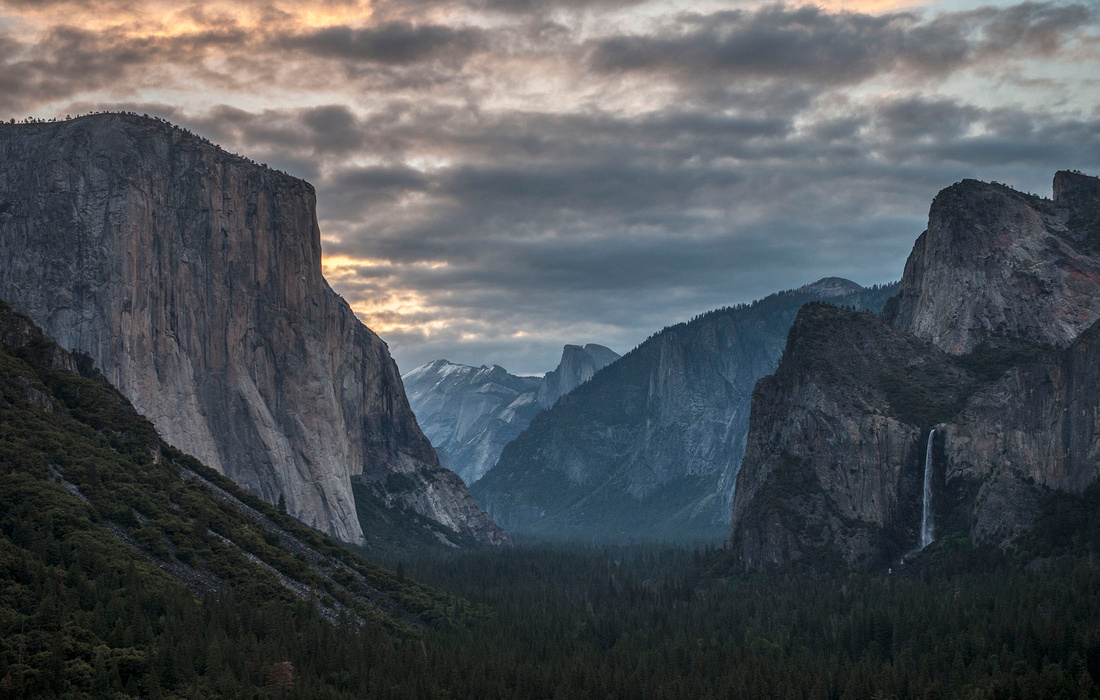
Hardly any snow, little water in the falls. Twenty minutes later everyone is wrapped up and we disperse through the park. One young man showed up with a Horseman 4x5 but it was already late ... and bright.
I shoot some more on various spots and hit the 120 for more photography. Exit Tioga Pass in the late afternoon. My GPS had just died and blown the auxiliary fuse. Soo, heading first to Bridgeport to pick up some fuses at Reilly's Autocare, this adds another 60 miles or so to the drive. It's not my first trip to Tonopah, so I don't need really need the GPS but I do need to charge my phone.
Saturday morning, arrival at Jim's place after spending the night in the Jim Butler motel, just across the fancy Mitzpah Hotel. Jim Butler founded Tonopah on May 25, 1900 ... a very young city.
Jim and I talk soft focus lenses over coffee and look at gear and talk photography over more coffee. I take some pictures of Jim's Karl Struss lenses for a future blog write-up. There's most likely an interesting story to write about my Karl Struss 9" Pictorial lens but you'll have to wait for this a bit longer.
We load our photography gear in Jim's 1929 Ford Model A roadster. Everything fits in the rumble seat and on the floor. My large carry-on Think Tank roller bag with Induro tripod and Jim's Kodak 2D with Manfrotto tripod and head and of course a whole bunch of film holders. Jim's plan is to shoot with 3 soft focus lenses, one that is new to him. My plan is to shoot digital medium frame with the Karl Struss Pictorial lens I've been playing with the last few months now.
We opt to shoot inside the Kelly foundry although there's a million things to shoot nearby outside. It's just too early in the day to shoot outside. The light is still harsh and neither one of us wants to stop the soft focus lenses down significantly.
I won't write much about the images I got during the first session. I photographed some shiny stuff but I was mesmerized by the amount of dust and texture and diffuse light quality in the space. I shoot in color and post process in CS6. All images shot with Karl Struss Pictorial Lens, 9", serial #282 on a Mamiya 645AFDii and Leaf Aptus 10 digital back.
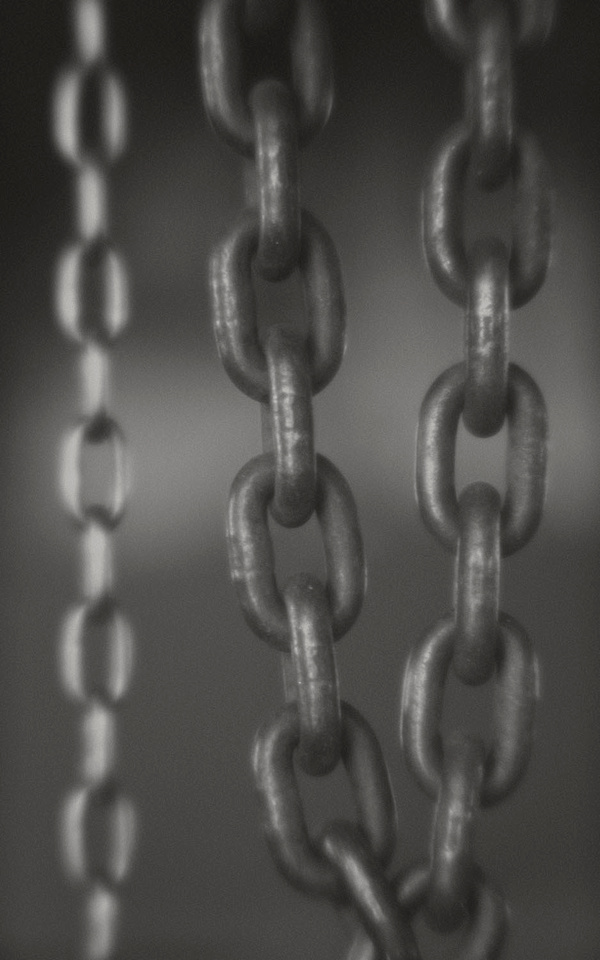
Wide open, chains suspended in the large space
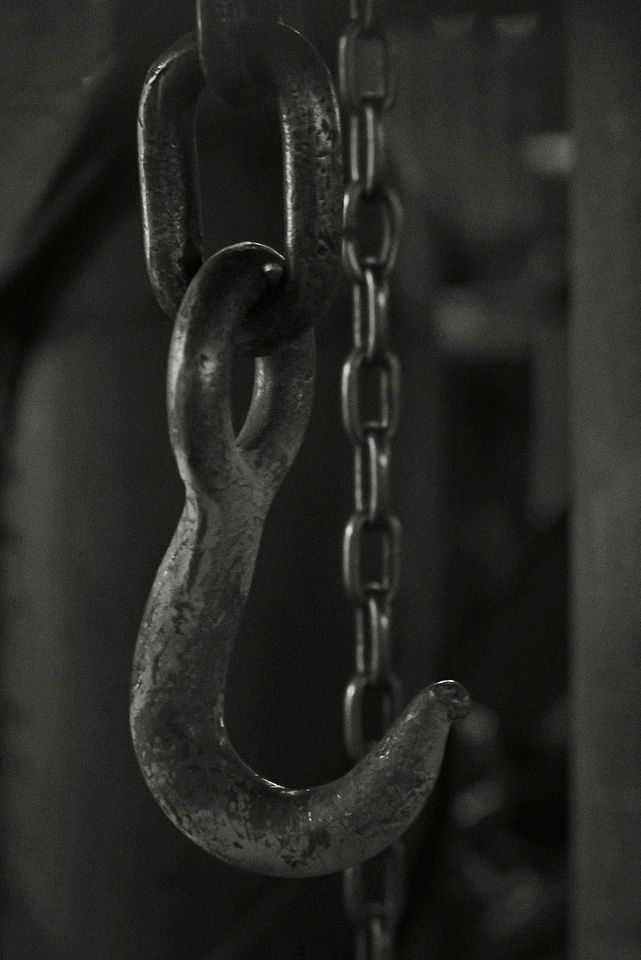
f/8, chain and hook suspended in the large space
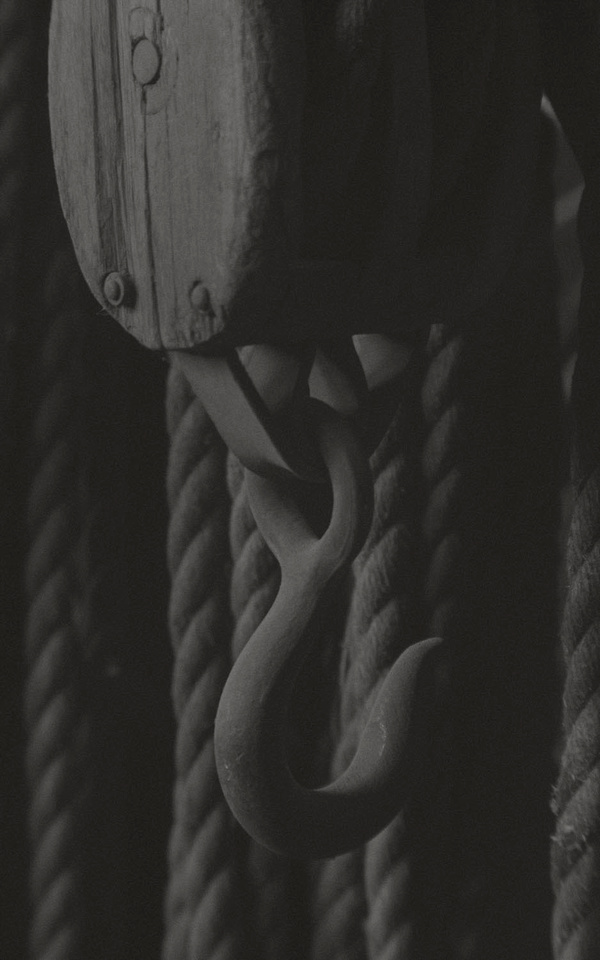
f/7, pulley, hook and rope in indirect diffuse light
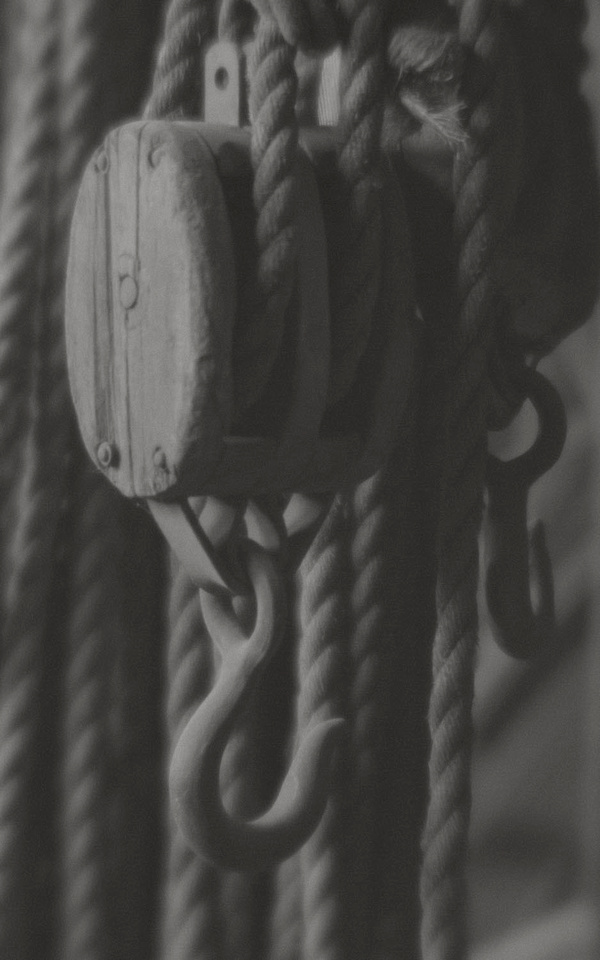
Wide open, pulley, hooks and rope in indirect diffuse light
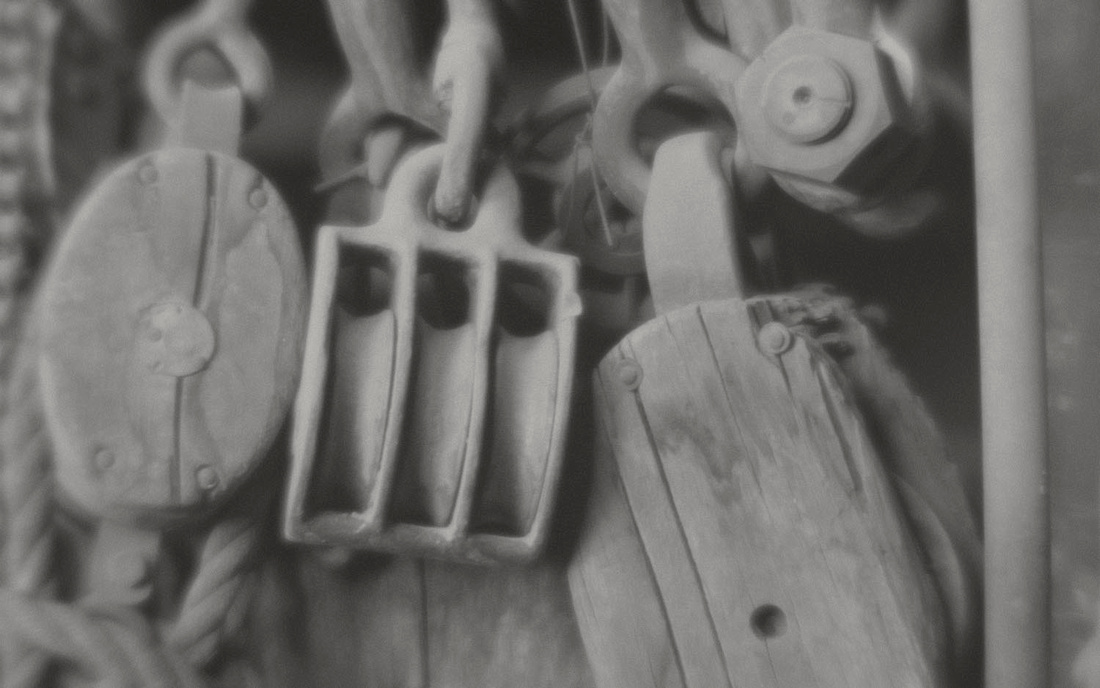
Wide open, more pulleys
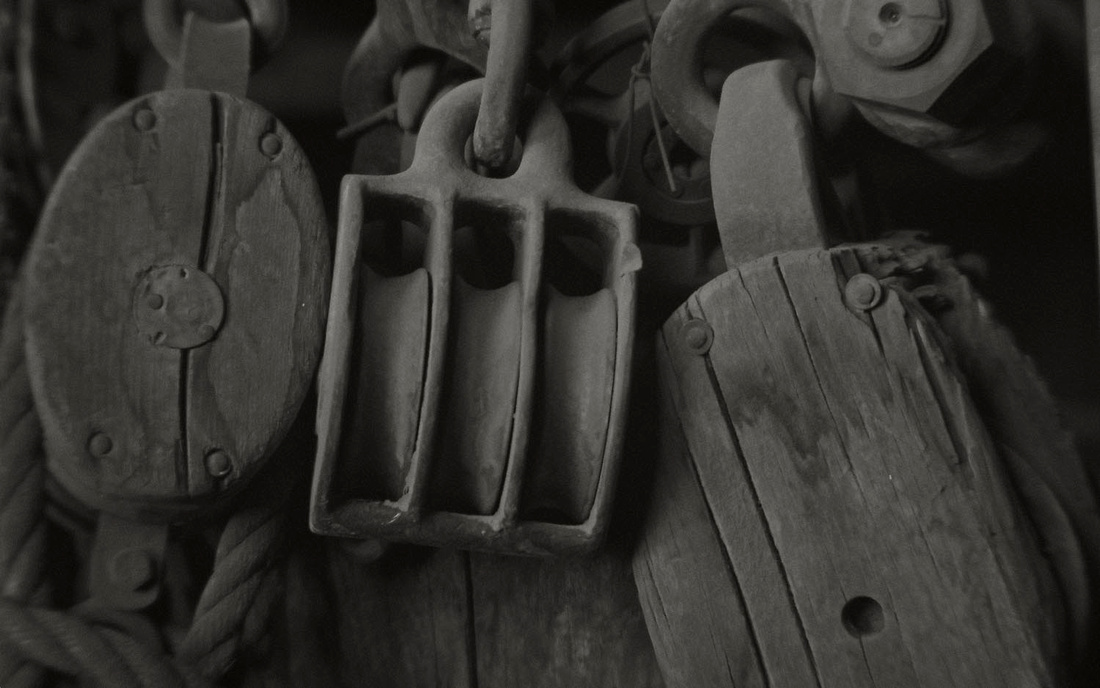
f/8, same pulleys as above ... observe how this image firms up significantly at smaller aperture, all as expected and evidenced in prior blogs
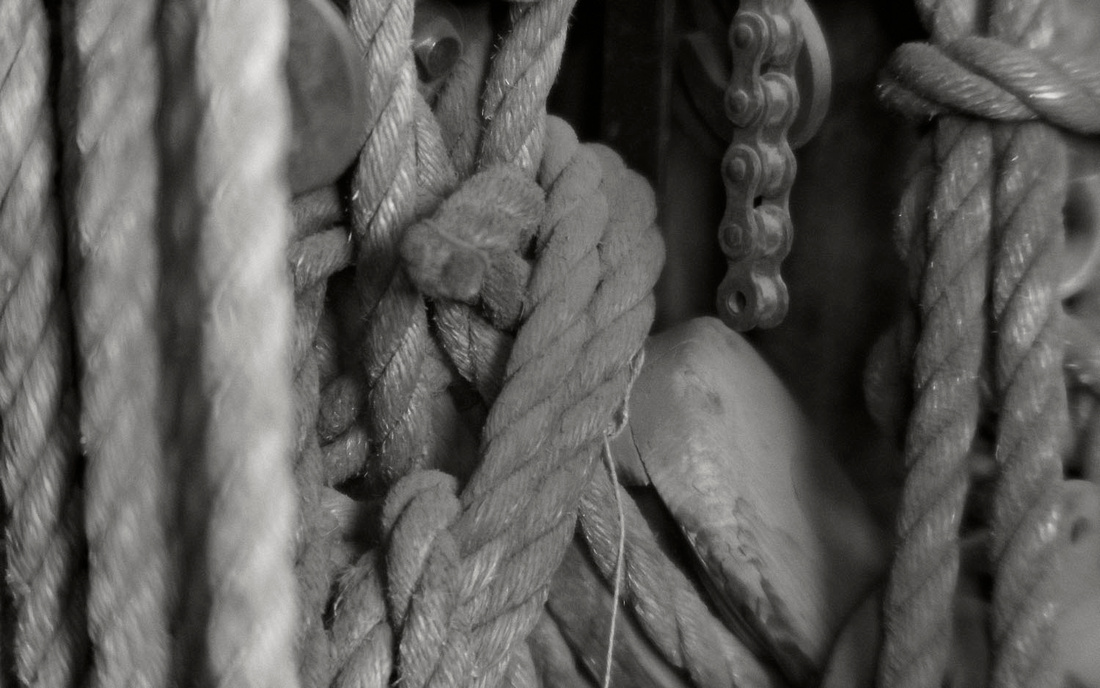
f/8, rope, wooden pulley, chain ... texture ... depth ... this image needs some more work though ...
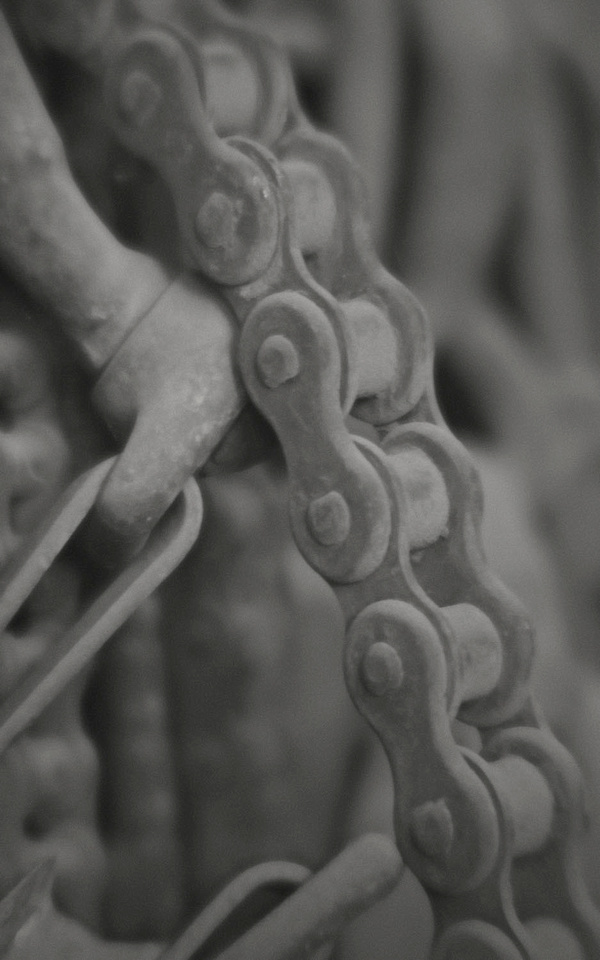
f/6.3, large motor chains
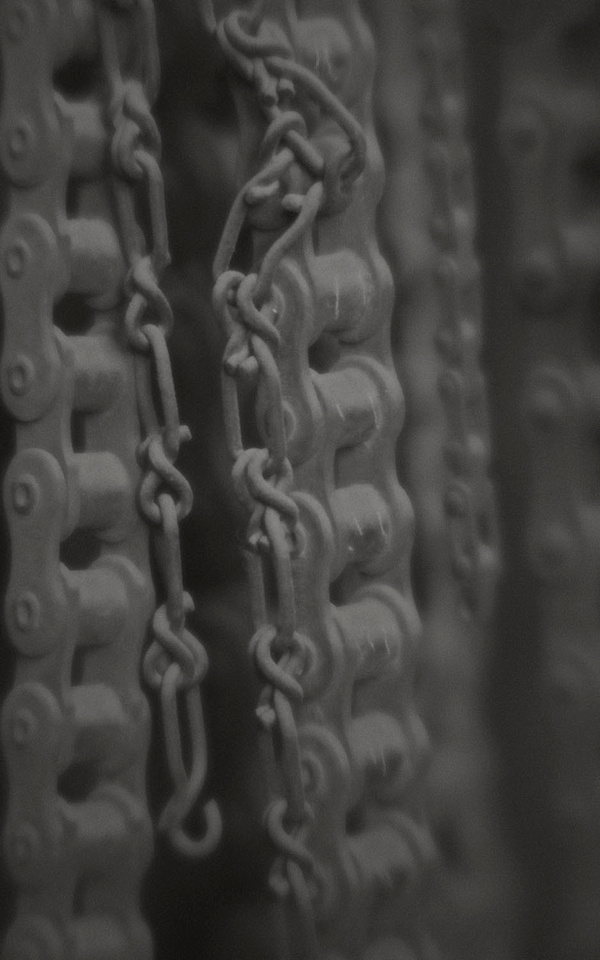
Wide open, more motor chains on the same rack ... all under diffuse indirect light
By now it was time for a break ... the Mitzpah has great burgers, fast service and a lovely real vintage decor ... still feels like the day of the opening ... 1907. Jim showed me some images on the second floor of the hotel that were made with a Cirkut camera. Must see when you're there !
The rest of the images from the afternoon are for another installment shortly. Jim Galli's 8x10 and full plate images shot with Hyperion, Spencer and Mirroscope lens can be seen at the link below ... enjoy !
http://tonopahpictures.0catch.com/2014_Work/CampbellFoundry051014RudiBlondia/GardenOfDelights1.html
Cheers,
Rudi A.
]]>One of my readers asked if I travel with a tripod on my international trips.
I do.
First of all, I like to shoot long stretched panoramic images and this requires shooting anywhere between 8-30 shots that are then stitched together. Domestic or international plane travel gives me opportunities to shoot outside of my immediate neighborhood (California, Nevada) and I very much welcome every opportunity to do so.
Secondly, I equally love shooting still lives and close-up images and some of these require long exposure times as I'm not always schlepping strobes and lights around. Although I have lighting equipment I can check in, I prefer shooting natural light as much as possible.
I seldom use a tripod shooting people unless I'm going for exposures that exceed 1/8". I prefer hand holding a camera when I shoot portraits and action as the communication with the subject is so much easier.
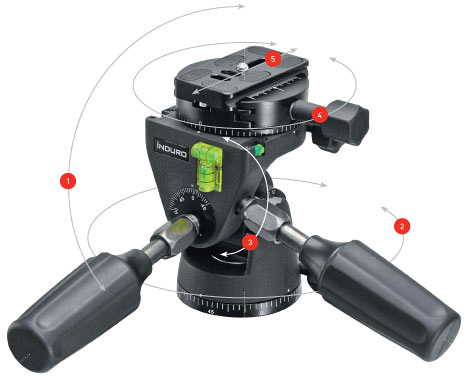
After some research and looking at all the critical parameters in a tripod and the way I use them, I settled on a carbon fiber tripod from Induro, CT214 and their 5-way PHQ3 head. Pictures of the tripod and below.
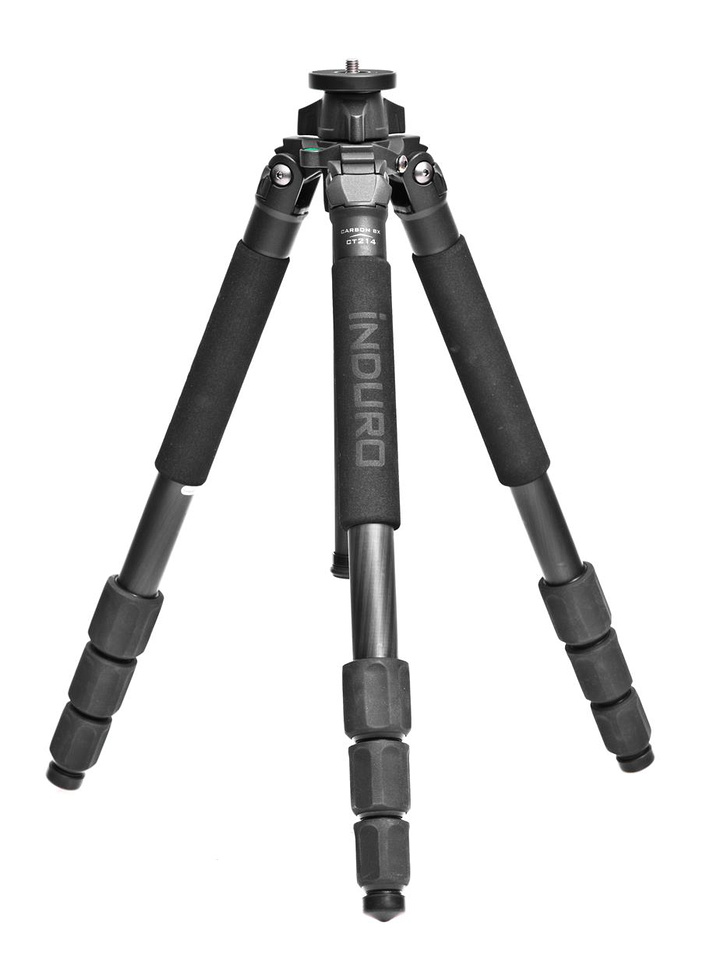
I won't be going in detail over the specs of this combination as these can be found online but suffice to say that with the head mounted on the tripod and stored in the bag (comes with the tripod), the total collapsed height is just under 26" and the bagged tripod and head fits nicely in my 26" TravelPro suitcase. Yes, I check my this suit-cased tripod in and have done so on numerous occasions without any issue. TSA or airport security will verify the contents of my suitcase and leave me a little not but that's their prerogative, not mine.
The risk of permanently losing the luggage is not higher than leaving the tripod on board ... I've done the latter, never experienced the former ... ouch ... forget about ever getting a lost tripod in the cabin back, it doesn't happen !
Few words about the PHQ3 head though. When shooting panoramas, this head is indispensable. It allows to level the actual head and either rotate around the tripod axis or a tilted axis and both options are needed for die-hard panoramic shooters. The fold-up handles require some getting used to but it is exactly this feature that allows a very compact storage of the head on top of the tripod so that everything fits in the tripod bag.
I also use a nodal plate with built-in bubble to fully utilize the 5th way, correcting for lens parallax. For my purpose a 7" long plate is sufficient as this covers all my lenses for the Mamiya 645AFD II and the Nikon D3 I'm taking on my trips. I've even used this with the 500mm Mamiya f5.6 lens and camera + lens was perfectly stable on this platform. I do use remote releases when I'm shooting with a tripod, never tough the camera during the exposure for best results. There's a wide choice in nodal plates on the market but I choose one with integrated clamp as this one will fit in the side pocket of the tripod bag together with the spikes. Never leave home without them.
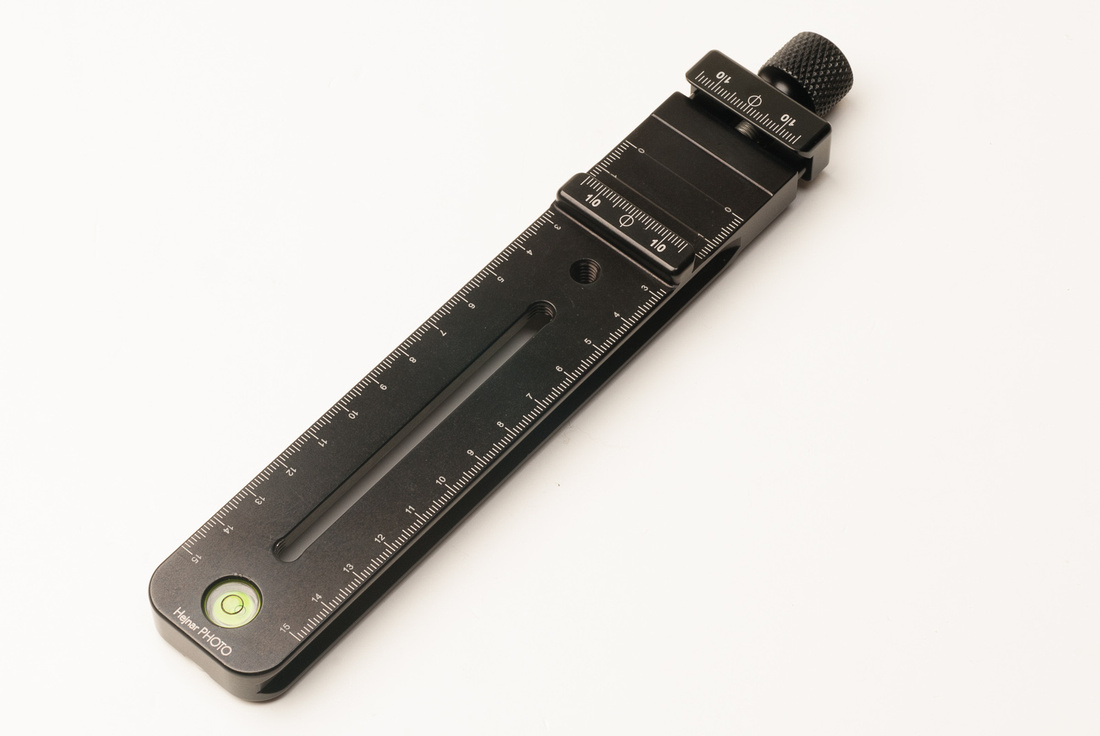
I highly recommend Christof Hejnar's ARCA compatible plates and accessories. Made in USA at reasonable prices and expertly engineered. Christof also custom designs accessories as needed for a fee.
That's it for today, next time I'll show how I pack for airplane travel and what it takes to get this in the overhead bins.
Cheers !
Rudi A.
]]>
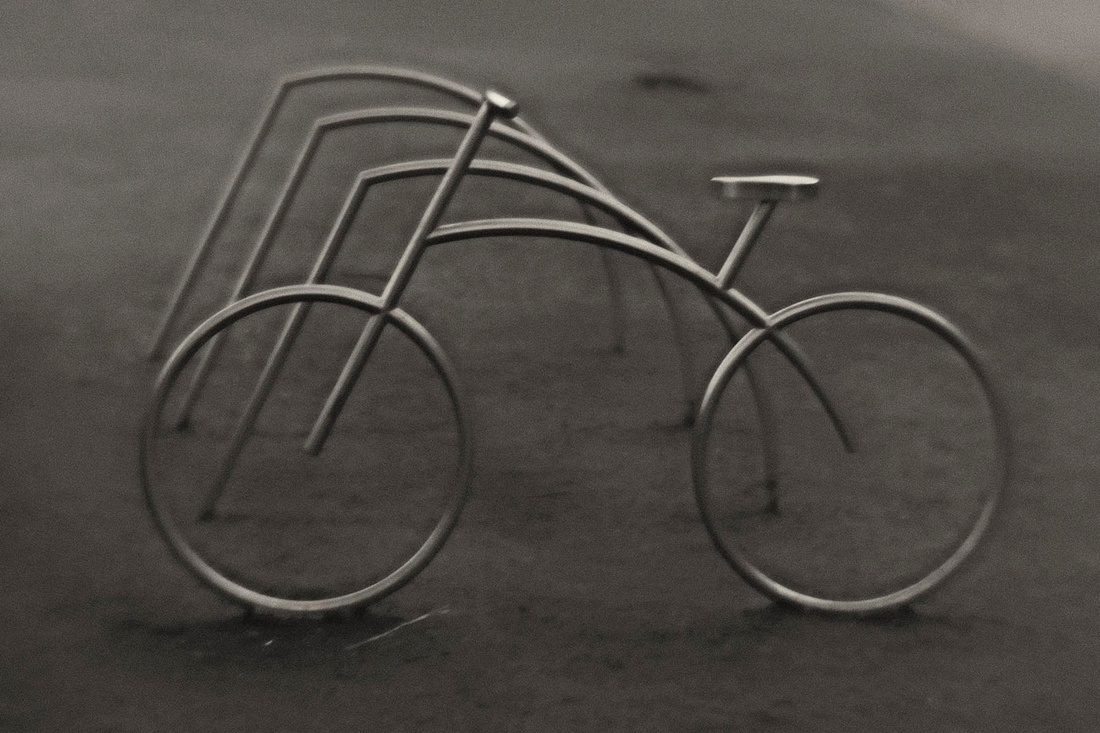
Such was recently the case with the bike rack I've shown earlier in this blog. I got to photograph it another early morning in February. Image below is shot with the Karl Struss 9" Pictorial Lens, wide open.
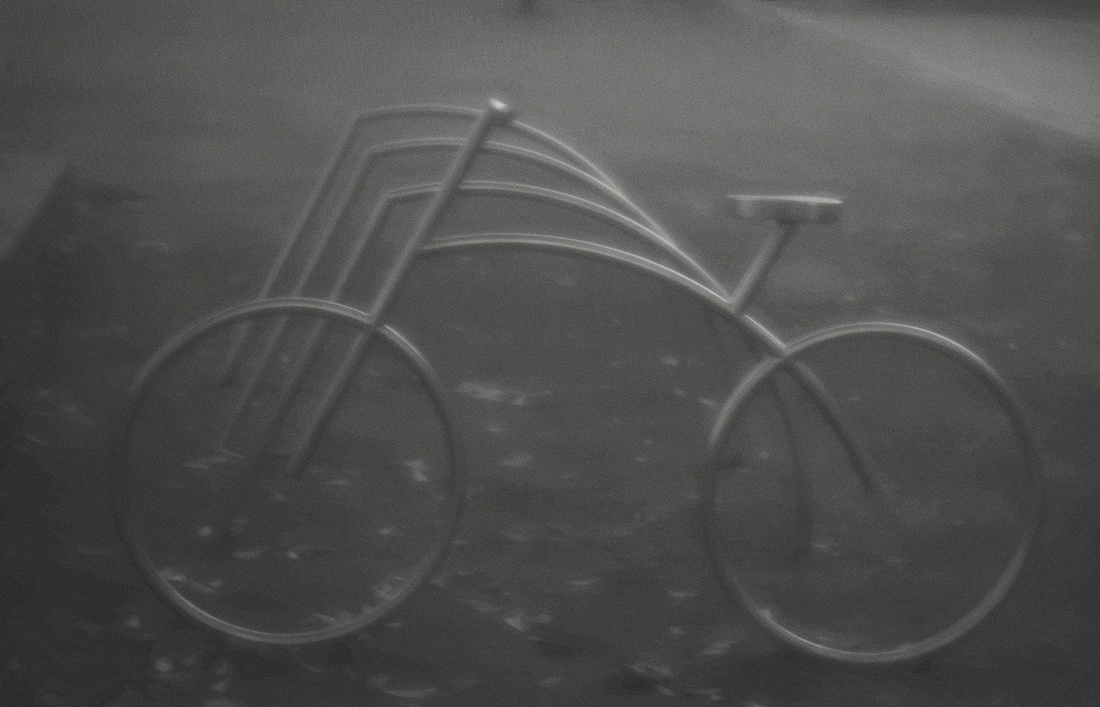
The second image was taken with the Hanovia Laboratories Kalosat 1A, slightly stopped down during last fall's visit. There was just too much mush that day fully open. B&W conversion was same for all images but the Kalosat image below didn't get toned for one or other inexplicable reason ...
The last image of this post was taken with a Hermagis Eidoscope #4, wide open in Spring 2013.
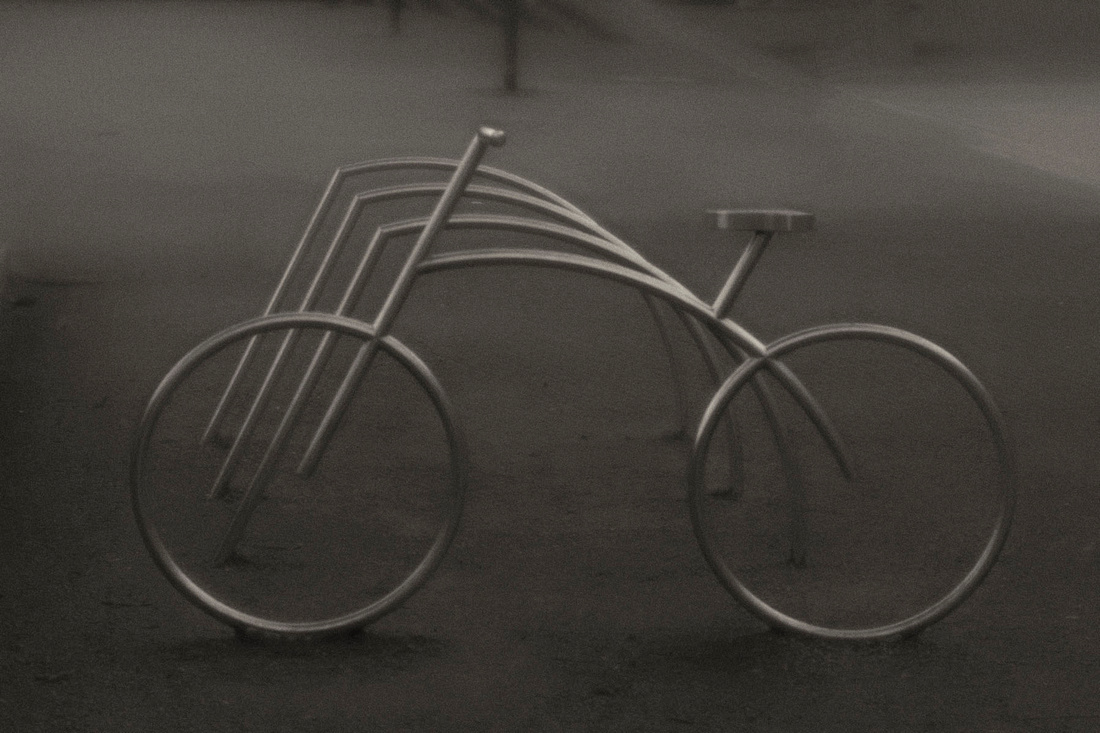
The viewing angle and taking position are clearly different for the above images but what is equally clear is that the soft focus signature of each lens is quite different.
Words are insufficient to describe the atmospheric differences.
It is time to compare these soft focus lenses side by side in a more controlled scientific approach to better understand the optical differences yielding these soft focus looks.
The camera used in all the above images was a Mamiya 645 AFD II with a Leaf Aptus 10 medium frame digital back (56MP). I've described earlier in my blog how I adapt soft focus lenses to work with this camera in a manual focus way.
Cheers,
Rudi A.
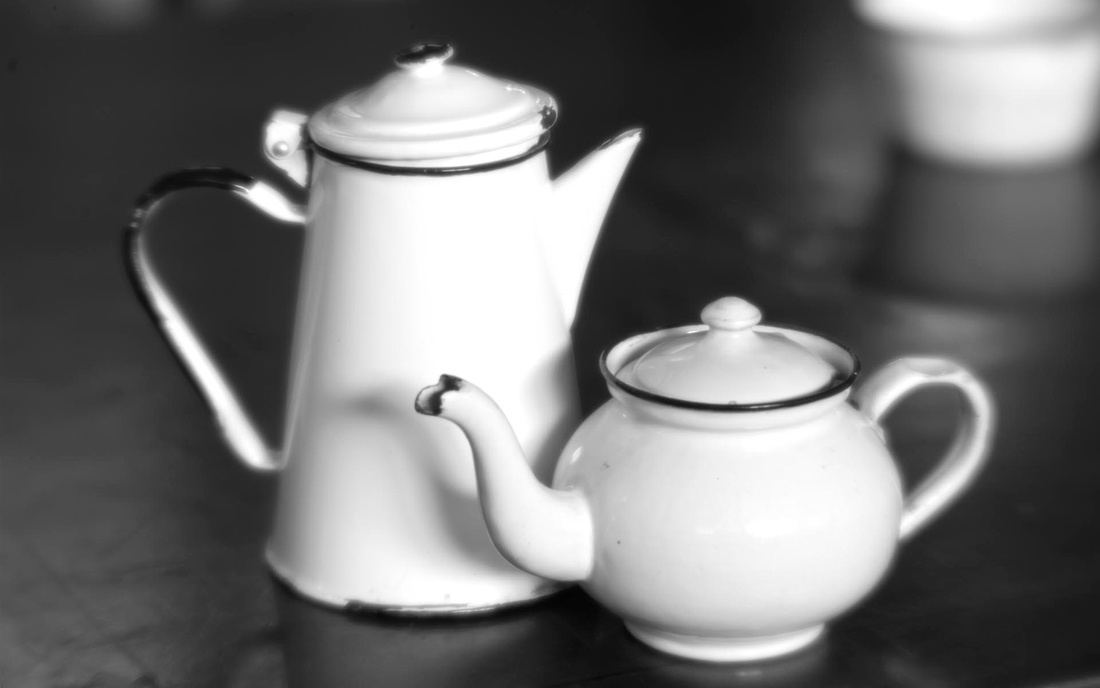
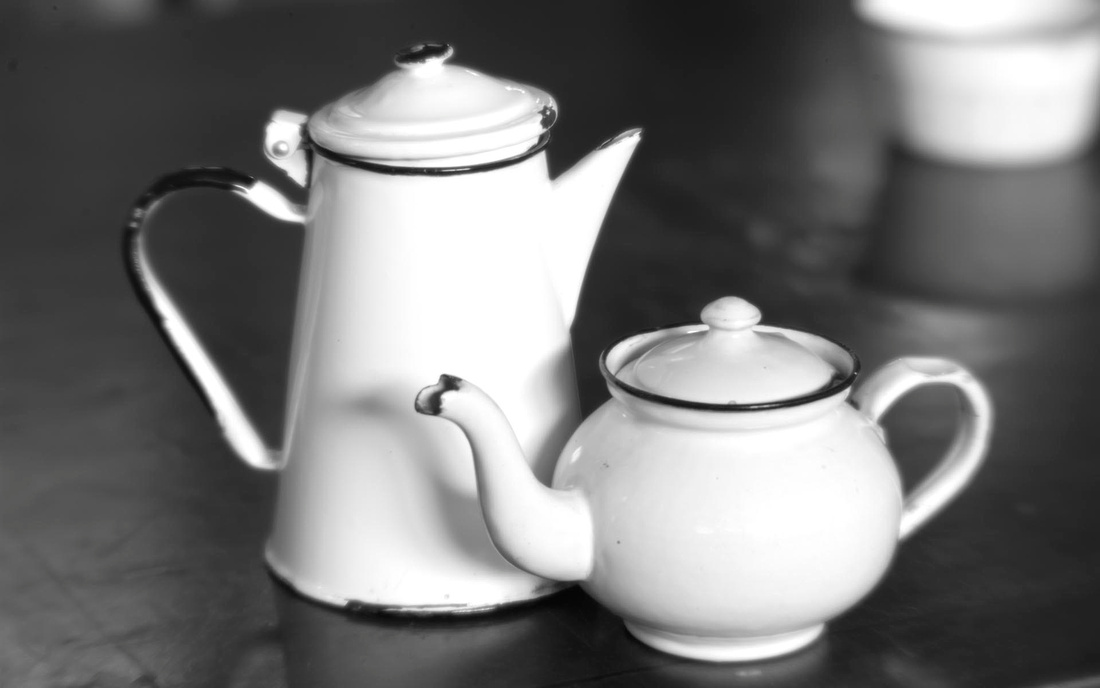
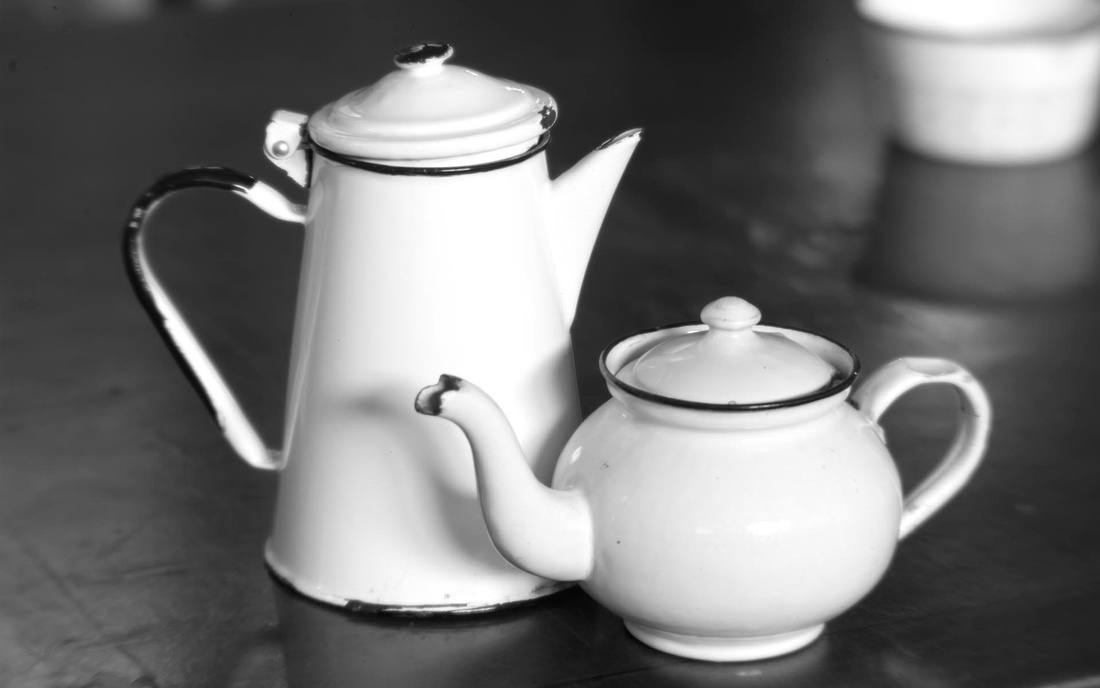
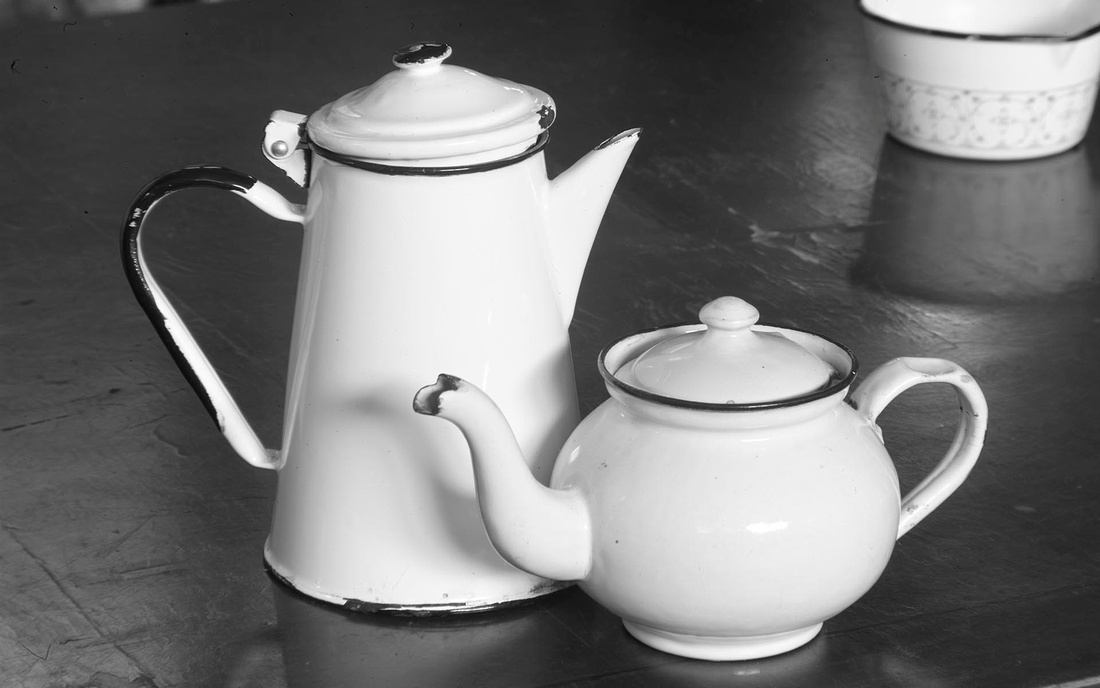
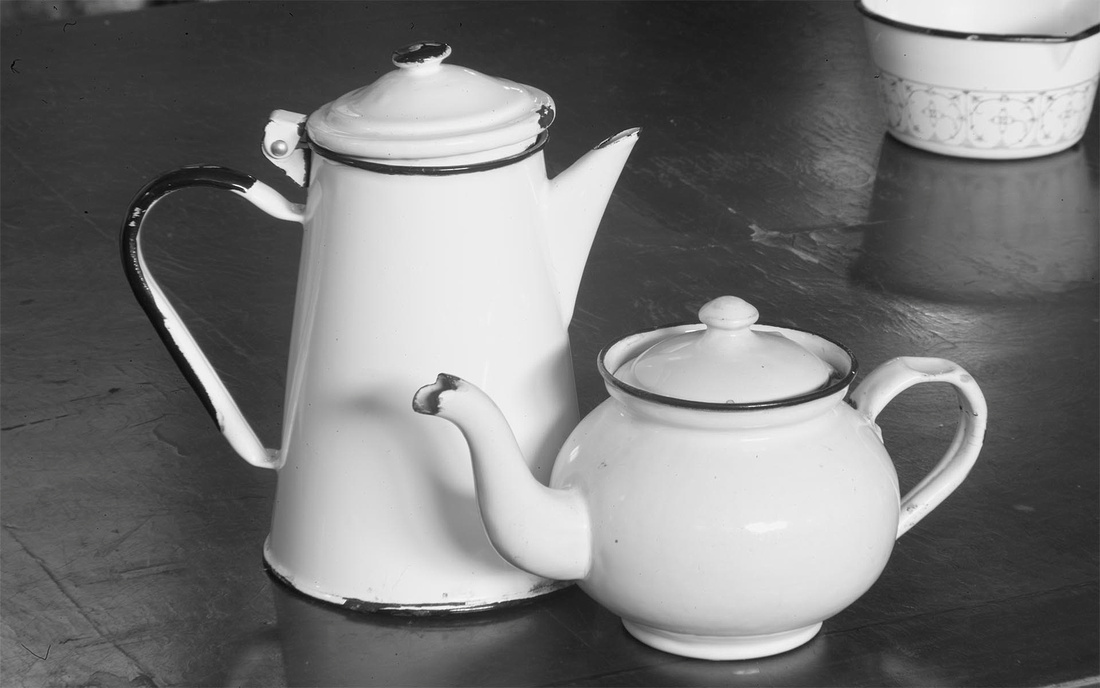
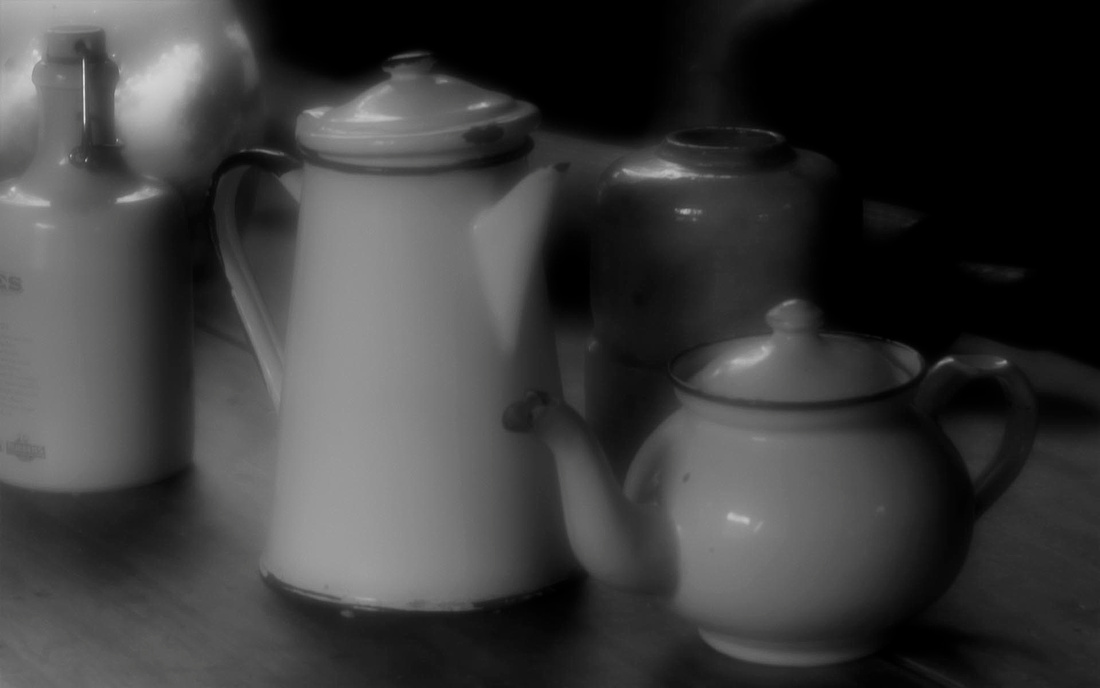
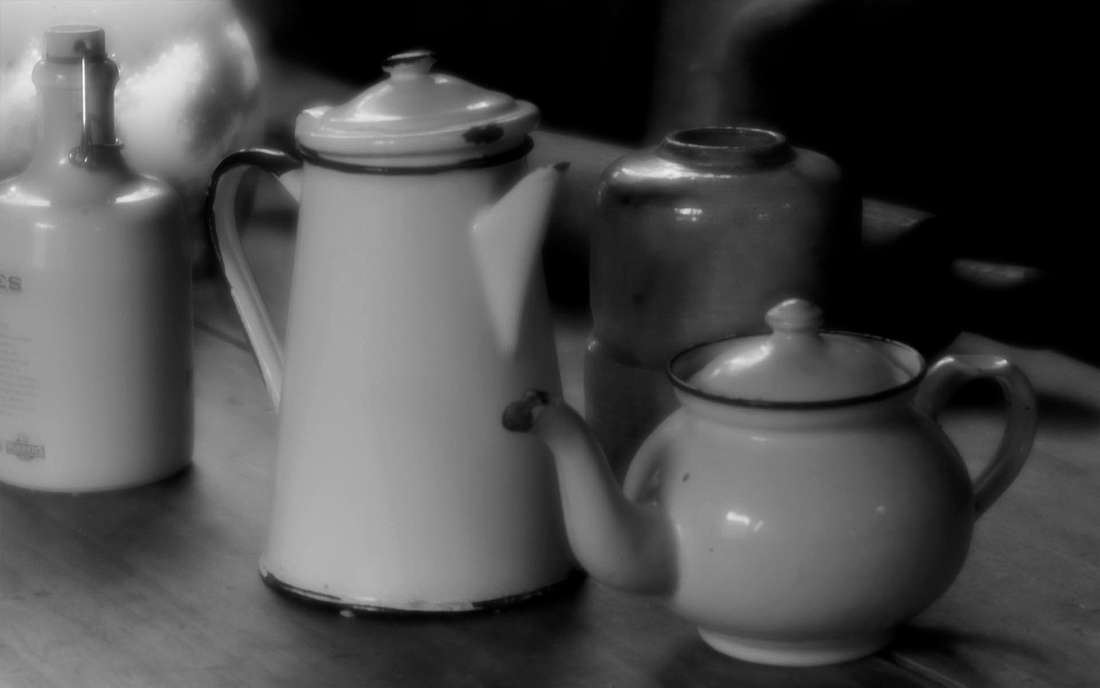
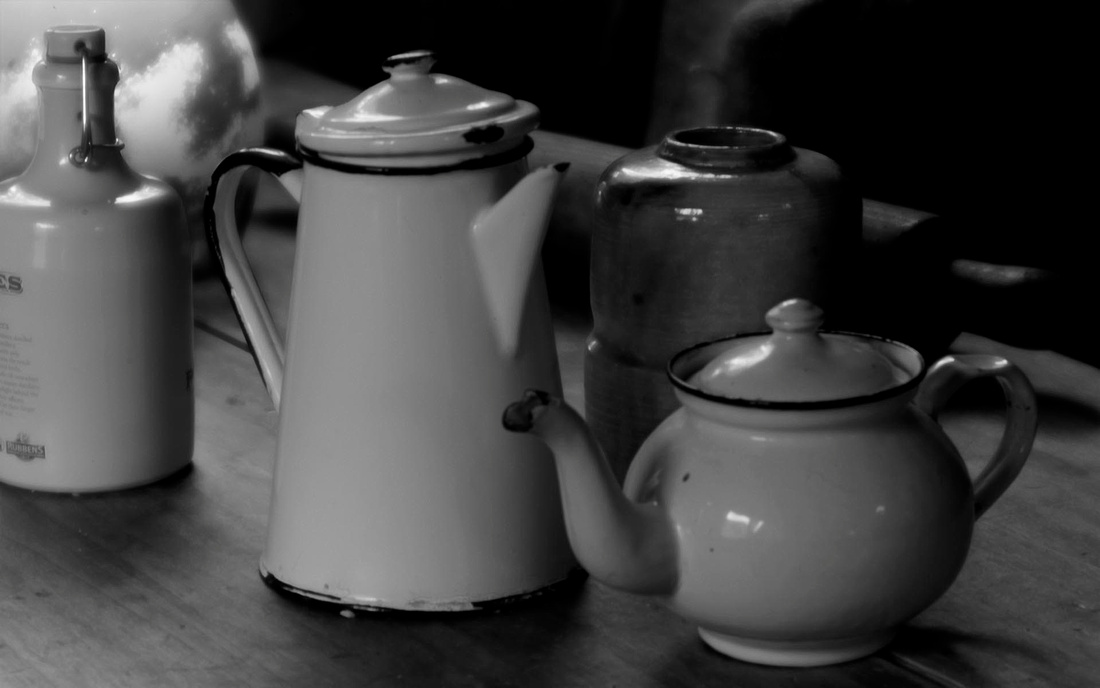
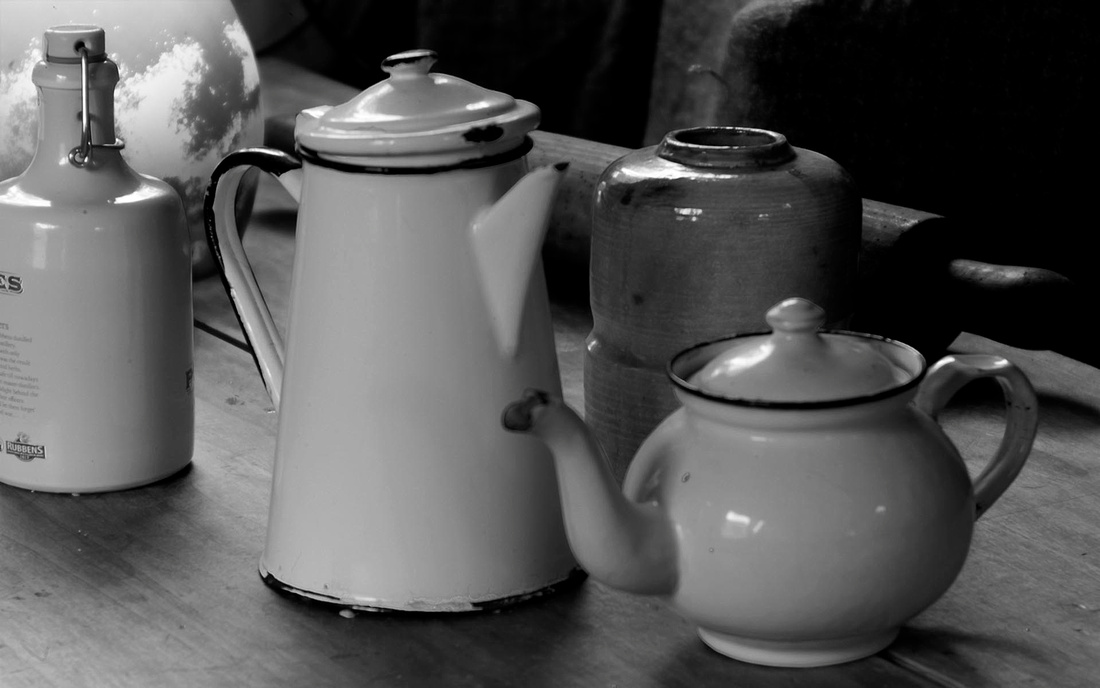
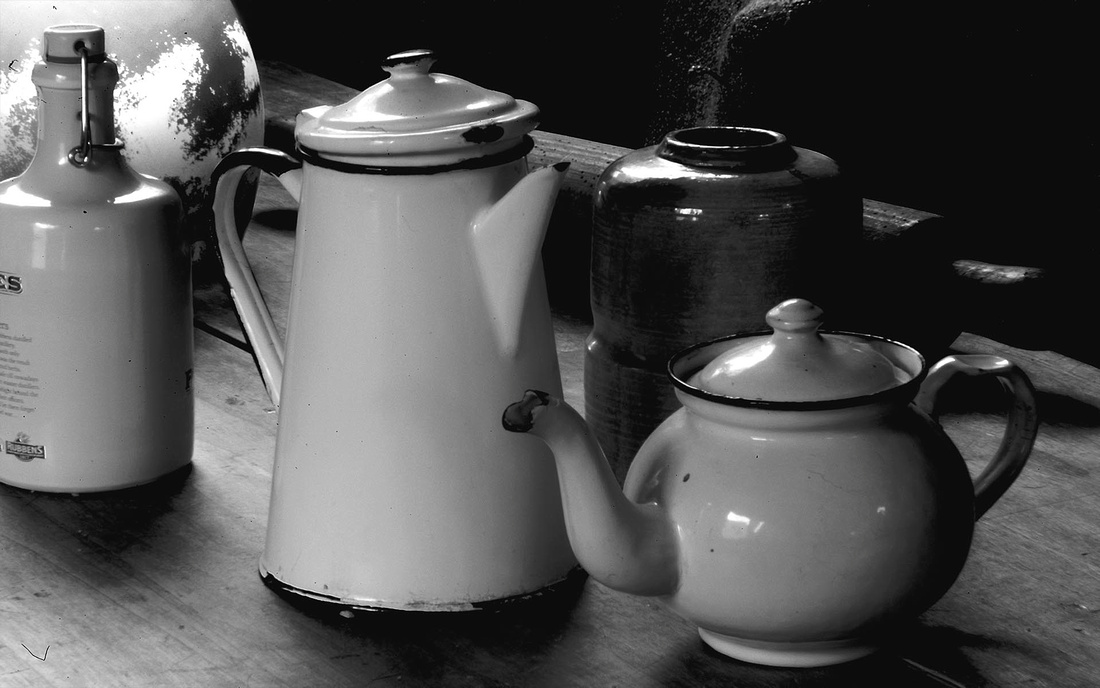
]]>I resorted again to some vintage enamel coffee pots on an equally vintage dining table at my sister's Kokopelli Cafe in Lovendegem, Belgium.
A carbon fiber tripod kept my Mamiya 645AFD II camera stable over the course of the test. Images on a medium frame digital Leaf 10 back (56MP) and color to B/W conversion with the default NIK Silver Pro 2 preset. Nothing fancy. I used the camera's lighting meter guide me to set shutter speed. Lighting was all natural. Window from the left and one behind me. Artificial light from right top towards the camera.
As expected and shown over and over again in literature, the soft focus effect of this lens is aperture controlled. The soft focus effect is mostly gone by f8 and at f16 and f22 the images are tack sharp but with a pleasing roundness.
All by all the lens is fairly easy to use, I didn't experience any focus issues although the viewfinder of the Mamiya 645AFD II is fairly small compared to the ground glass from a 4x5 view camera. I did use a viewfinder loupe though for accuracy as it is difficult to achieve perfect good manual focus with progressive glasses and camera optics.
I'm very pleased with the results. Especially at f5.5 the soft focus effect is not overbearing as experienced in some other soft focus lens topology implementations. Since the lens is a single element meniscus and not an achromat, color performance suffers somewhat as the edges in the image can be a bit mushy. Use filters during the image take or shoot B&W only. Digital capture with digital B&W/monochrome conversion takes of course care of this also.
Observe .... and cheers !
f/5.5
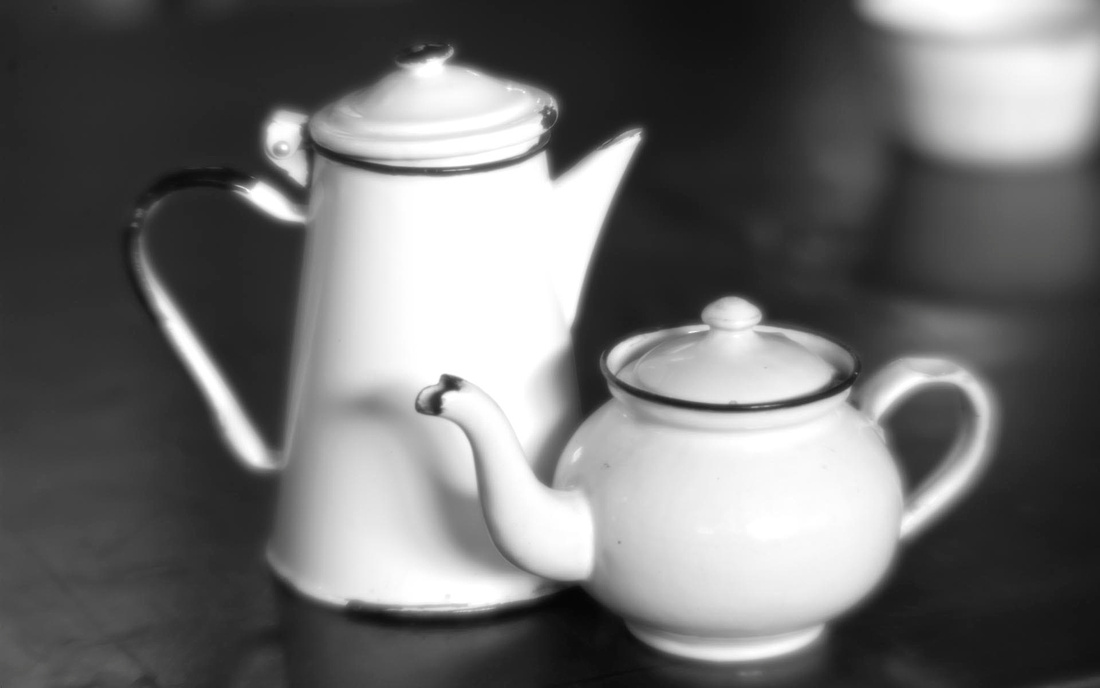
f/6.3
f/7.1
f/8
f/16
f/22
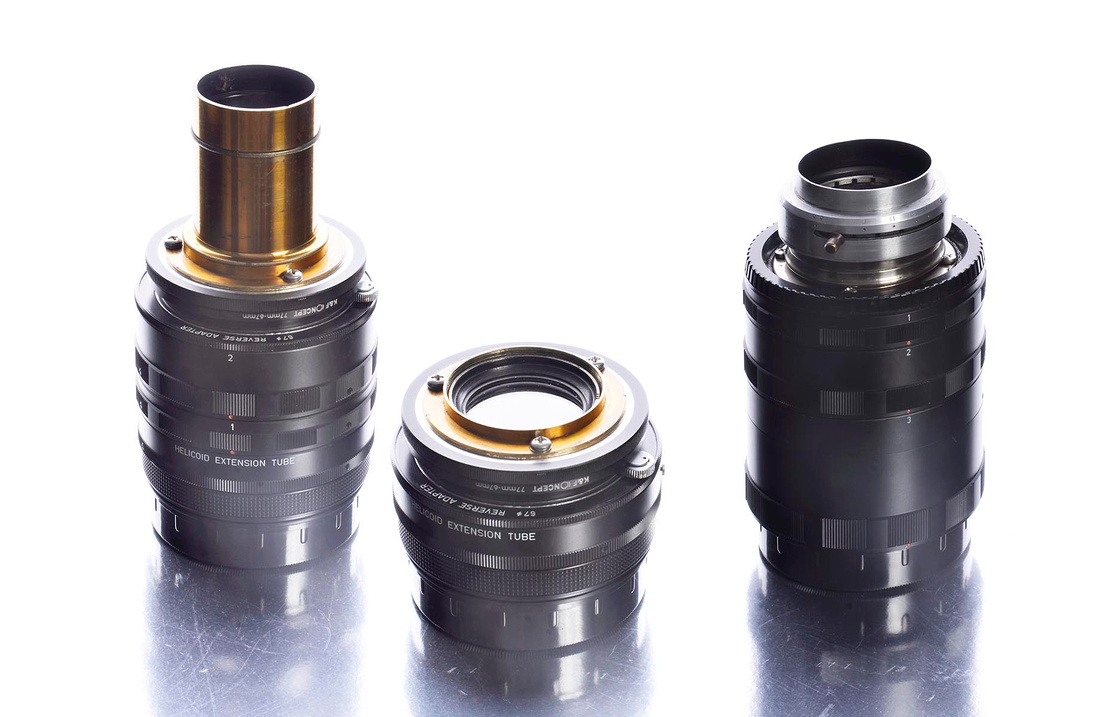
The Dallmeyer Triple Achromat #1 is a lens from 1863, yes, 150 years old at time of writing and still in perfect shape. Three achromat lenses, two positive with the middle one negative. A sharp and quite popular lens for the days, only replaced when the rectilinears came out in 1866 and later.
When one removes the inner negative achromat, the back focus is halved (from 7" to 3.5") and the f# almost doubles. As a bonus, one gains a "soft focus" effect in the process. This also meant a little challenge on mounting this lens for optimum dual use. (The "soft focus" feature was disclosed by Dallmeyer himself in 1861.)
The image below shows the solution I came up with. The lens is mounted normally on a few macro extensions and I used this time a macro reverse adaptor with a 67-77mm lens-filter adapter and a metal 77mm lens cap to mount the lens on. This gave me perfect infinity focus with this set-up. Pricier than using the plastic body cap but this method maintains an all-metal construction and the assembly allows for infinite focus for this particular set-up either way.
With the middle element removed, the back focus is too short to be used with this camera set-up. So, I came up with a way to reverse mount the lens and get the necessary minimum clearance (in the helicoid) to achieve infinity focus again. See the middle image. With the lens reversed, the soft focus effect remains intact and there's sufficient coverage for 645 and 67 style medium frame cameras.
The lens at right shows the Karl Struss Pictorial lens mounted on three macro extensions. The helicoid removed is removed. Incidentally, the #1, #2 and #3 macro extensions were needed. I used the "standard" plastic body cap mount for the lens. This is the 9" version intended for Graflex camera use. The lens element extends quite a bit inside. This way the Graflex camera could be closed without removing the lens.
This particular Karl Struss lens in this configuration is not extendable/collapsable. There was a version on the market for short bellows Graflex cameras with a collapse feature. Once the bellows were extended over the bed, the lens could be pulled forward and would extend all the way out.
Pictures taken with these lenses in the near future.
Enjoy ... happy Holidays !
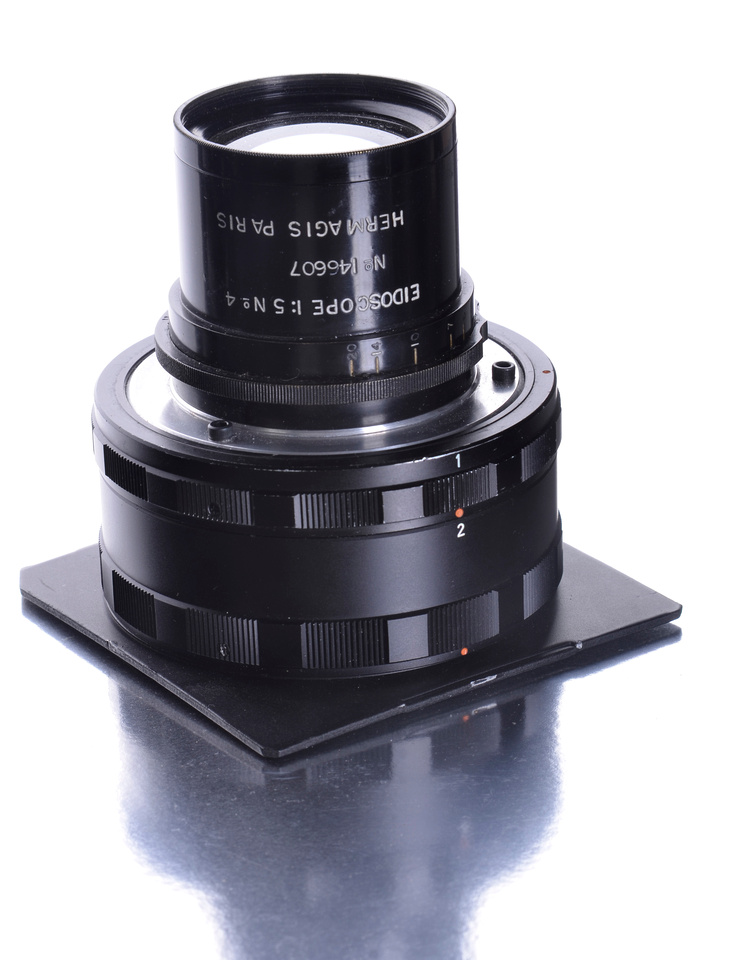
This particular lens design was introduced already in 1903 by the French optical house "Hermagis". The soft focus effect is produced by excessive spherical aberration in a rectilinear design. As in most soft focus lenses, the effect is controlled by aperture changes. The lens has an achromat in front and one in the rear. Stopped down this lens is tack sharp as can be expected from a design perspective. Nice feature about this is the rear or front lens can be used as a stand alone and then this lens acts just like any other "landscape" design.
An image of my Hermagis Eidoscope #4 lens below, mounted on a Pentax 67 macro extension ring size #1. I need a second extension ring #3 to achieve a usable focus working distance with the Asahi Helicoid on a camera. A tidbit too long for focus at infinity but as explained earlier in my blog ,,, I can live without infinity focus ! Looking closely at the image below you'll observe the lens to be mounted on my Pentax 67-to-Linhof-Technika adapter so I can use my converted lenses on my view camera collection also.
This was actually the first soft focus lens I adopted on my Mamiya 645AFD MF camera and launched my foray in MF digital soft focus photography.
Nothing better to explain what the "look" of a lens is than showing a few images. Earlier this year in Spring I came across a bicycle rack in Germany that caught my eye and the following images are from that session. Again, digital capture, digital workflow.

This is a wonderful image and one can observe the smoothness in it and yet a very firm line. This is what soft focus is all about ... soft but firm ... not just out of focus ... not panty-hose or vaseline smeared on a filter although both of these diffusion generating tricks have their own merits ... there's a time and place for everything. The above image was taken at f6 aperture in the early morning hours under a covered sky.
About 6 months later I was in the same town and had the Kalosat 1A on my camera. I took a similar shot at f5.6 and the result below shows a very different signature. The digital work flow was the same as for the above image except I didn't sepia tone the image taken with the Kalosat 1A.
I'll refrain from debating what is "best" as the images are quite different The diffusion is obviously different as the optical design of both lenses cannot be compared.

The drawing of the Hermagis is more firm than the Kalosat in light of the small aperture difference. In the second image it is clearly Fall, the sky was really dark and contrast all around was lower. Not sure if the latter is related to the lens but a side by side test will have to decide on this later.
Peace,
Amedeus
]]>The lens is made of synthetic quartz of optical quality. Quartz has a high refractive index and transmits more UV light than standard glass lenses. As such this lens is well suited for all photography with blue sensitive emulsions (such as wet plate or collodion). The lens is brighter than the actual f-stop wants us to believe.
Since the lens is a simple meniscus, the visual outcome is a soft focus image due to the overlapping of the central image by a marginal image of lower intensity. The degree of diffusion can be adjusted by the iris diaphragm as in so many other soft focus diffusion lenses. Because of the quartz lens element, the spectral diffusion signature is different compared to glass soft focus lenses of similar construction.
Focussing is slightly more complicated as in non-achromats the visual focus doesn't coincide with the chemical focus. So some trial and error is required to get a feel of what constitutes "perfect focus".
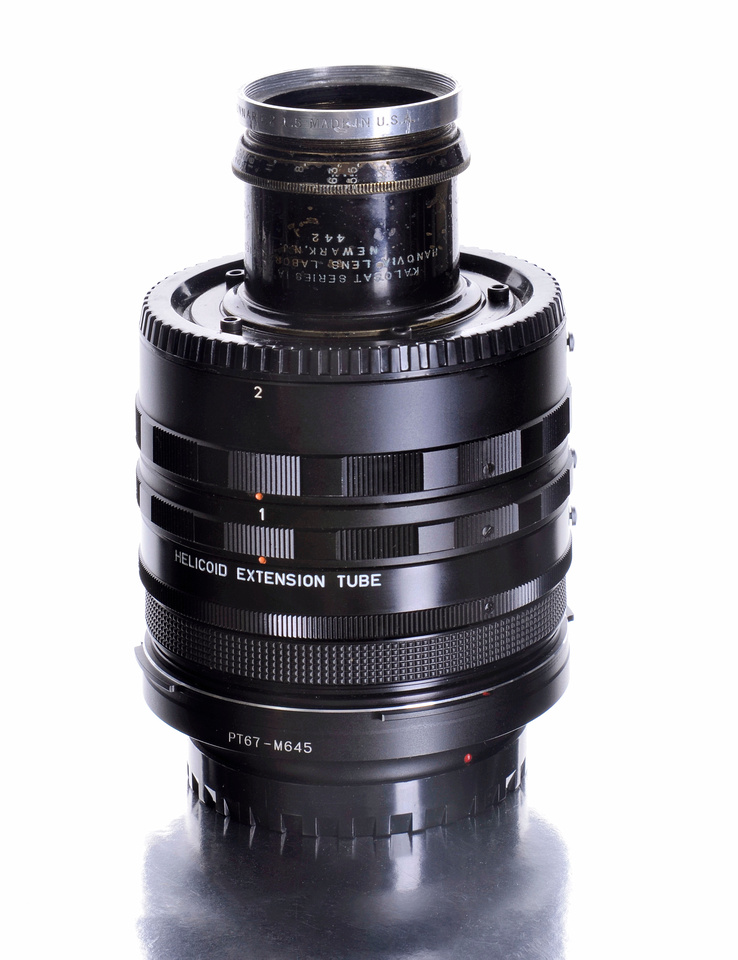
The biggest issue I had adapting the Kalosat Series I lens to my Medium Frame setup was finding a suitable lens flange. As so often, lens flanges seem to stay behind on a camera or lens board when the lens is sold. I lucked out as I did find a matching lens flange in my "spare flange box".
Mounting on a Pentax 67 camera body cap was straight forward and with a focal length of 6 3/4" or 171.5 mm I needed two extension rings to get a suitable lens/film plane spacing.
The result can be seen in the image below. The full stack comprises of the Mamiya 645 to Pentax 67 lens adaptor, the Asahi Helicoid, two Pentax 67 macro extension rings and finally the body cap with Kalosat 1A lens mounted on it. I've also mounted a Tiffen Series #6 filter holder on the lens so I can use color filters for B&W photography.
My sister's kitchen table still life was a thankful subject to test drive the lens and verify soft focus performance. The images below were all taken at different f-stop numbers. Exposure time was adjusted to yield the same film plane illumination as much as possible based on the camera's exposure reading. The Mamiya 645 AFD II was mounted on a tripod and actuated with a remote.
B&W conversion was performed in Creative Suite 6 with actions I've developed over few years of digital workflow.
1) Hanovia Kalosat 1A, f/4.5
2) Hanovia Kalosat 1A, f/6.3
3) Hanovia Kalosat 1A, f/9
4) Hanovia Kalosat 1A, f/16
5) Hanovia Kalosat 1A, f/45
As one can observe, the definition of the image changes drastically with aperture.
What's not obvious out of these images is the diffusion to be different int he color image in the view finder as compared to the converted B&W image. It took some practice to figure out where the focus is ... changing the aperture forces one to adjust focus slightly for best result.
Peace,
Amedeus
]]>In most cases I use a large format camera to shoot with these soft focus and other vintage lenses but I've adopted a select number of these for use on Medium Frame digital camera as this fits my workflow well. In my particular case this is a Mamiya 645 AFD II for travel or the Phase One 645DF in studio in combination with a Leaf Aptus 10 digital back. The latter covers 36 x 56mm and yields 56 megapixels in a 1:1.55 format.
Adopting a barrel soft focus lens involves mounting the lens on a suitable helicoid for manual focusing and fabricating a method to fasten the lens to the said helicoid at the proper lens-to-film-plane distance. The helicoid in turn has to fit the lens mount of the camera ... of course ...
Not necessarily an easy task but there's however a fairly, be it somewhat expensive, solution. There'a a popular (discontinued) helicoid on the market from Asahi for the Pentax 67 camera. The Pentax 67 camera lens-mount-to-film-plane is the largest of all popular film cameras. This a good start as it gives me a lot of room to work with. Adaptors for the Pentax 67 lens mount to any other imaginable film camera are available. I have an adaptor for the Mamiya 645 and an adaptor for the Nikon F mount. As such I can uses any lens configured through this method for my Mamiya/Phase One also on one of the many Nikon 35mm or "full frame" cameras in my toolbox.
Mounting the lens itself is easily done using a Pentax 67 body cap fitting the Asahi Helicoid. The body caps are made from a resilient machinable plastic and work quite well. A Pentax 67 macro tube system is used to properly space the lens from the actually film plane. Alternatively a macro-bellows set-up could be used. The macro extension tubes make for a very portable solution and one can stack them theoretically at infinitum.
Below is an image of my growing number of lenses adopted as such for MF camera/digital back use. Also shown is an adaptor to mount the Pentax 67 body cap to a Linhof Technika IV camera. This adaptor can in turn be adapted to my Sinar view camera. With a Phase One sliding back on the SInar, I can use the Leaf Aptus digital back with a tilt, shift and swing options from either view camera.
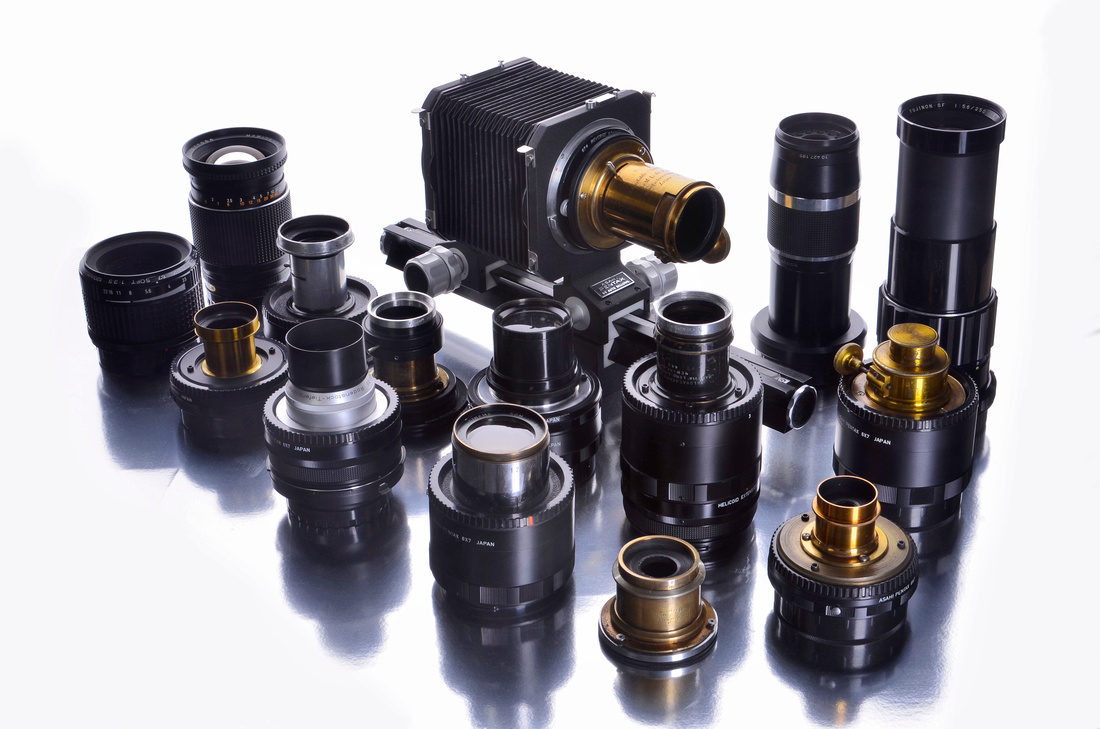
Lenses in above image, left to right, top and down:
- Pulligny Adjustable Landscape Lens in Pentax 67 macro bellows. This lens is installed on metal 67mm lens cap on reverse macro adaptor. Challenging to use !
- 200mm Rodenstock Imagon on Rodenstock helicoid and Pentax 67 mount
- 250mm Fuji Soft Focus lens in large helicoid and Pentax 67 mount.
- Second row back. Mamiya 145mm f3.5 Soft Focus lens. Modern Soft Focus lens, complicated in use
- Aluminum Laverne, Panortoscopique No 0bis. On Pentax 67 body cap in professionally made adapter for Linhof Technika IV.
- Ralph Golson 5x7 landscape meniscus. Retrofitted with iris and Tiffen filter holder.
- Hermagis Eidoscope #4 (190mm, f4.5)
- Kalosat 1A with Tiffen filter holder. (171.5mm, f4.5)
- Darlot pill box landscape meniscus with washer stops.
- Bottom row, back. Pentax 120mm f3.5 Soft Focus lens. Great modern soft focus lens, similar to Wollensak Verito.
- Unmarked landscape meniscus, wide open.
- 120mm Rodenstock Imagon. Mounted on Asahi Helicoid and the Pentax 67 adapter to Mamiya 645 lens mount
- 125mm SOM Hermagis Cine lens. Petzval design, swirls on 645 format
- Lancaster landscape meniscus with iris. Mounted on 67mm metal lens cap, fits on 67mm reverse macro adapter. Compact.
- Unnamed landscape meniscus with iris.
Where possible I adjust the lens spacing for infinite focus. For the longer focal lengths I often forego infinite focus as we're dealing with soft focus lenses and it really doesn't matter to me if the horizon at infinite is perfectly sharp. Actually, I prefer soft.
In following blog posts I'll be demonstrating the results of a select number of lenses I've repurposed using the above method in the hope that this is a stimulus for fellow photographers to share their efforts.
Peace.
Amedeus.
]]>